Images inside document
How to add an image to the document
Open document for edition
Set focus on document body (it’s necessary to understand where exactly we have to add image)
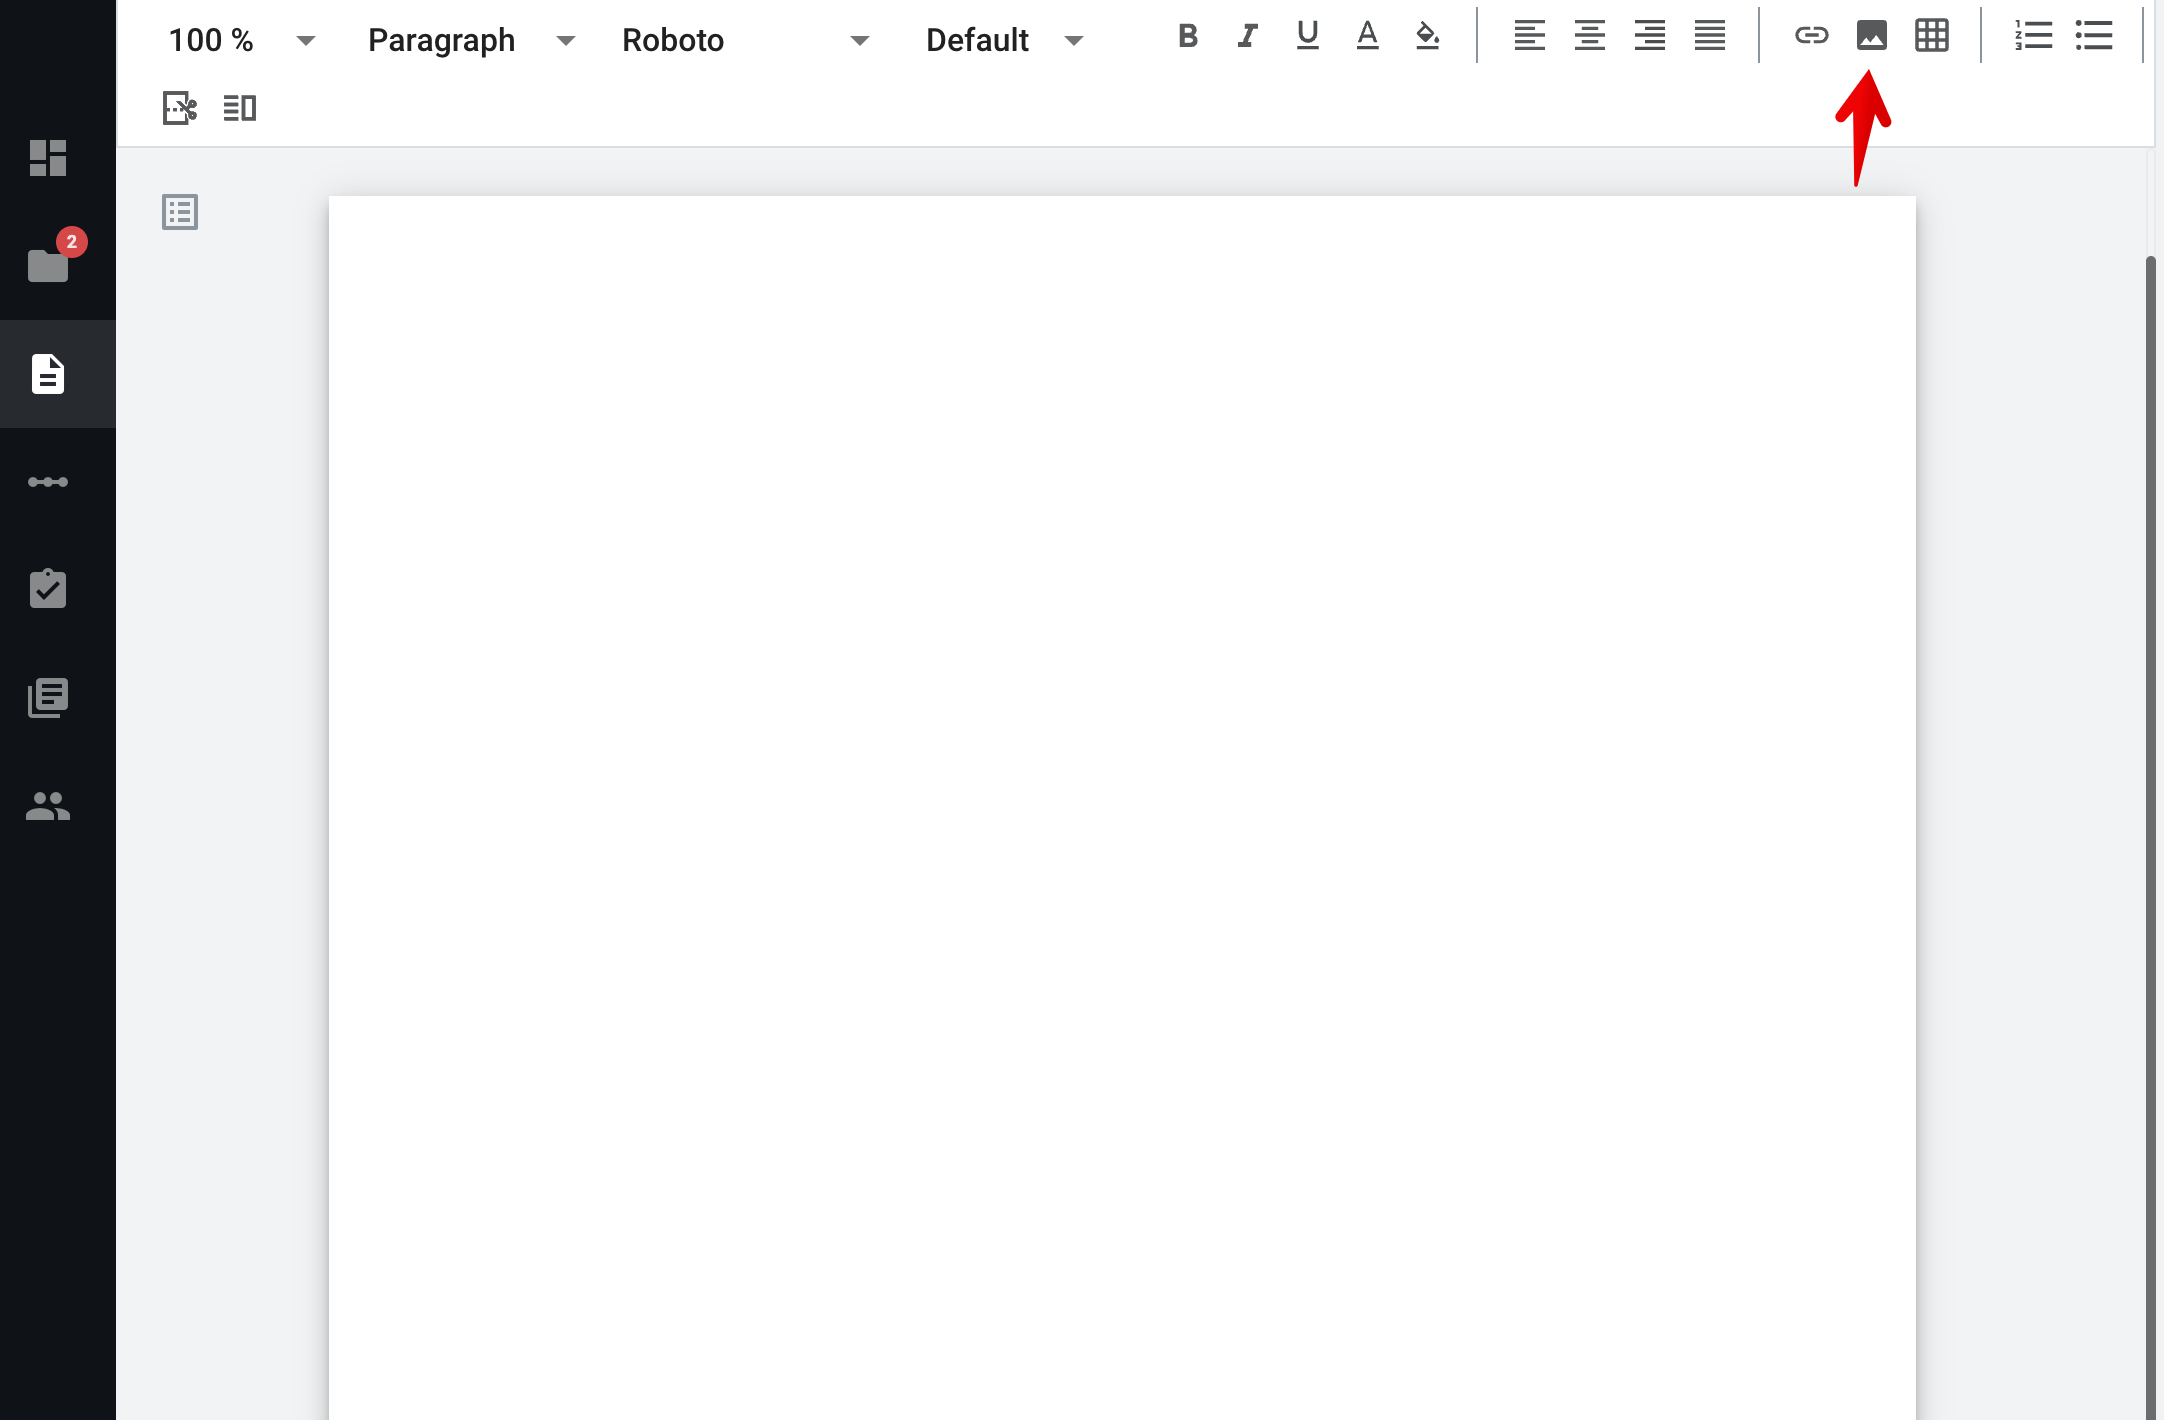
Click on image icon in the editor header menu
Select file in folder manager (allowed files extensions are .png, .jpg and .jpeg) and confirm
Image added to document to the place where cursor was
How to edit image properties
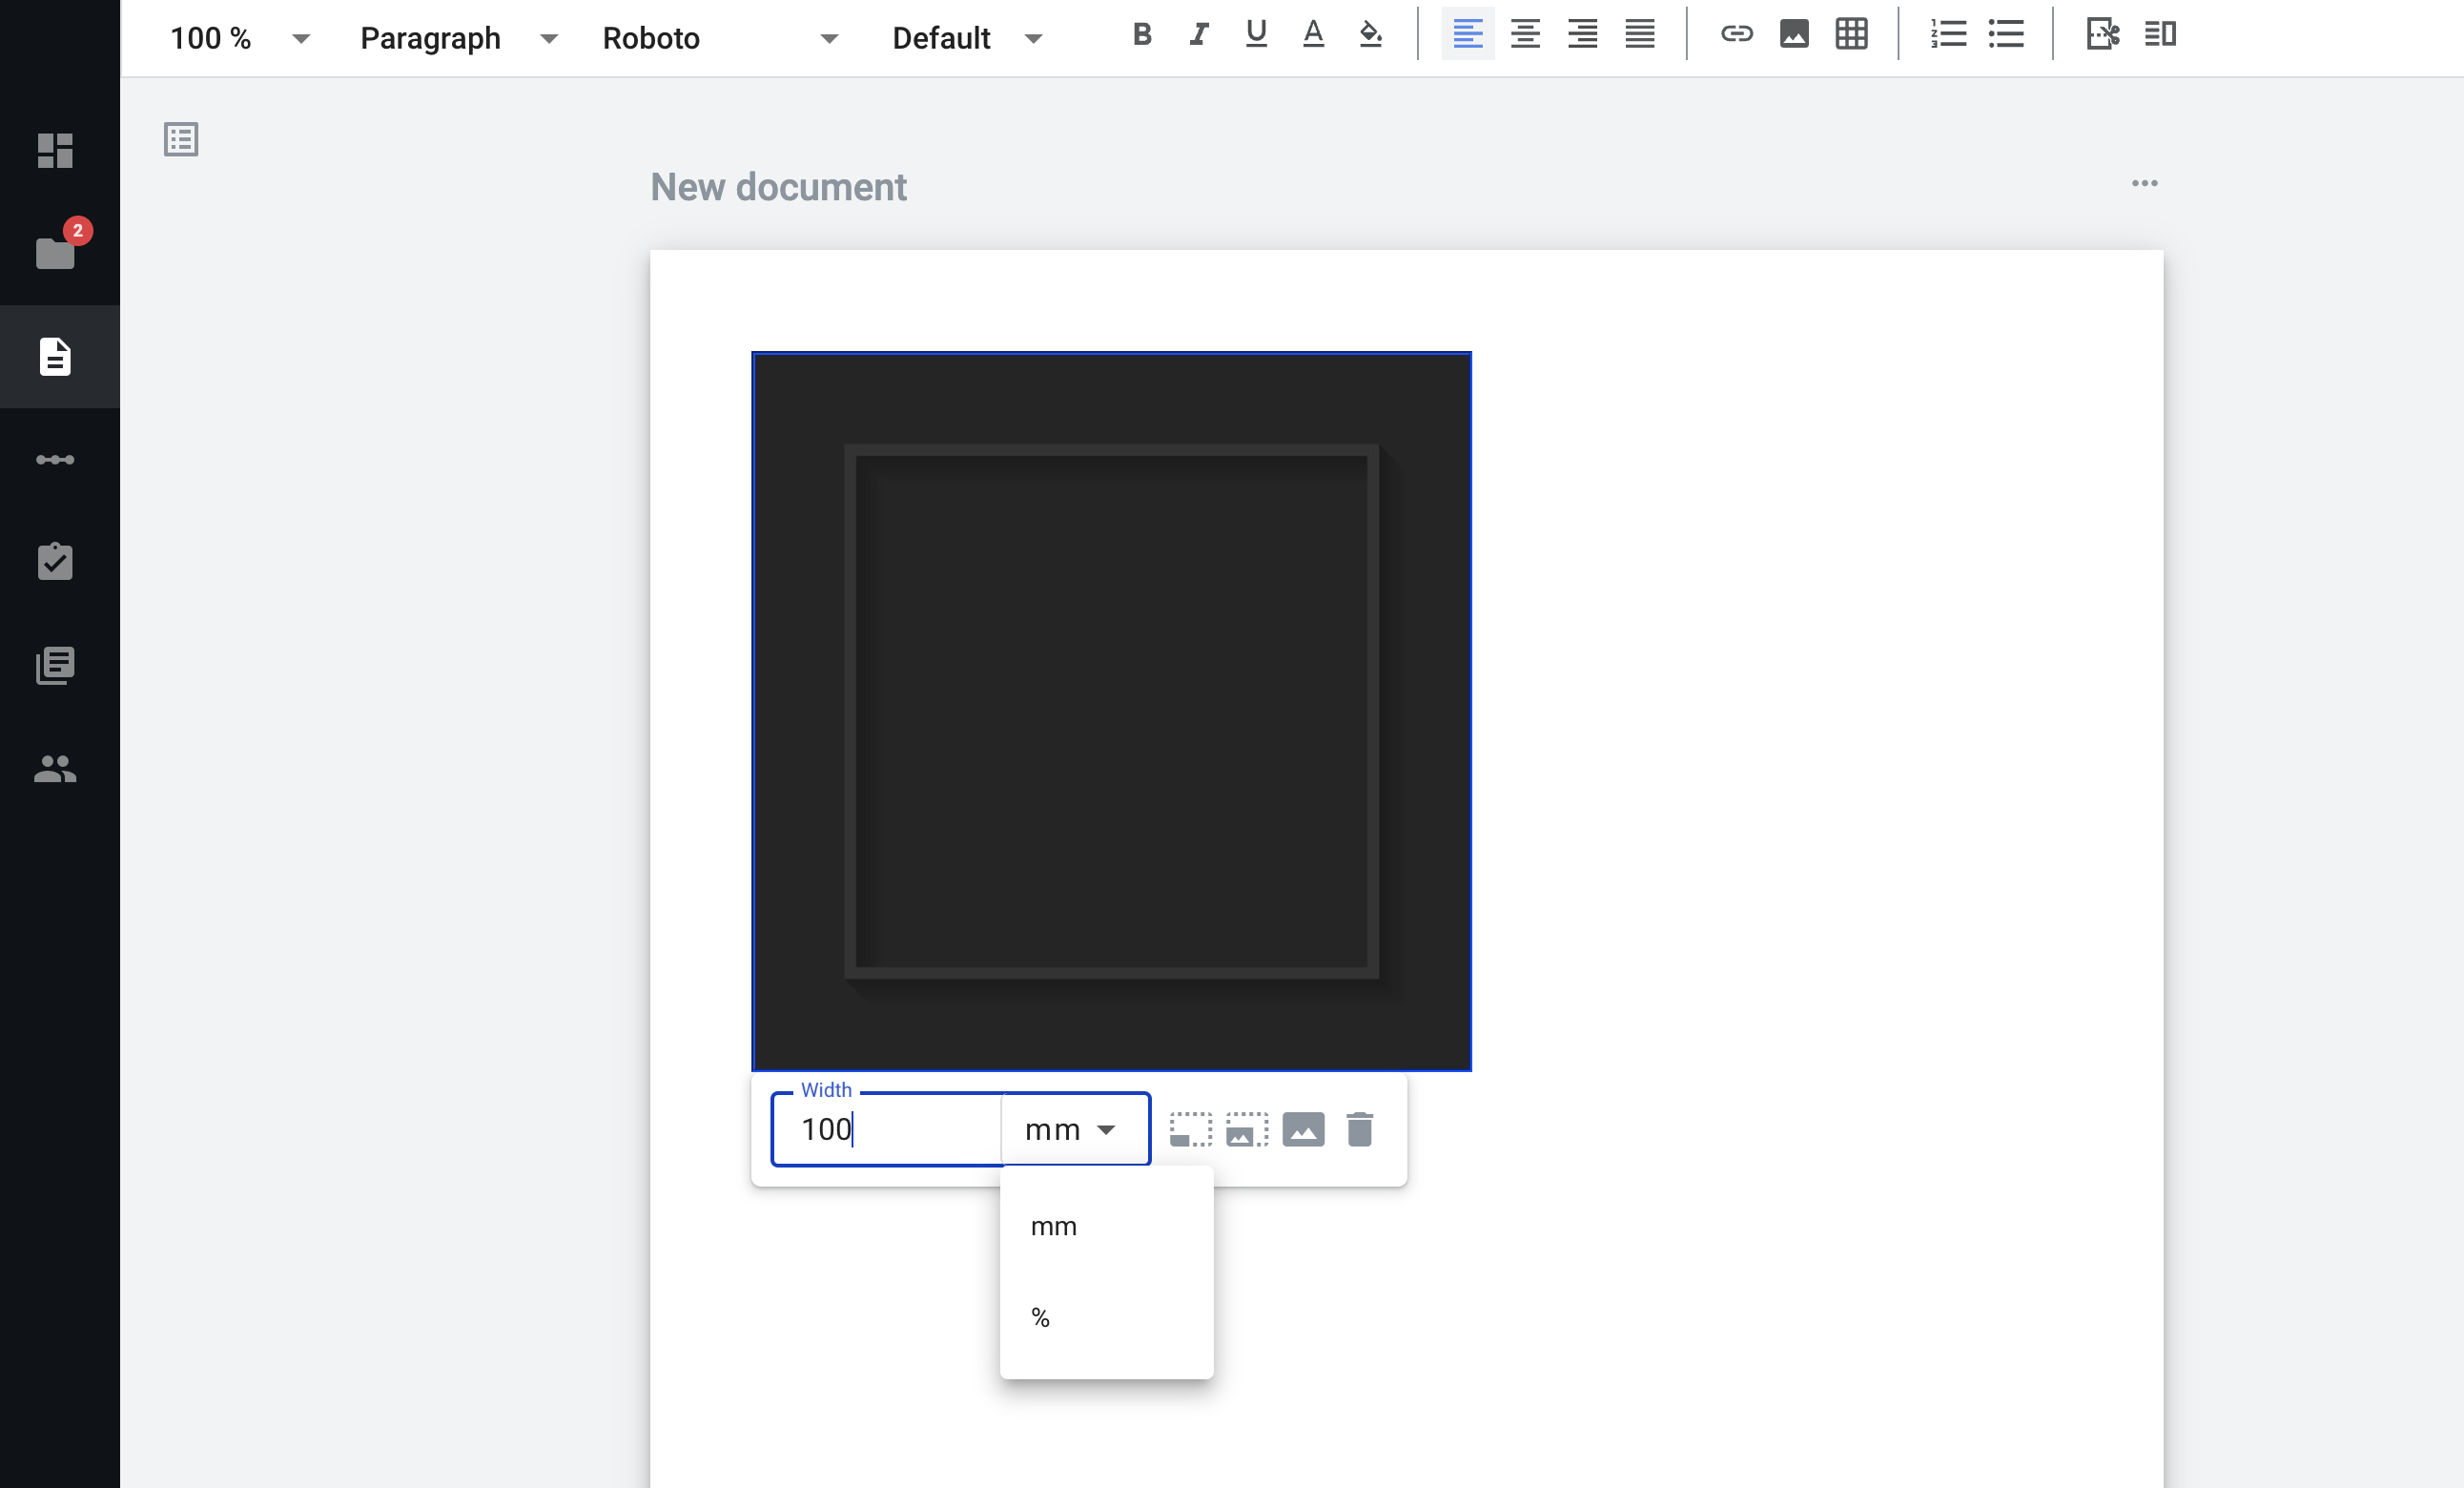
To do that click on the image and see the image size menu. You can set the image width in mm or %. By default, the original file size will be displayed in mm, but you can choose to display it as a percentage.
You can set the desired size manually in mm or %. The height of the image will be calculated and displayed proportionally. The size of the image is set relative to the document or cell in which it is located.
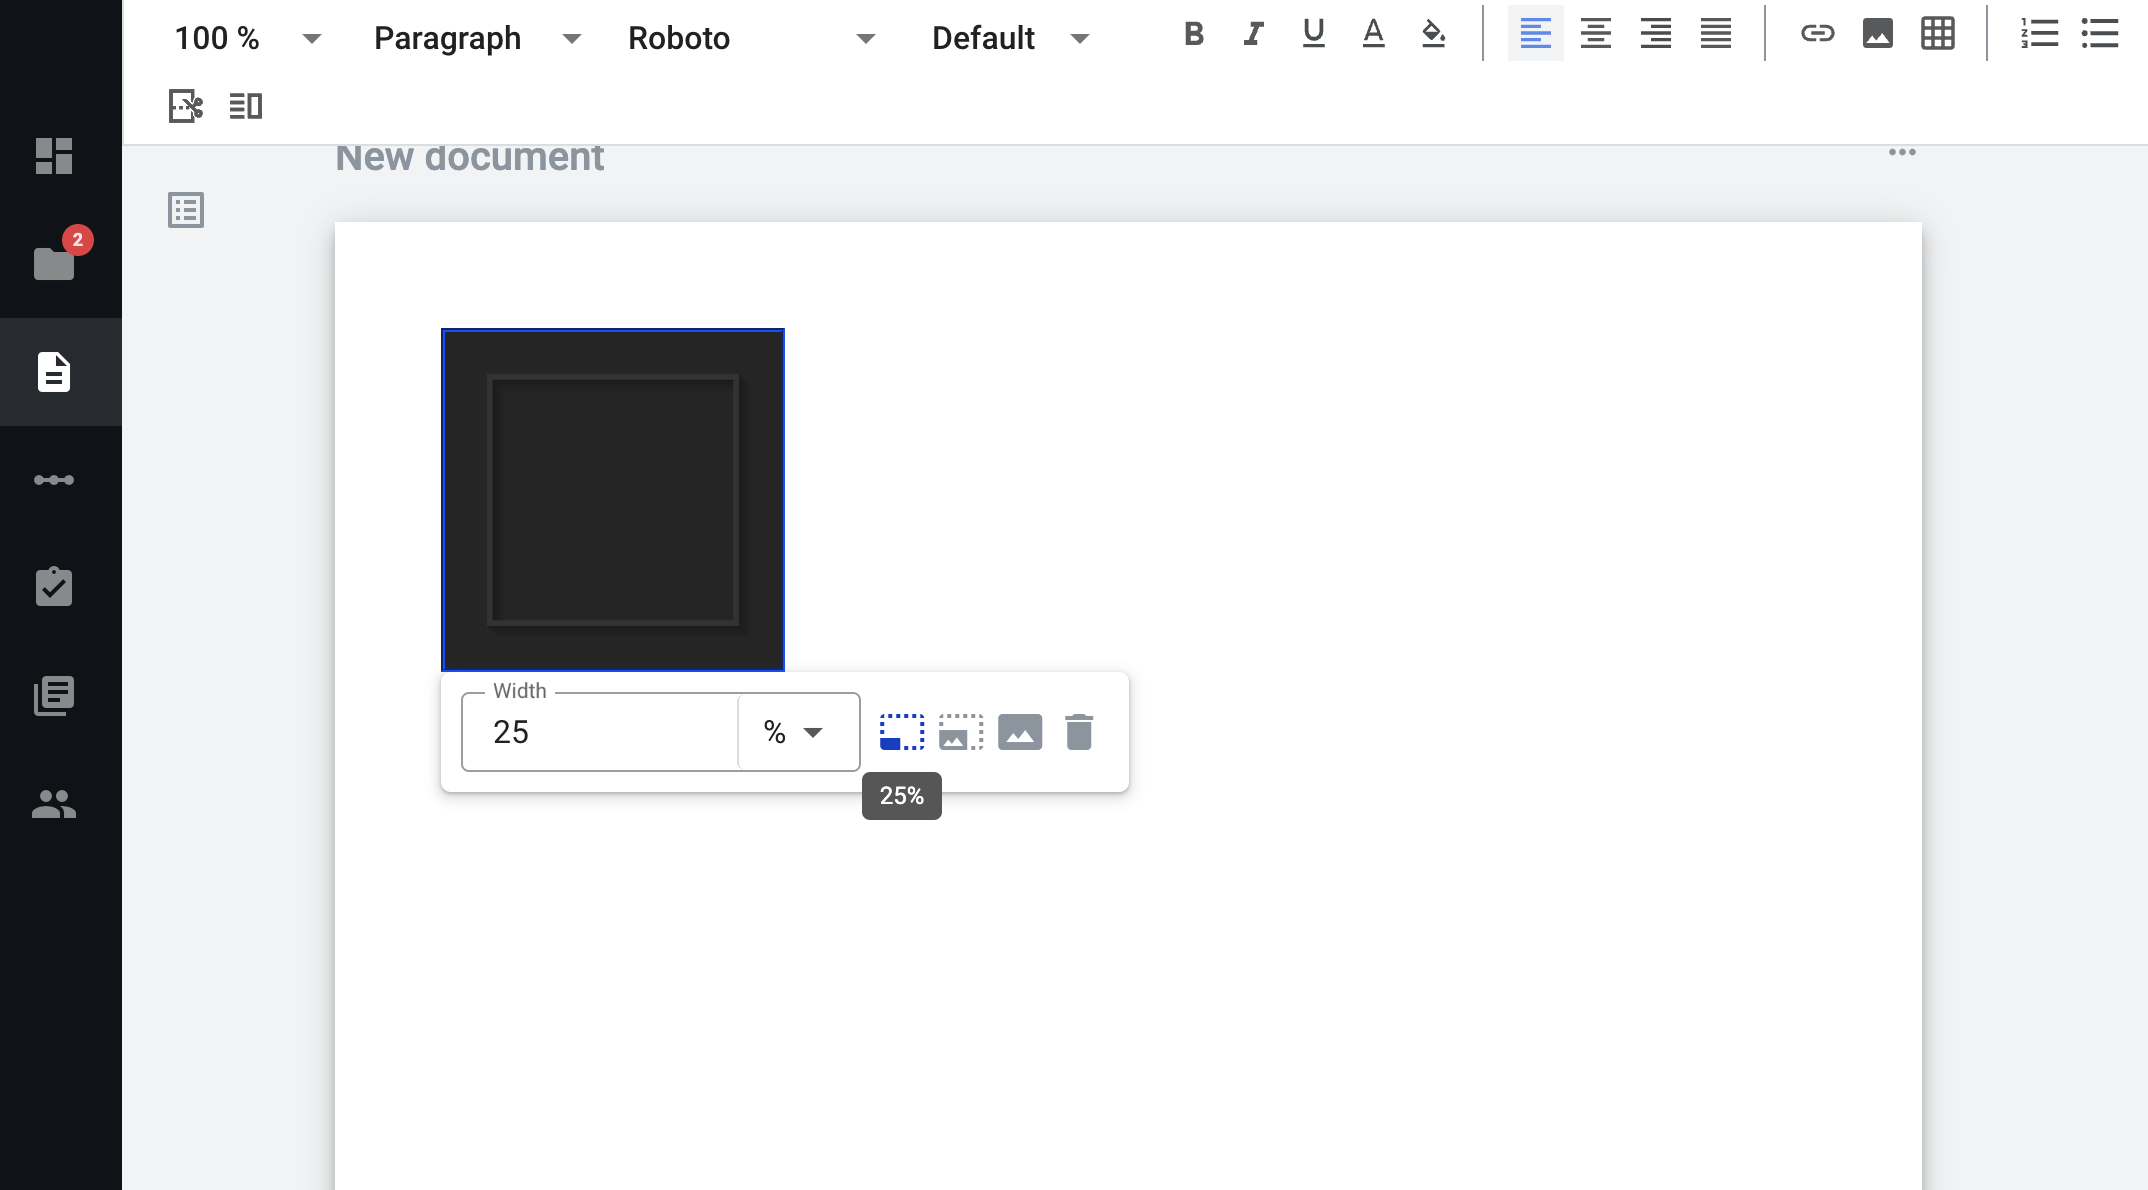
To easily resize an image you can use shortcuts (25%, 50% or 100%).
Warning
Maximum size of the image which can be displayed on the document is 618px. So, if you upload image with size 1024x768 px it will be automatically decreased to 618 px with saving proportions.
You can set positioning for image using default positioning tool of editor.
You can’t add image to the dynamic table.
How to remove an image from the document
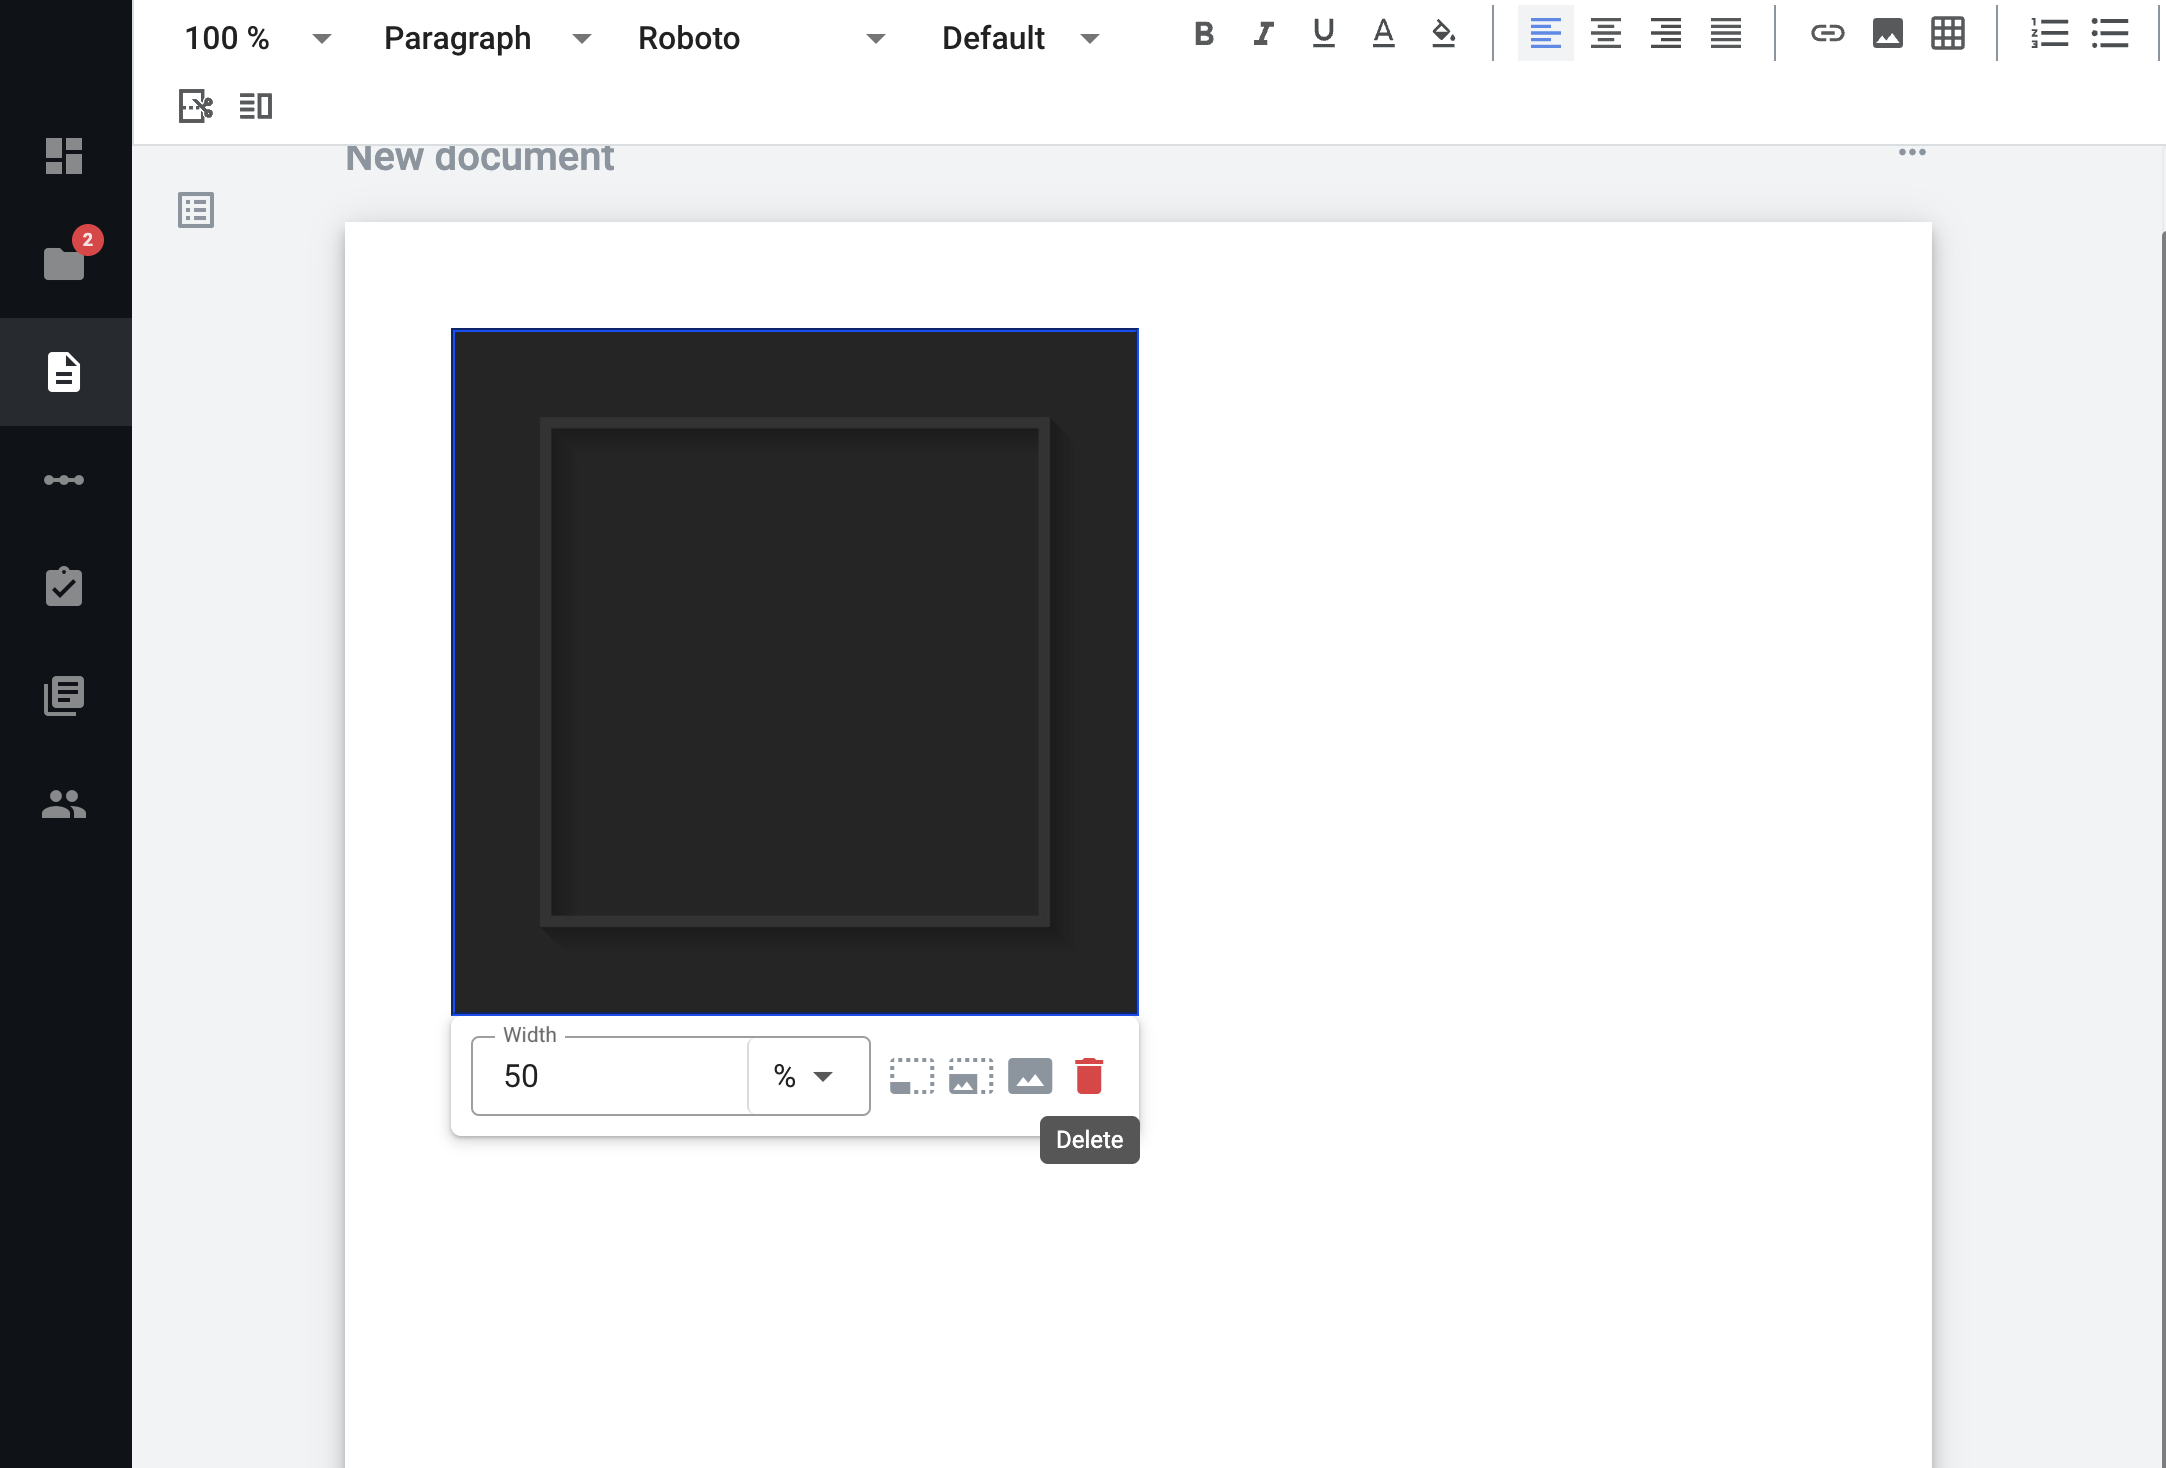
Click on image and click on delete icon in the menu
Click on image and click “Backspace” button on Windows or Linux or “Delete” button on Mac
Set cursor of mouse behind the image and click “Backspace” button on Windows or Linux or “Delete” button on Mac
Image size restrictions
According to the document structure we have next restrictions:
Max allowed image size is 5 MB.
Max allowed image resolution is 1024 × 768.