Mailboxes
Mailboxes page is a part of admin panel interface. This page allows to:
Create, manage and delete mailboxes
Create, manage and delete mailbox groups
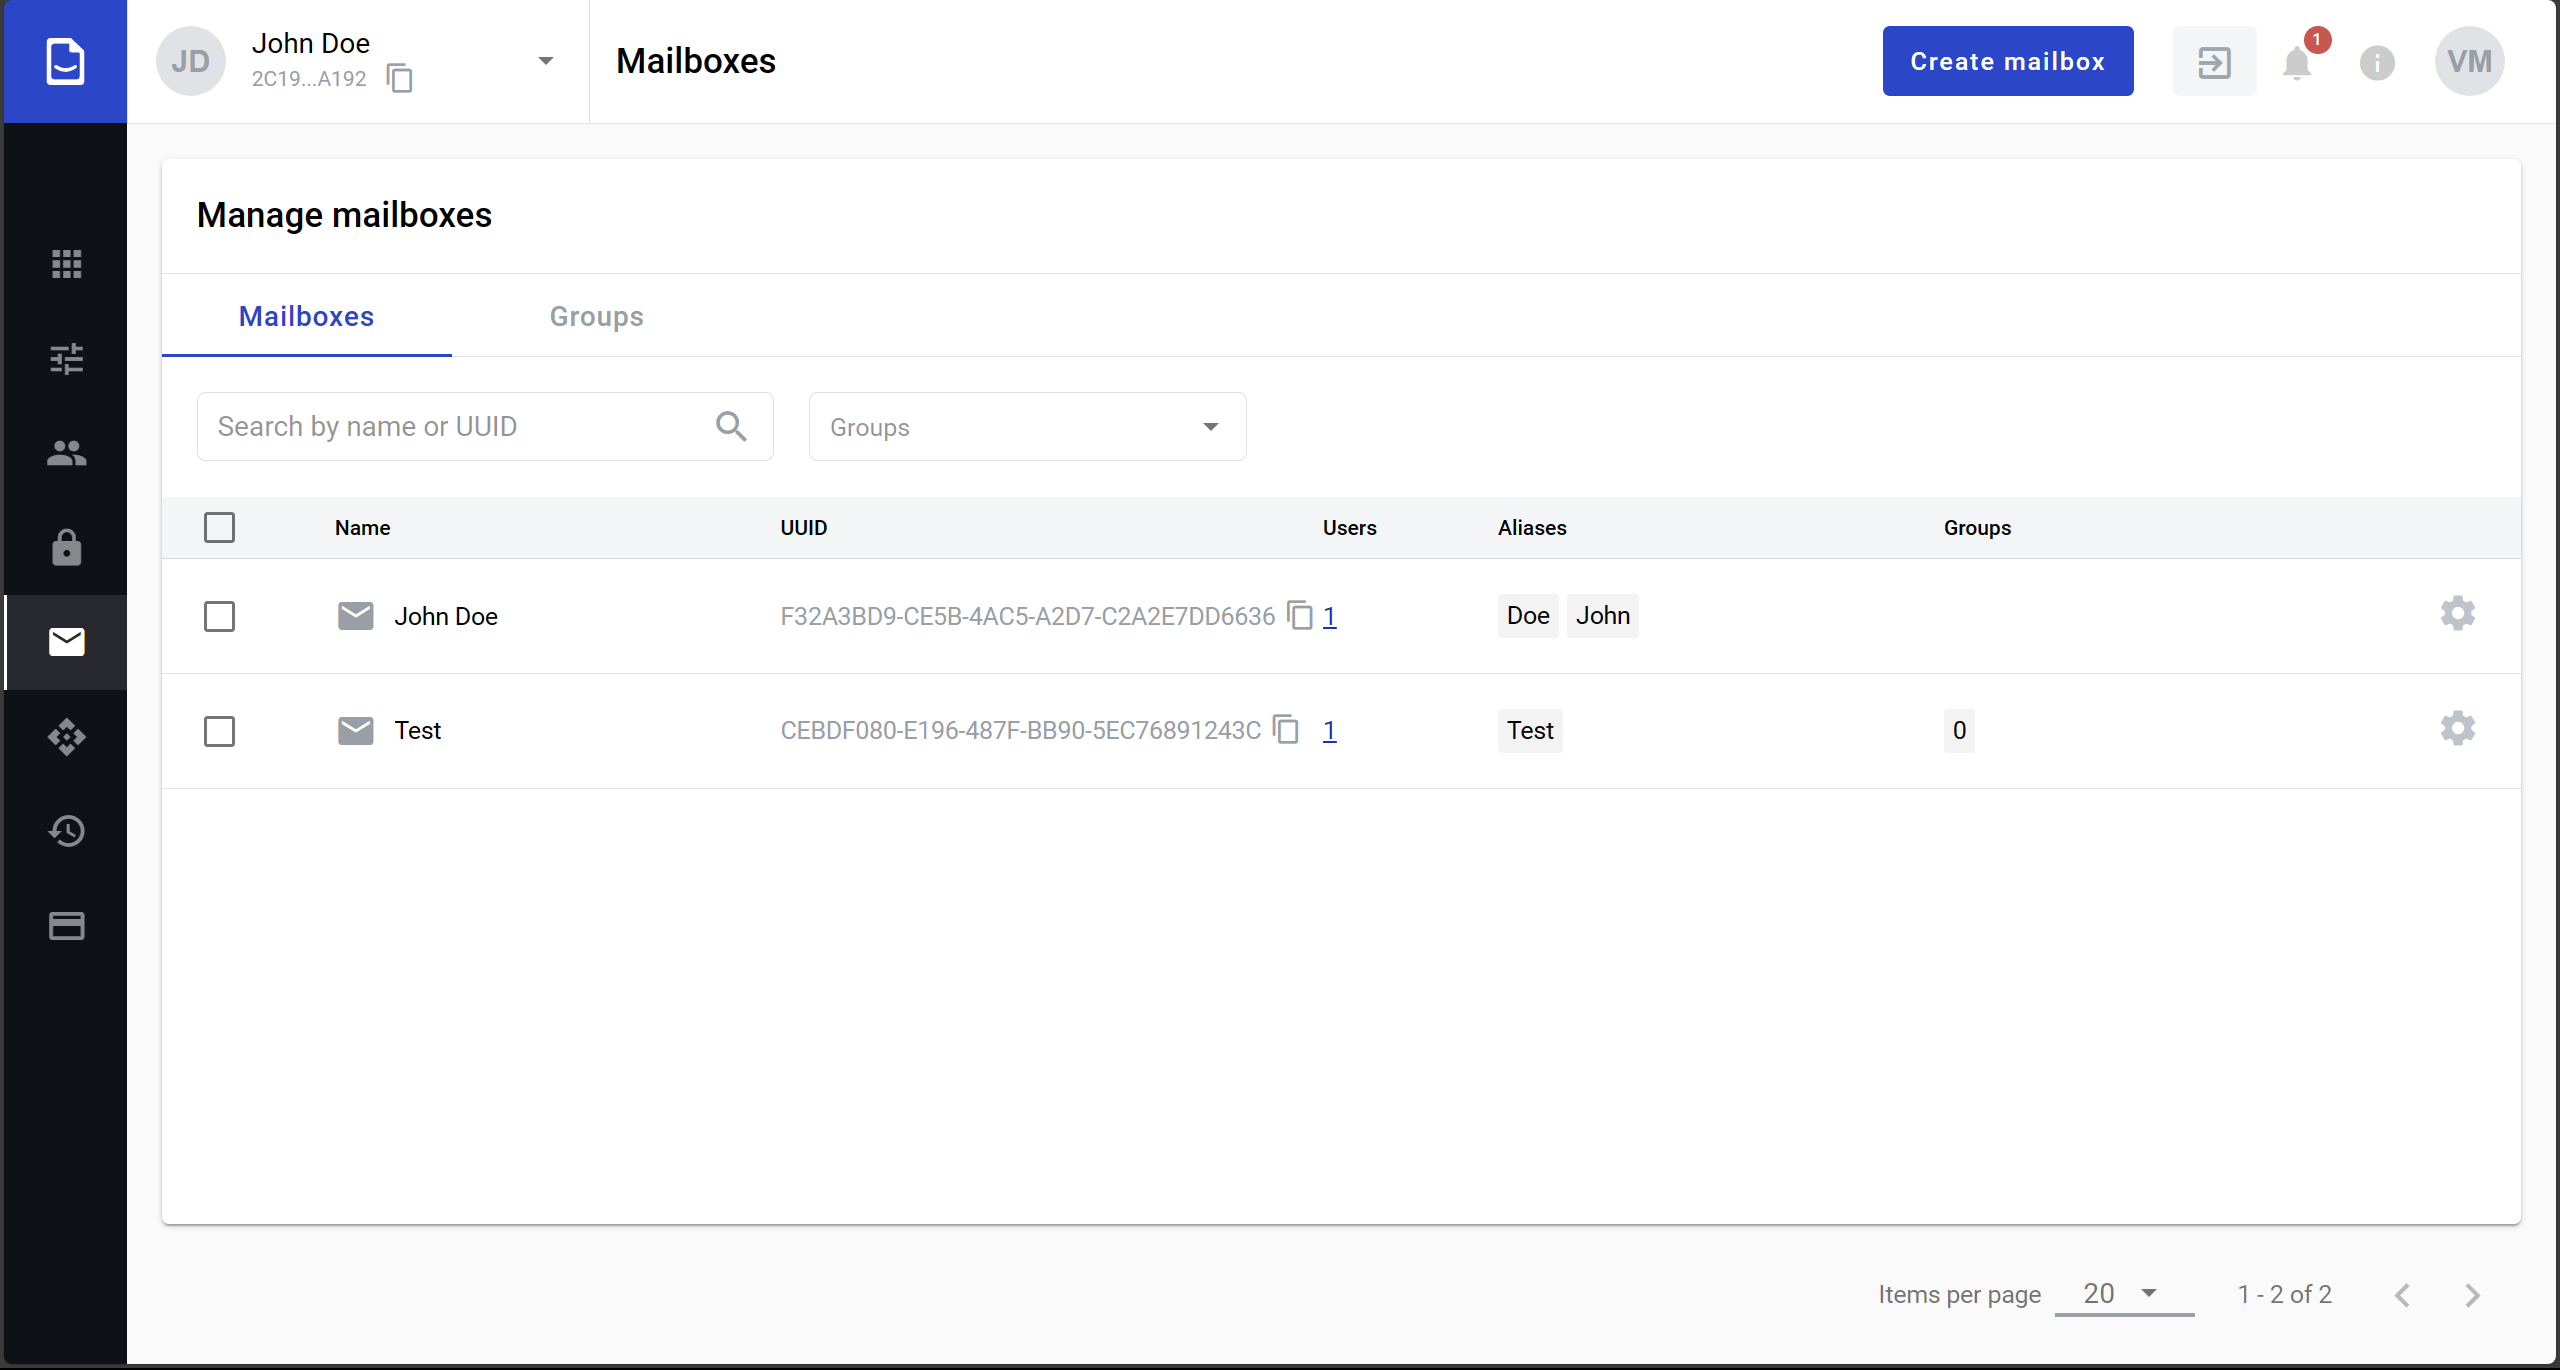
Mailboxes tab
How to create a mailbox
Click the “Create mailbox” button
Enter new mailbox name in the opened window

Click the “Create” button (it will become enabled after name is entered)
How to generate a report by mailbox
Select all necessary records
Click the “Generate report” button in table header
After click you will see the message that report will be send to you email after generation
Open email you got
Click the “Download” button
Note
You also can edit groups assigned to mailboxes in bulk. To do so click the “Add mailboxes to group” button in table header.
How to check users assigned to mailbox
To see the list of users which have access to the mailbox click the link with number in the “Users” column. After this action you will be redirected to the Users page with filter predefined by mailbox.
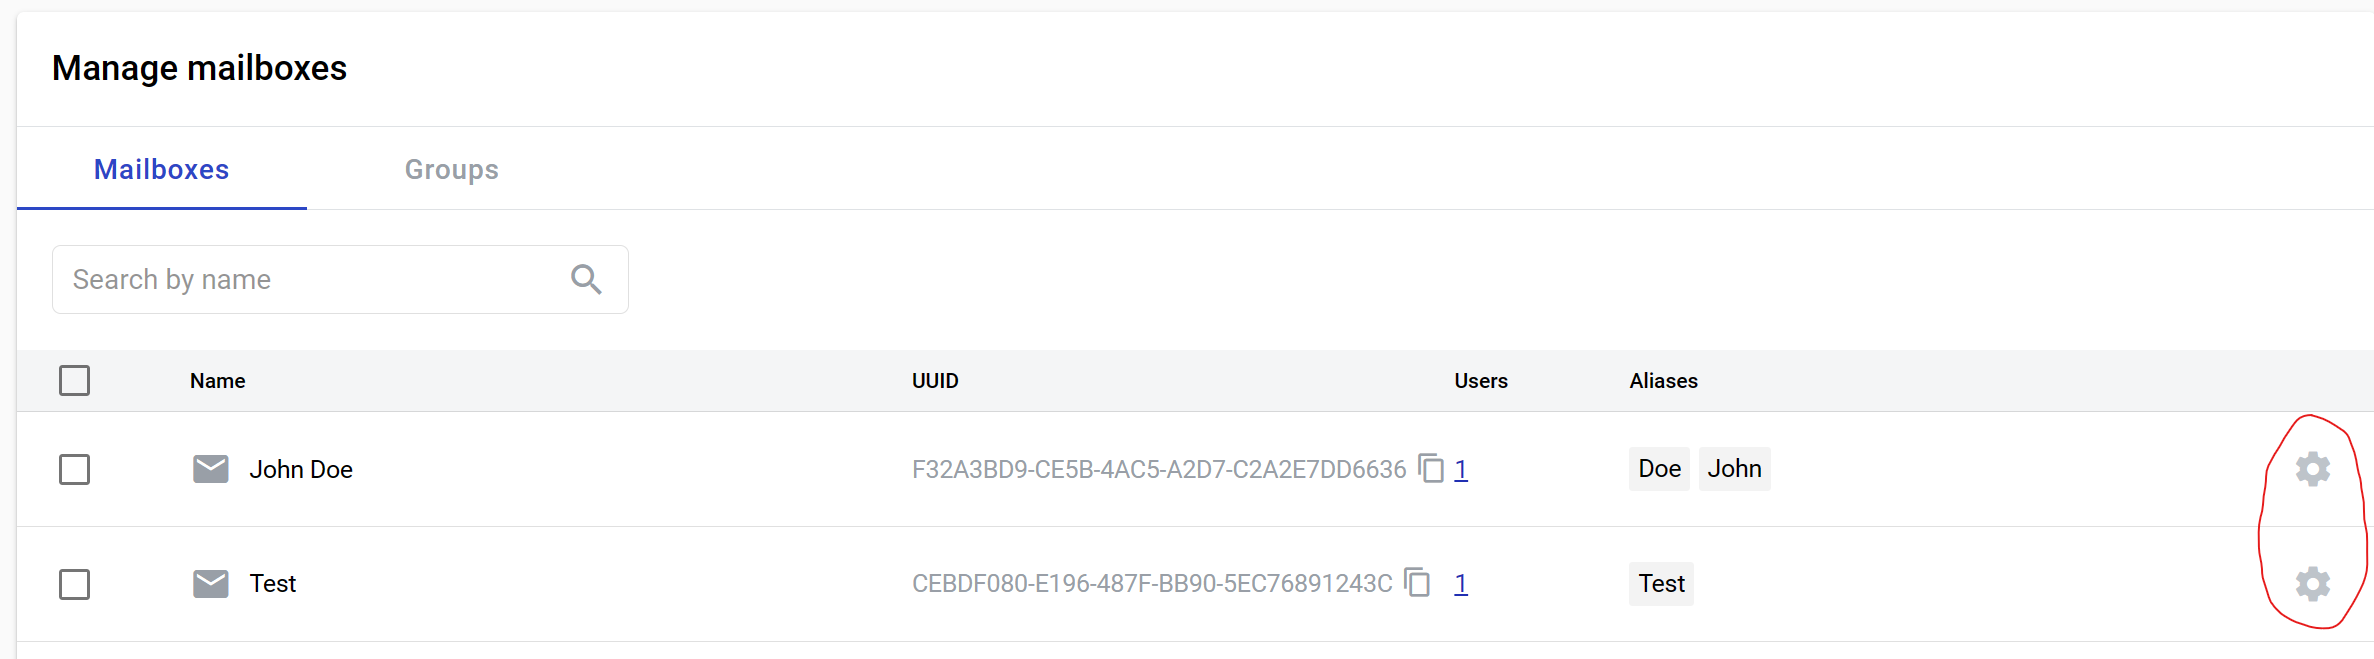
How to edit a mailbox
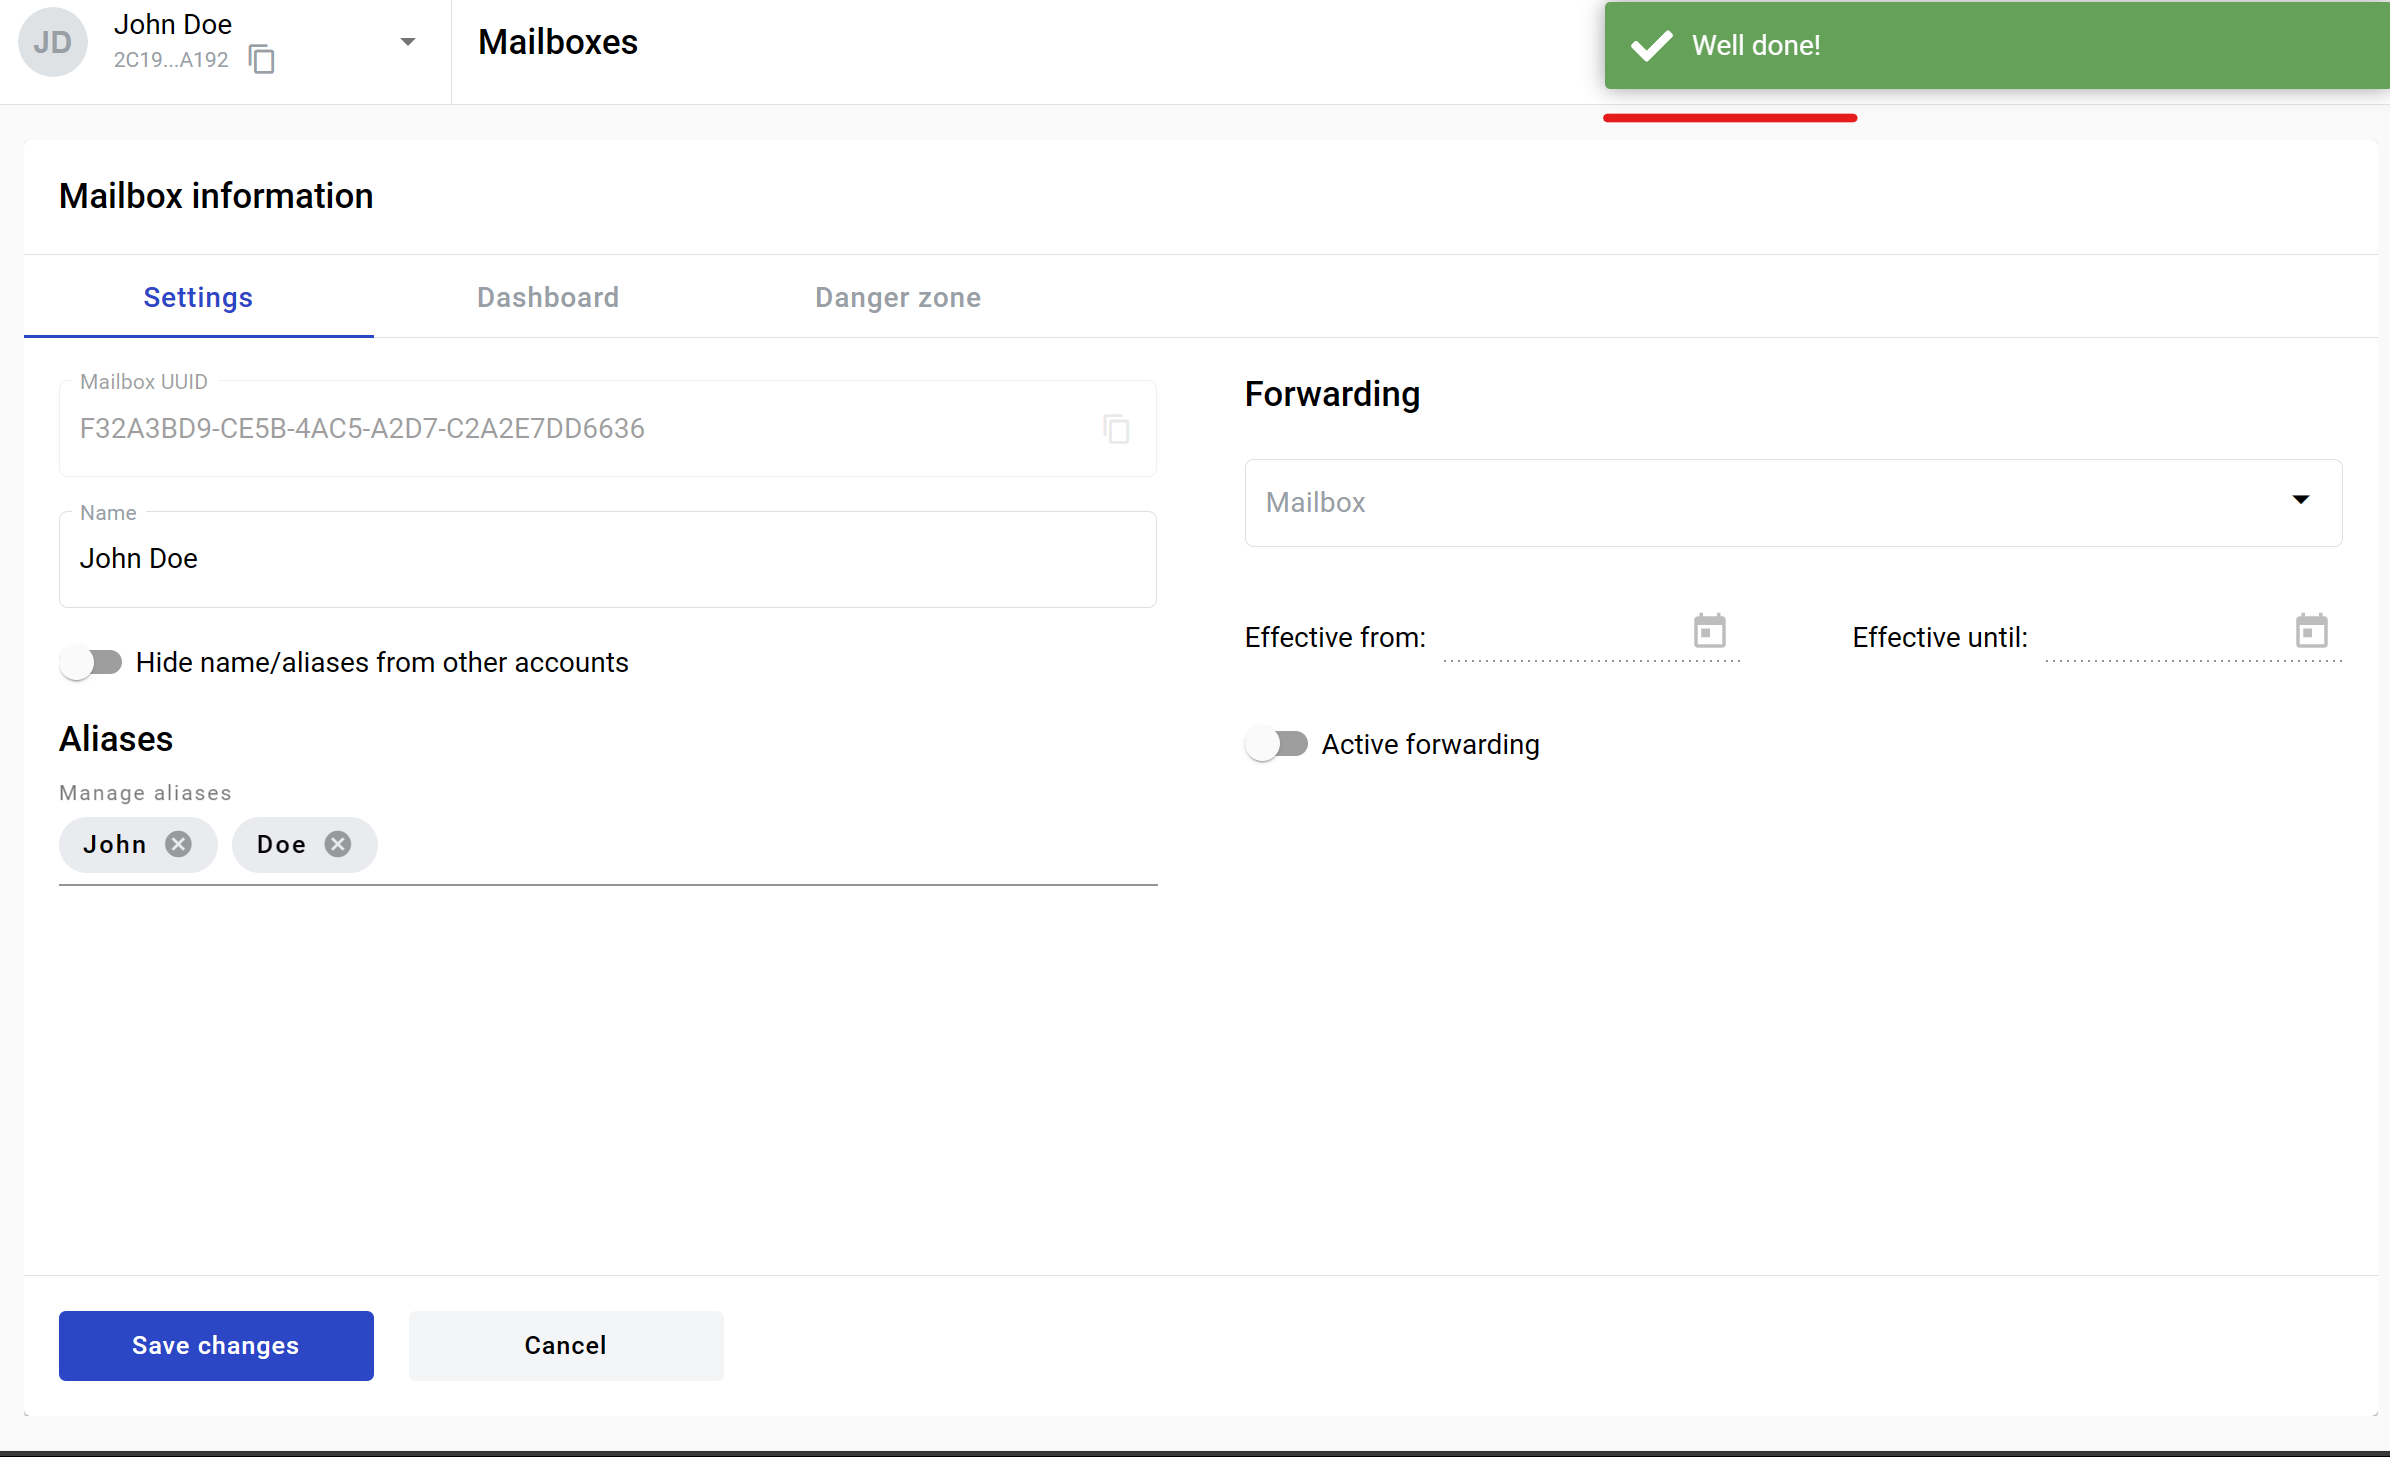
Edition interface allows update name of the mailbox, add and remove aliases to the mailbox, copy the mailboxs UUID, unassign all users with access to the mailbox and delete mailbox. To open mailbox edit form click the settings icon.
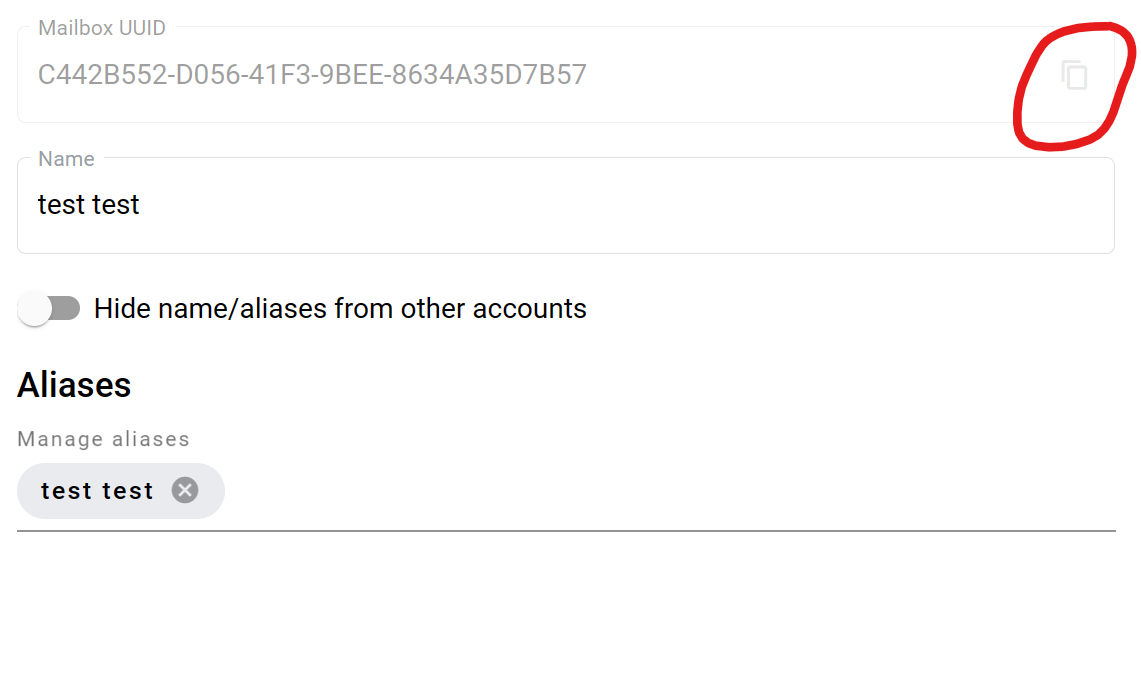
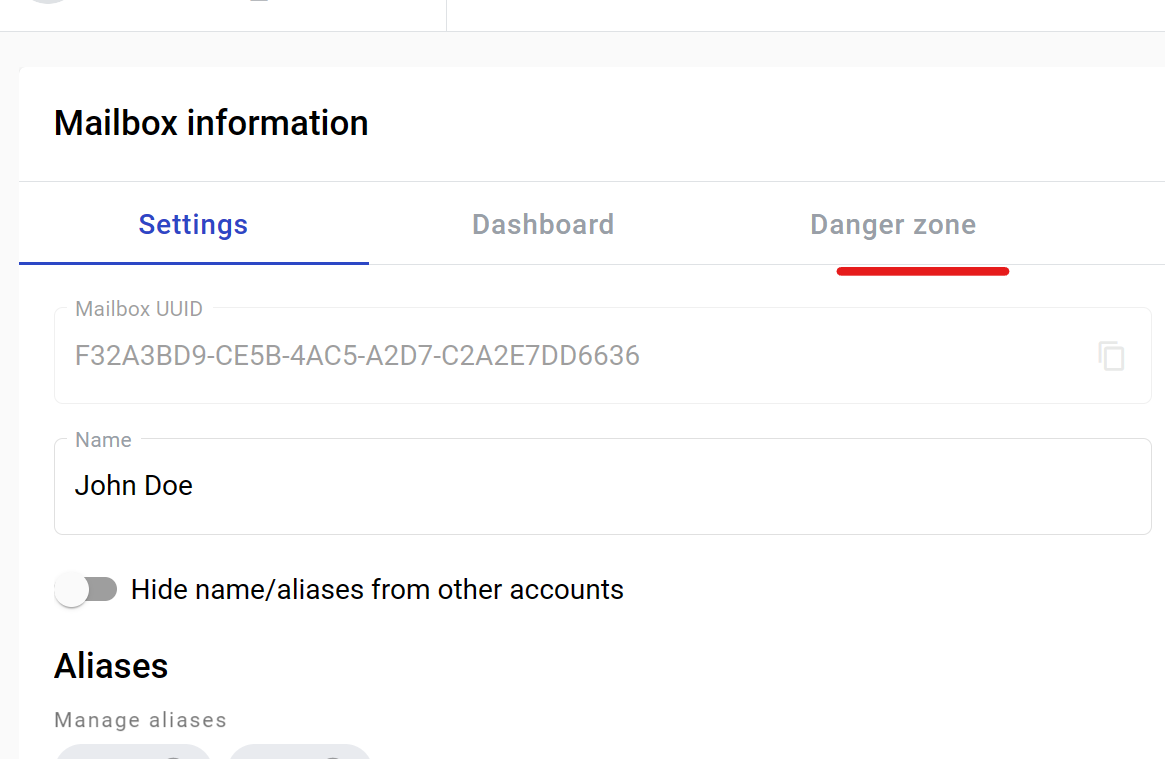
Mailbox settings section
How to copy mailbox UUID
To copy the mailbox UUID click the copy icon. After successful copying the notification message will be shown at the right corener of the page.
How to edit mailbox name
Name field has length validation: 1 - 255 symbols
To edit name just focus the name change it and click the “Save changes” button
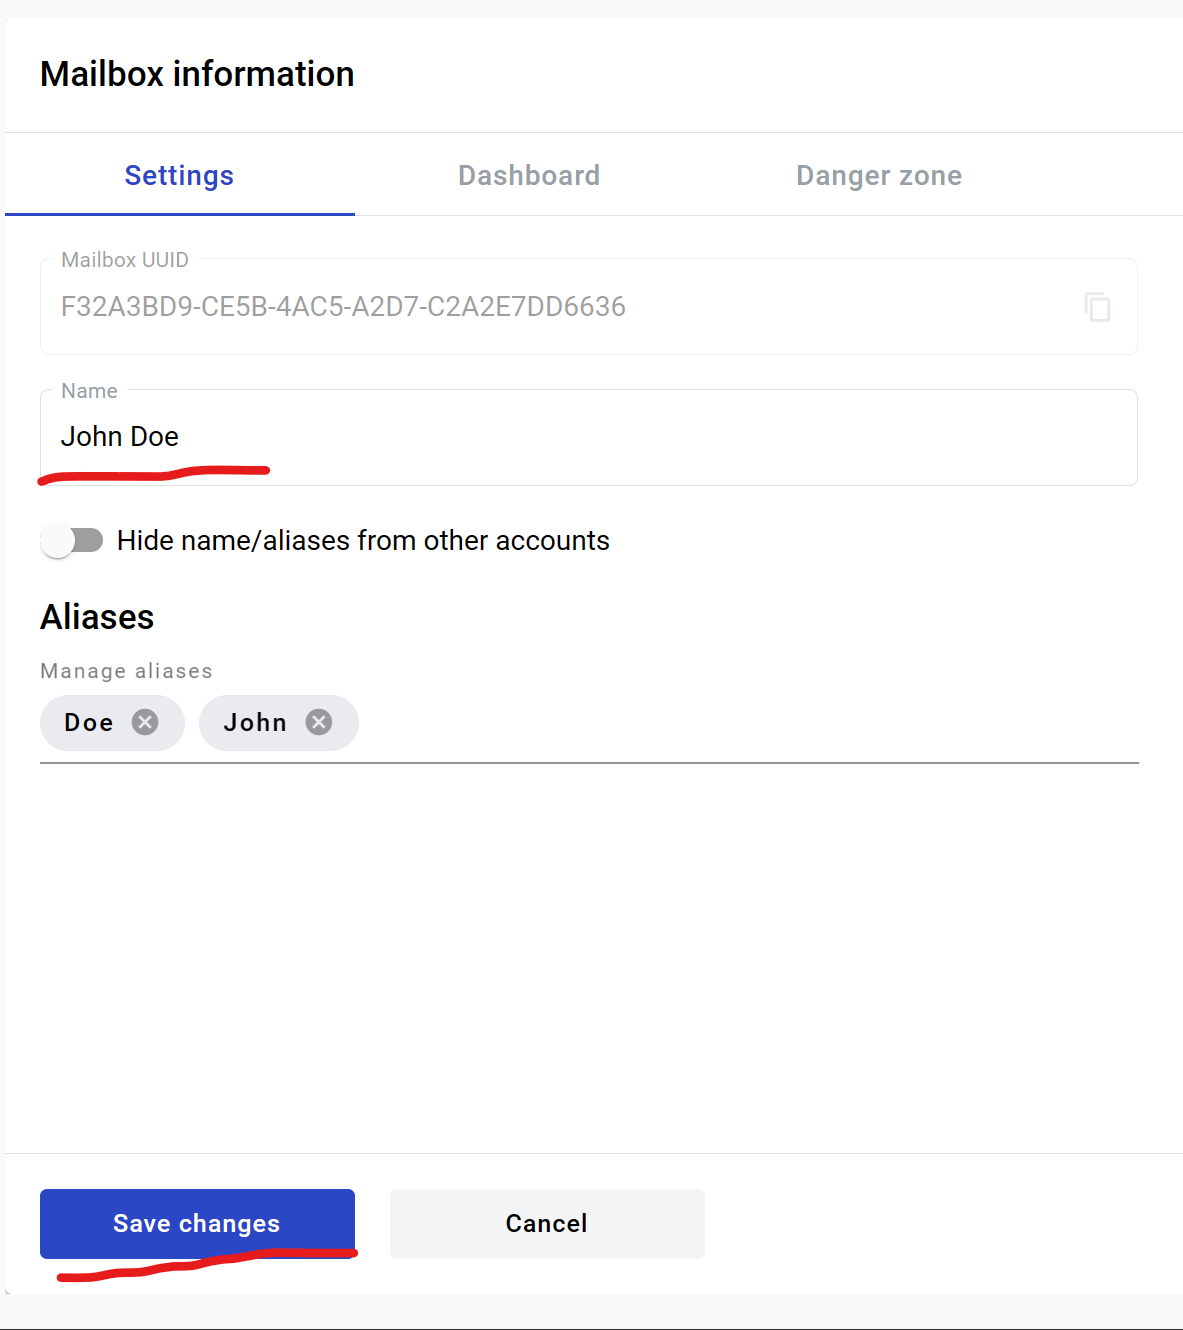
After successful edition of the mailbox the notification message will show at the right corner of the page
How to edit mailbox name visibility
You can enable the visibility of your mailbox for system members. To do so, activate the “Allow everyone to find my mailbox by searching for my name and/or aliases” toggle and then click the “Save changes” button. When the toggle is active, the mailbox can be found by all users on the platform by it`s name or aliases.
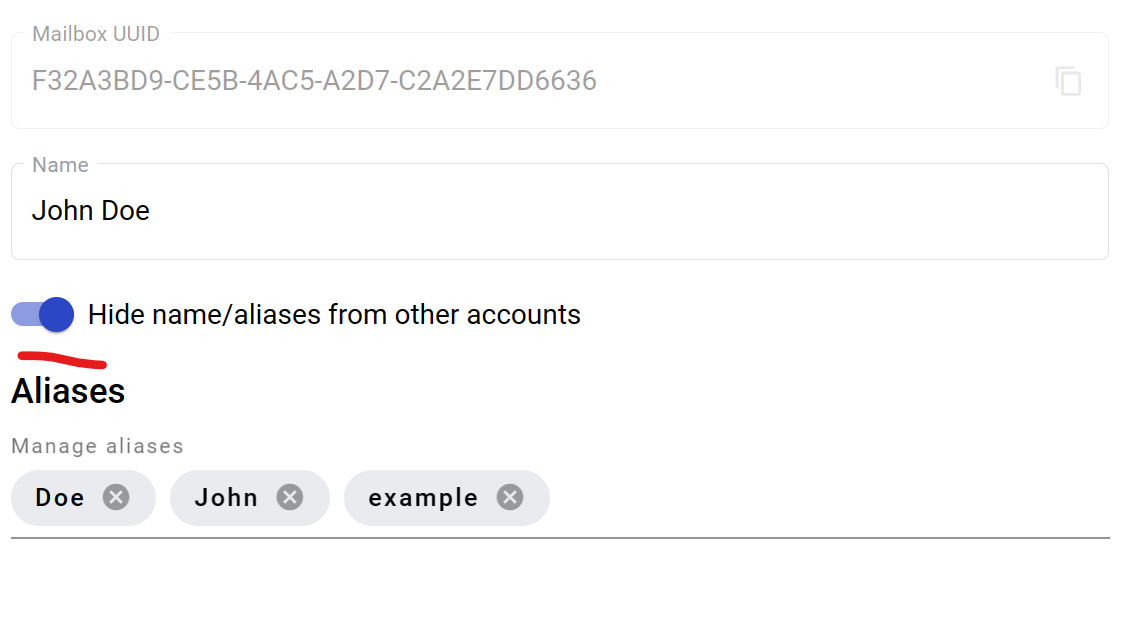
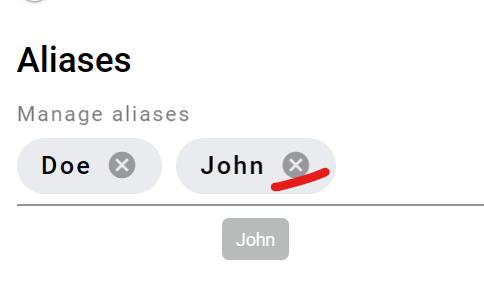
How to manage mailbox aliases
Two identical aliases can not be added to one mailbox.
Note
Two different mailboxes in the system can have same alias. If you need to ensure that you’re alias is unique systewide, you can use qualified alias. Qualified aliases use a prefix with semicolon in the end e.g. TIN:youralias. If such prefix is used, same alias with same prefix can not be created in the system after initial one is created. For such aliases only letters, numbers and dash are allowed. Please note that not any prefix can be used - please contact your administrator for information on what unique prefix groups are used on your instance of application.
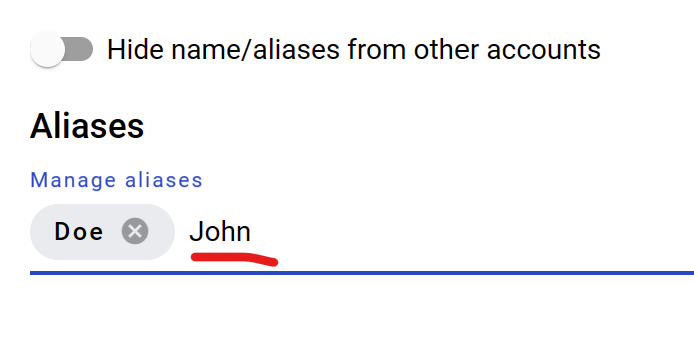
To add alias(es) to the mailbox:
Click the aliases area of the page

Enter the alias and press “Enter”, “.” or “,” button on keyboard to add alias to the list, after that click the “Save changes” button
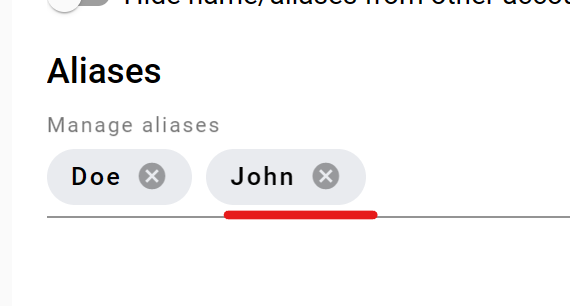
To remove alias from the mailbox, click the remove icon of the alias and click the “Save changes” button
After successful edition of the mailbox the notification message will show at the right corner of the page
How to configure envelope forwarding
In this section you can configure automatic forwarding of all incoming envelopes.
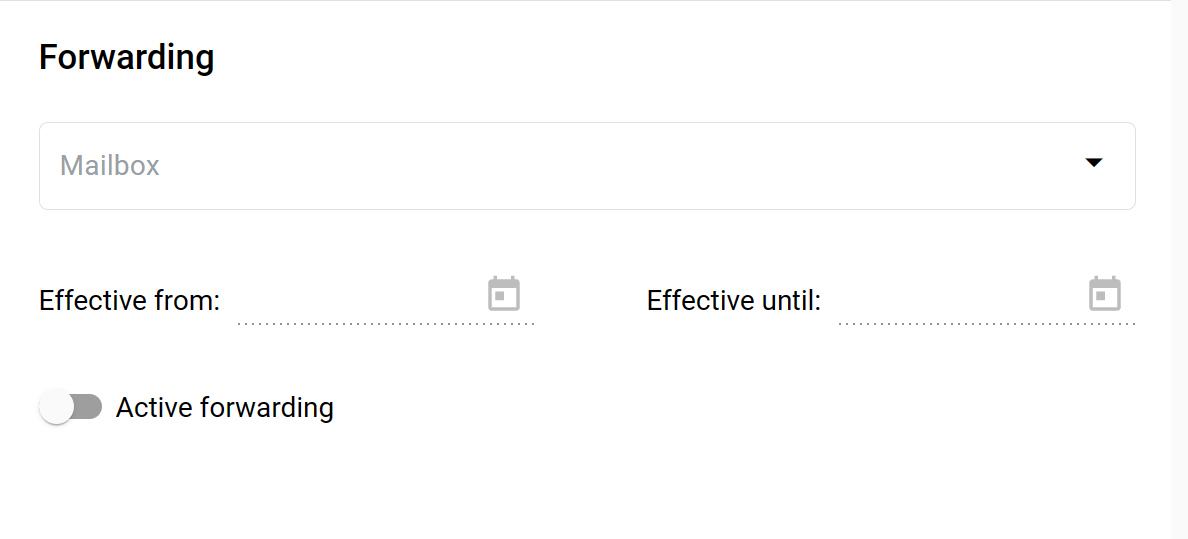
Select a target mailbox which will be a delegate of yours
Select effective from date - it will specify a start date of the forwarding period (can be left empty to start period immediately)
Select effective until date - it will specify an end date of the forwarding period (can be left empty to make period indefinite)
Enable “Active forwarding” toggle
Click the “Save changes” button
Forwarding is configured now. If you wish to disable it at some point later, you can disable “Active forwarding” toggle and click the “Save changes” button.
Dashboard section
To create custom dashboard instead of default one switch to tab “Dashboard” which contains:
Editor area where you able to enter your HTML code which will replace default dashboard
Checkbox to activate custom dashboard
Button “Save” changes
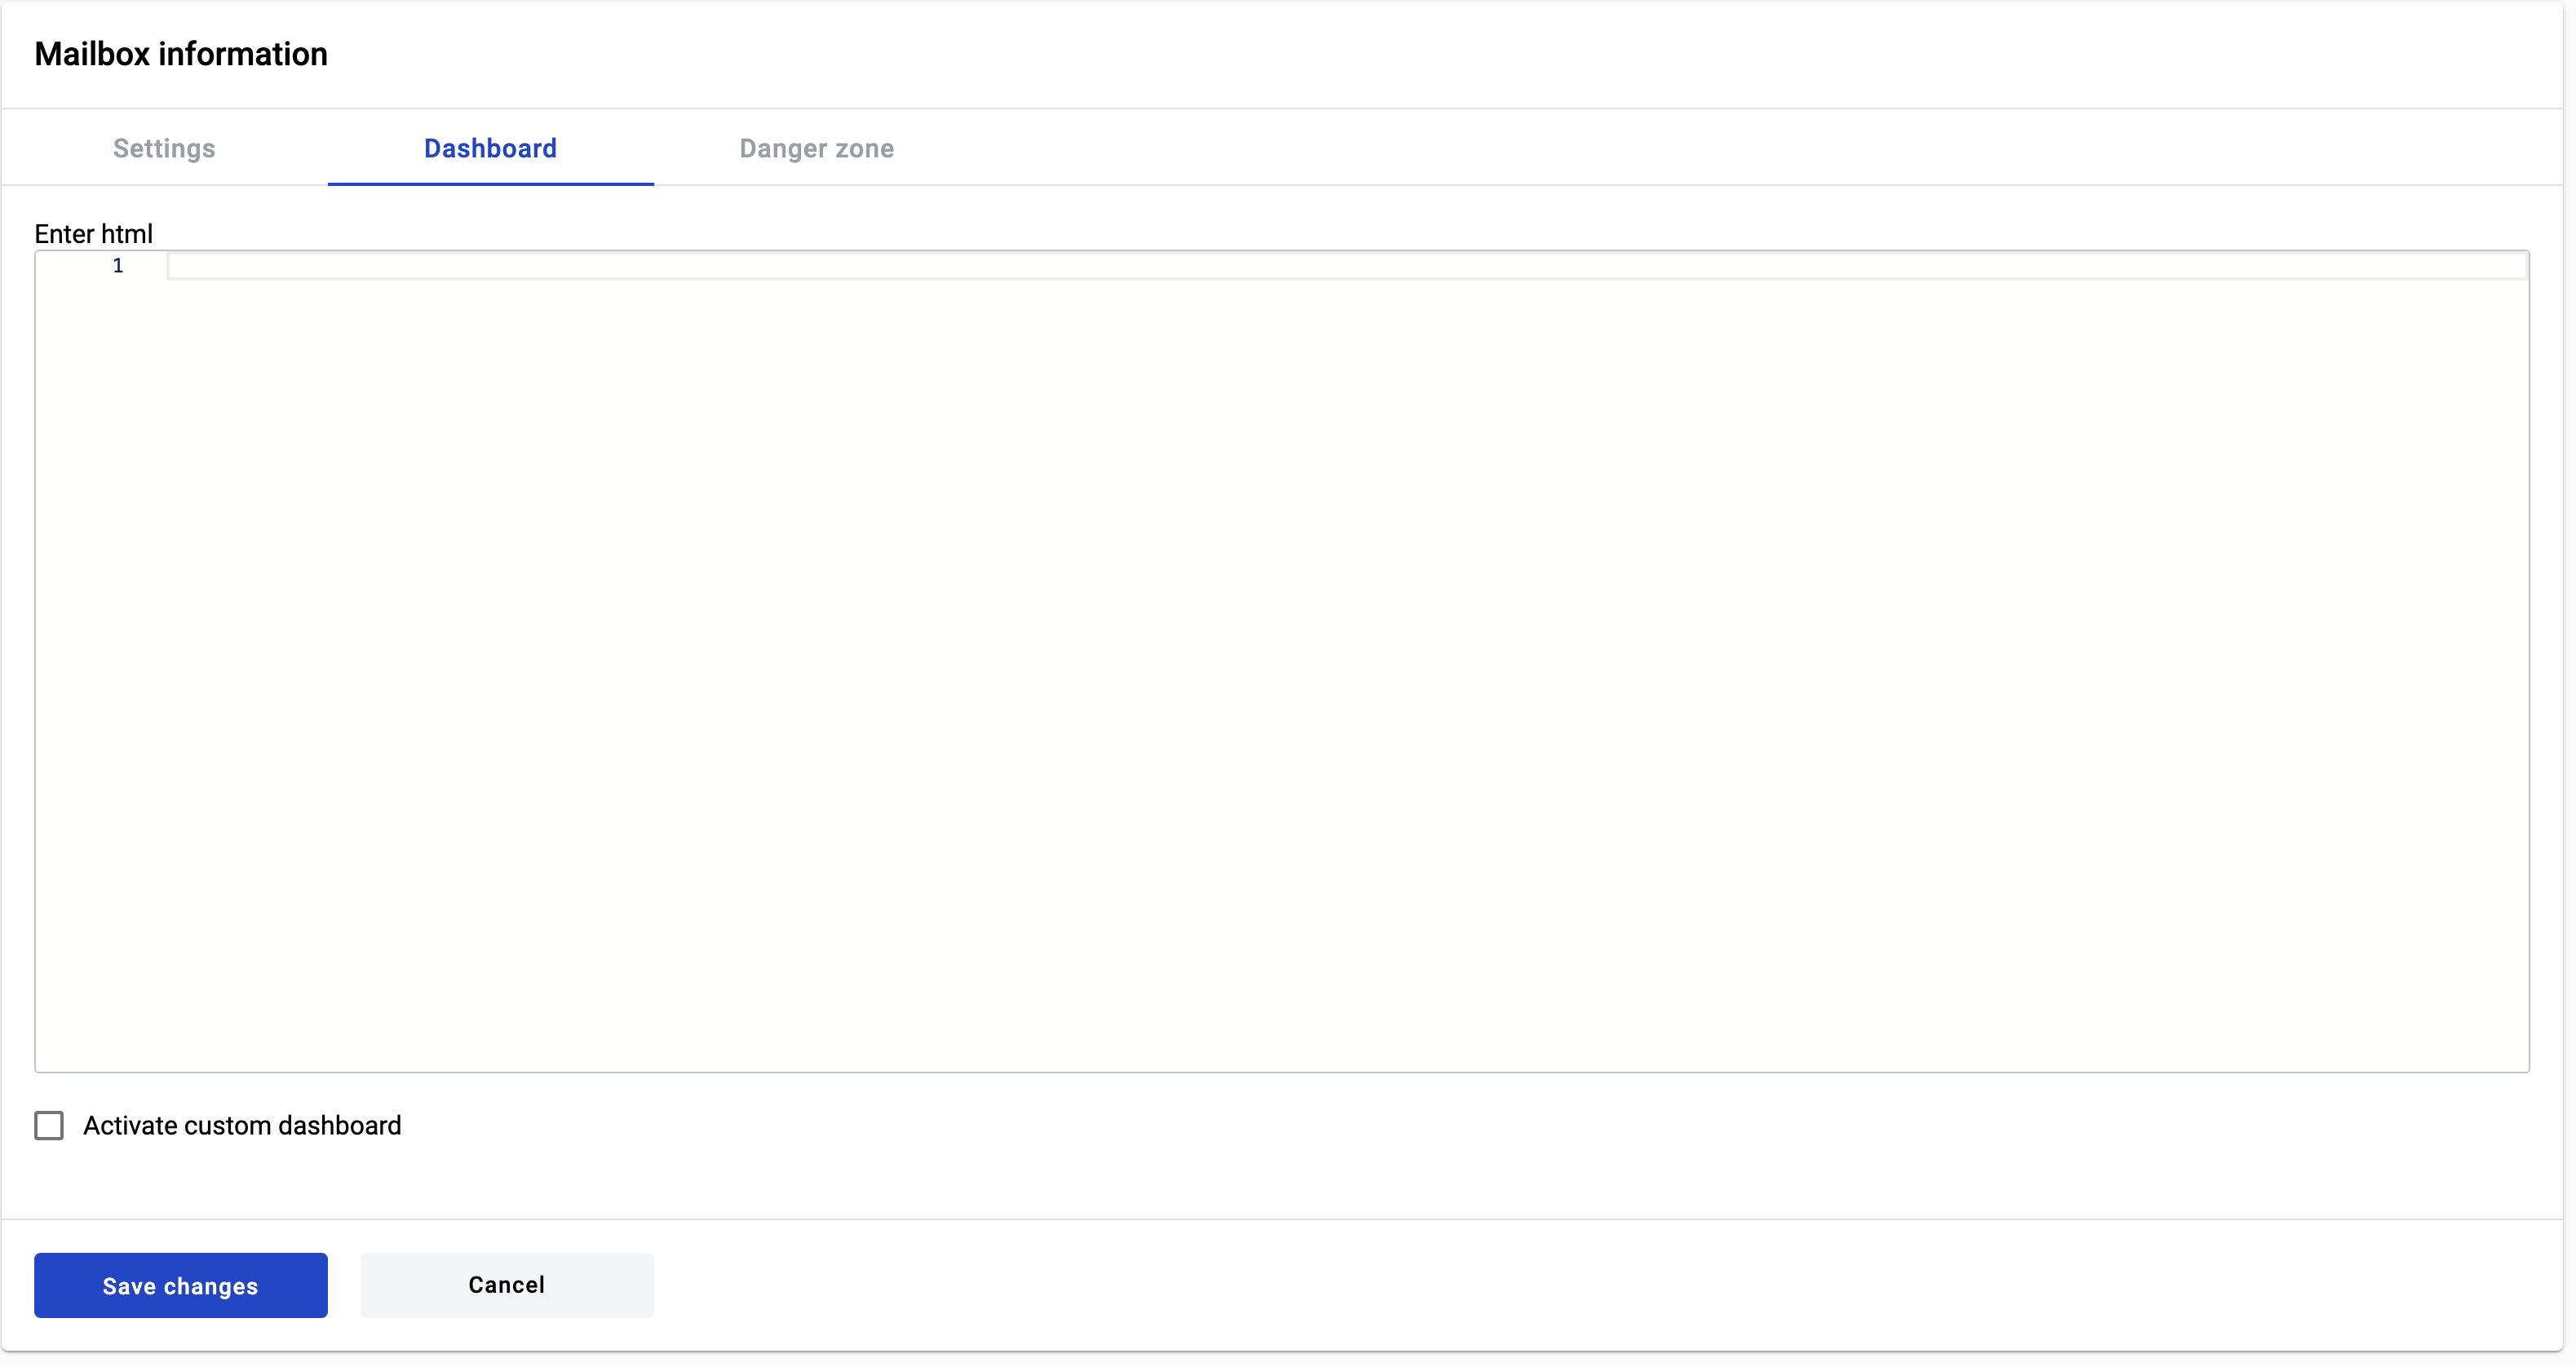
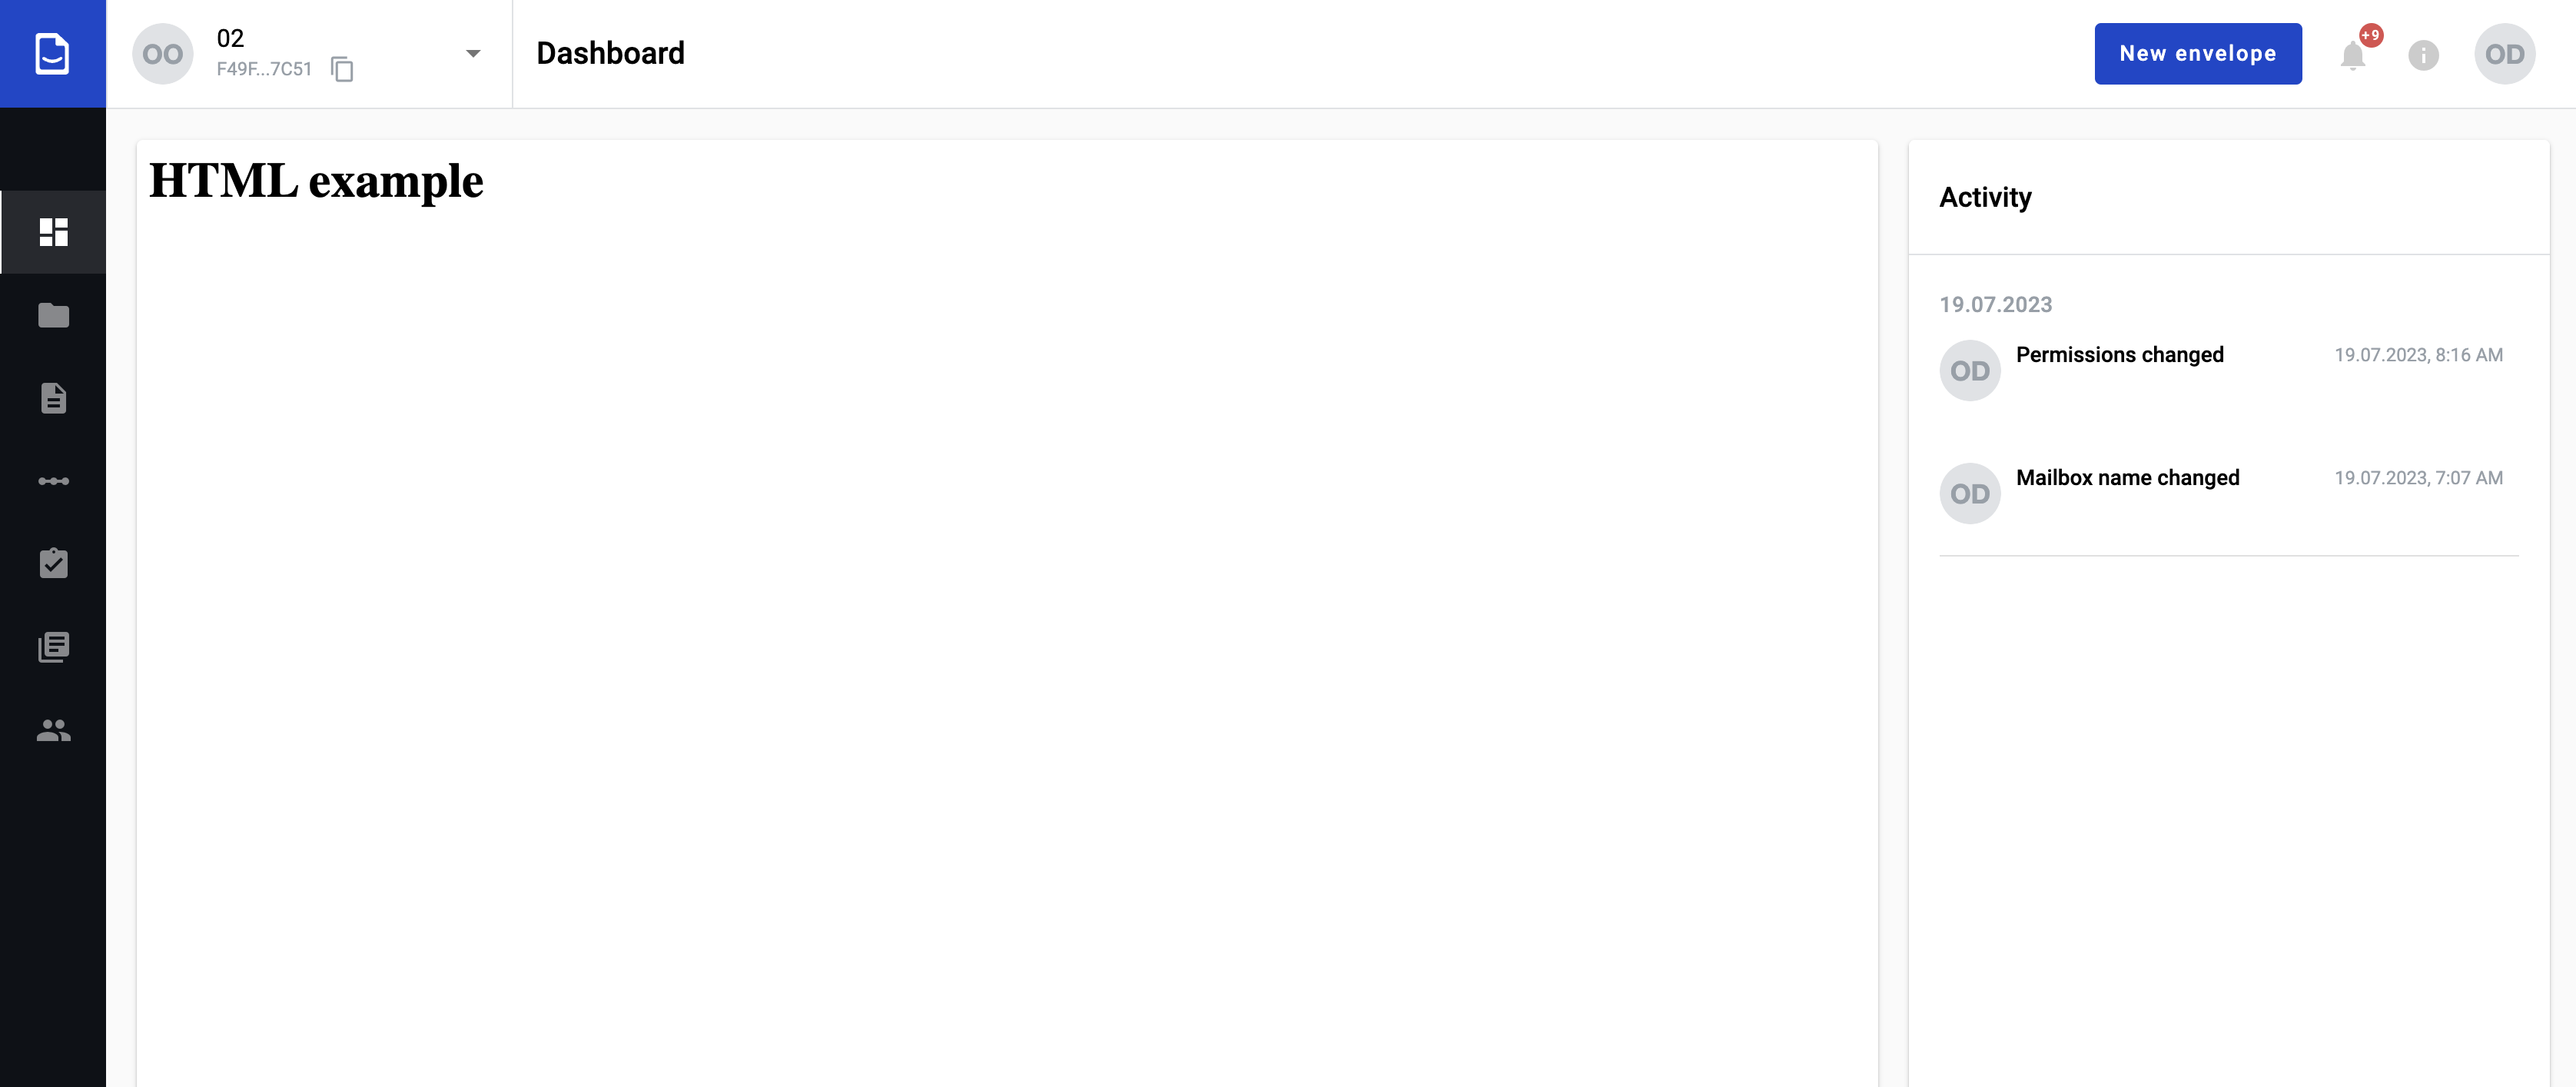
If you want to customize dashboard it’s necessary to put content to html area, set checkbox in active state and save changes. Than dashboard will be changed to custom HTML for this specific mailbox and all users who has access to mailbox will see custom dashboard.
Note
Custom HTML can not be more than 16 mb size.
Danger zone section
To remove all users from mailbox or delete mailbox switch to “Danger zone” tab
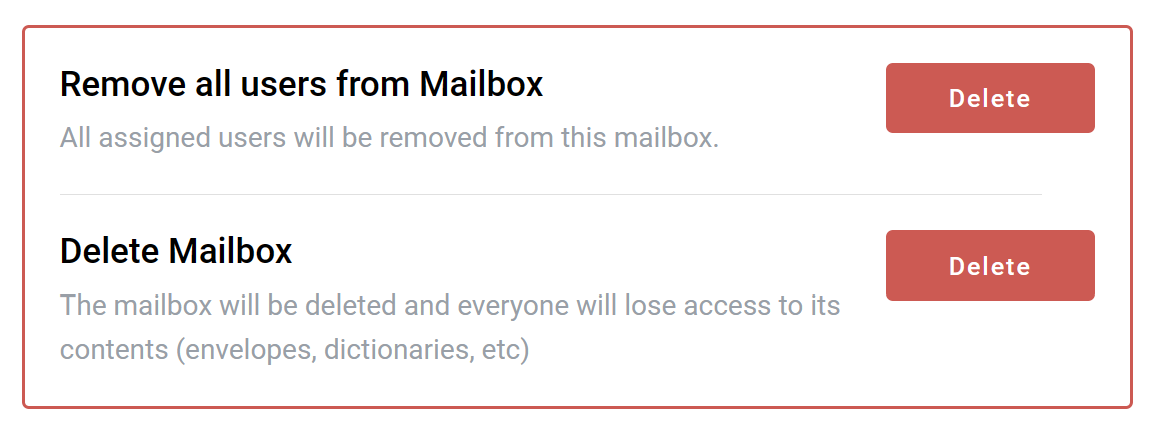
How to remove users from mailbox
To remove all users from mailbox (remove all permissions to the particular mailbox from the all users who has it except the user who do the action) click the “Deactivate” button
Confirm the decision and users will be unassigned
How to delete mailbox
Click the “Delete” button to open the deletion modal window

Enter the mailbox in upper case to the field in the modal window which opens after click the “Delete” button
If you wish to transfer the ownership of templates, scenarios and dictionaries of this mailbox to other mailbox from the account – check the according and select a mailbox to transfer ownership to (selector will appear after the checkbox is checked, the checkbox will be disabled if there are no other mailboxes in the account)
Confirm the decision and mailbox will be deleted
Delete mailbox behavior
Deleted mailbox can not be restored
Mailbox will disappear from mailbox list at admin panel on mailbox page
If user tries to use deleted mailbox he will receive error 410 and will be redirected to first mailbox to which he has access. If user has no access to any of mailboxes he will be redirected to user profile page and all functionality will be blocked except profile and admin pages (if there is access to any account)
Groups tab
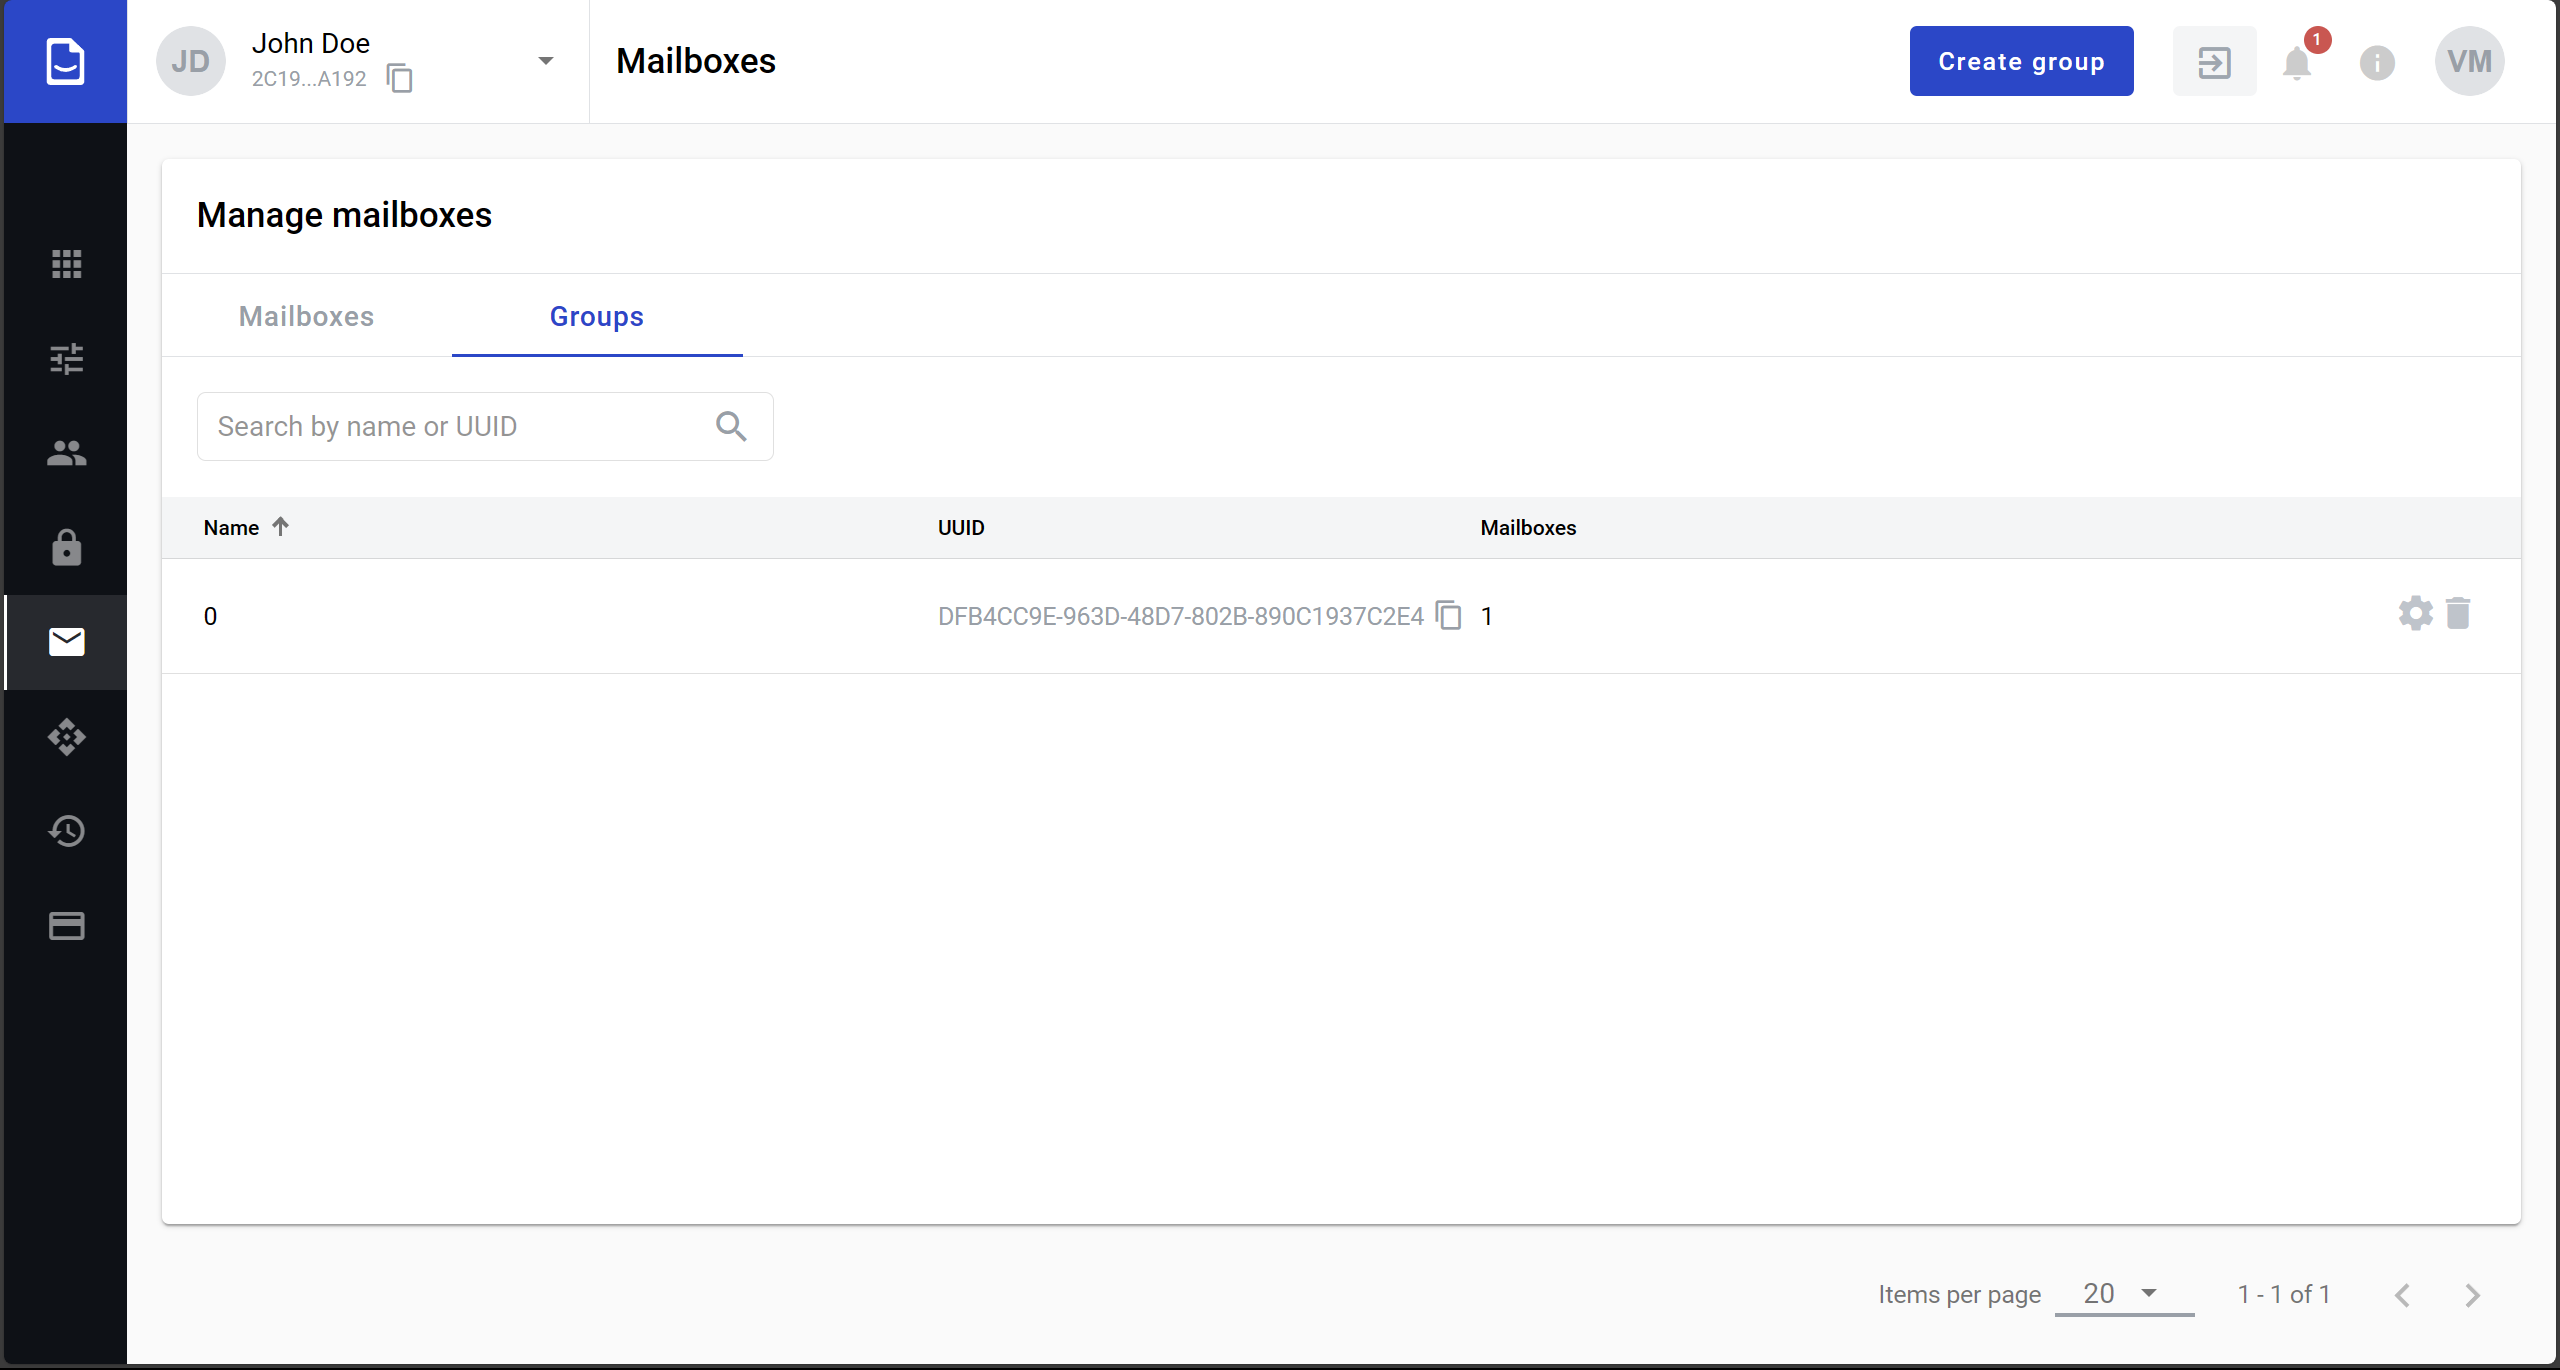
How to create a mailbox group
Click the “Create group” button. Group creation form will appear
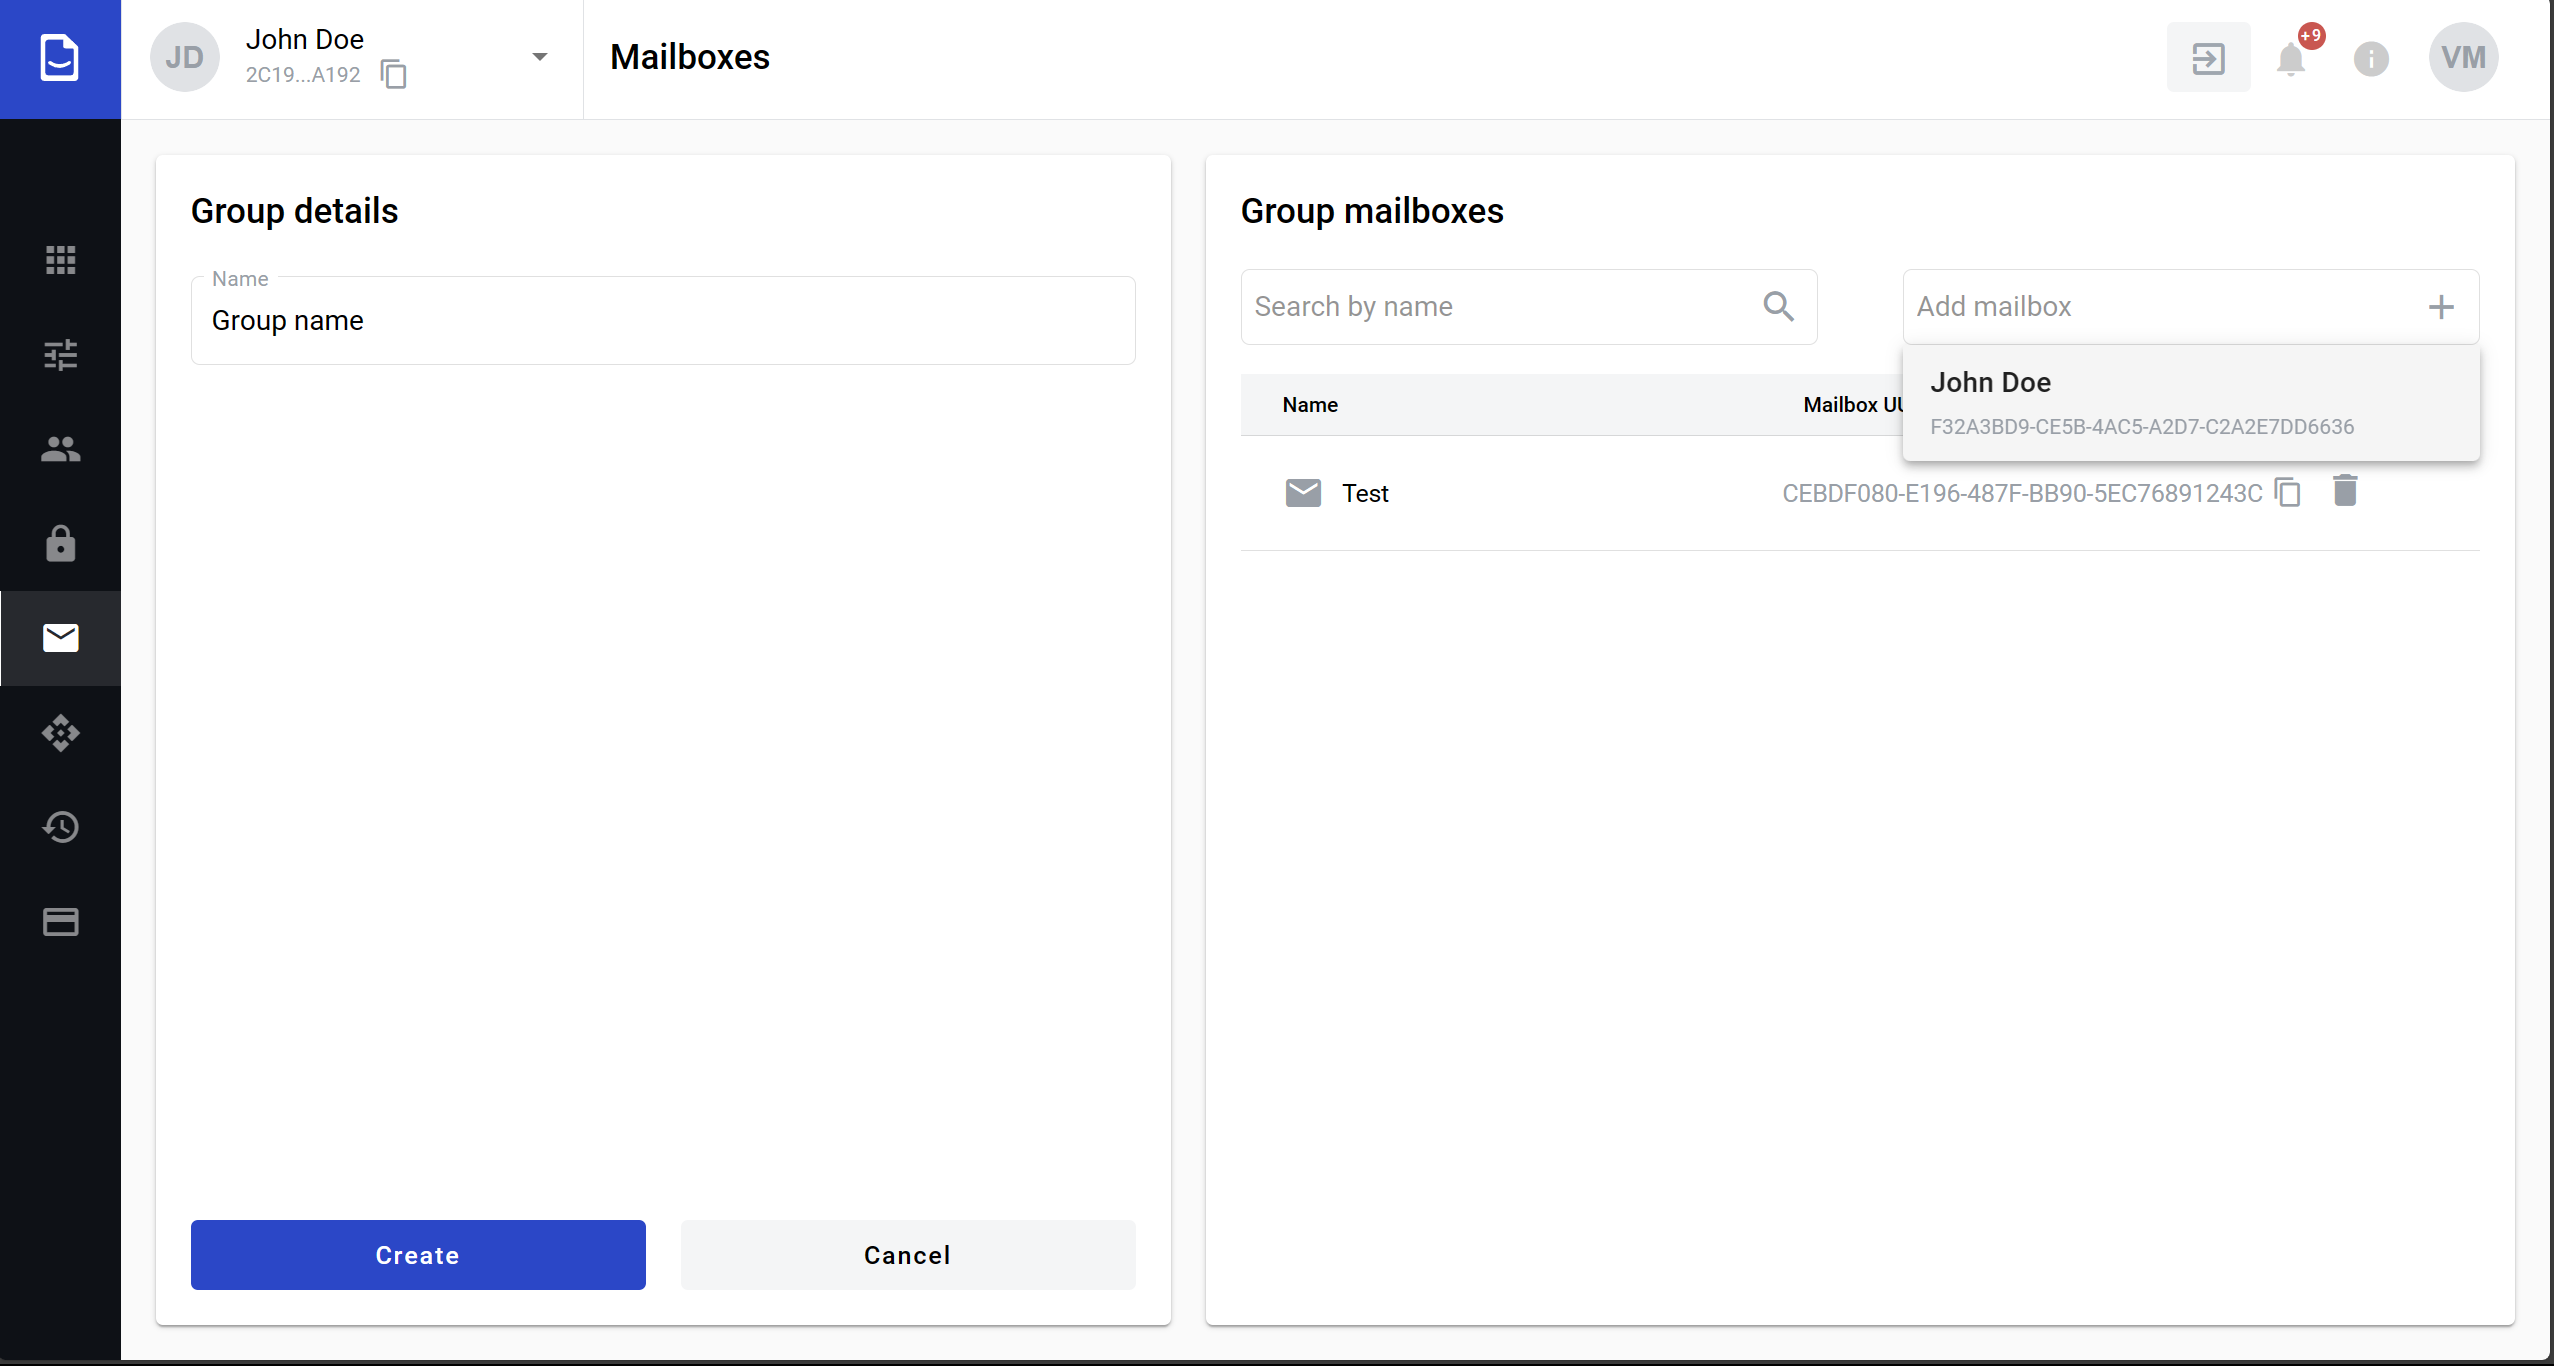
Fill group name (1 character min, 64 characters max)
Add mailboxes from Add mailbox search box
Added mailboxes can be searched and removed
Click the “Create” button when all details are filled
Group will be created and you will be returned to groups list.
How to edit a mailbox group
Click the “Settings” button (gear icon) in group row. Group properties form will appear
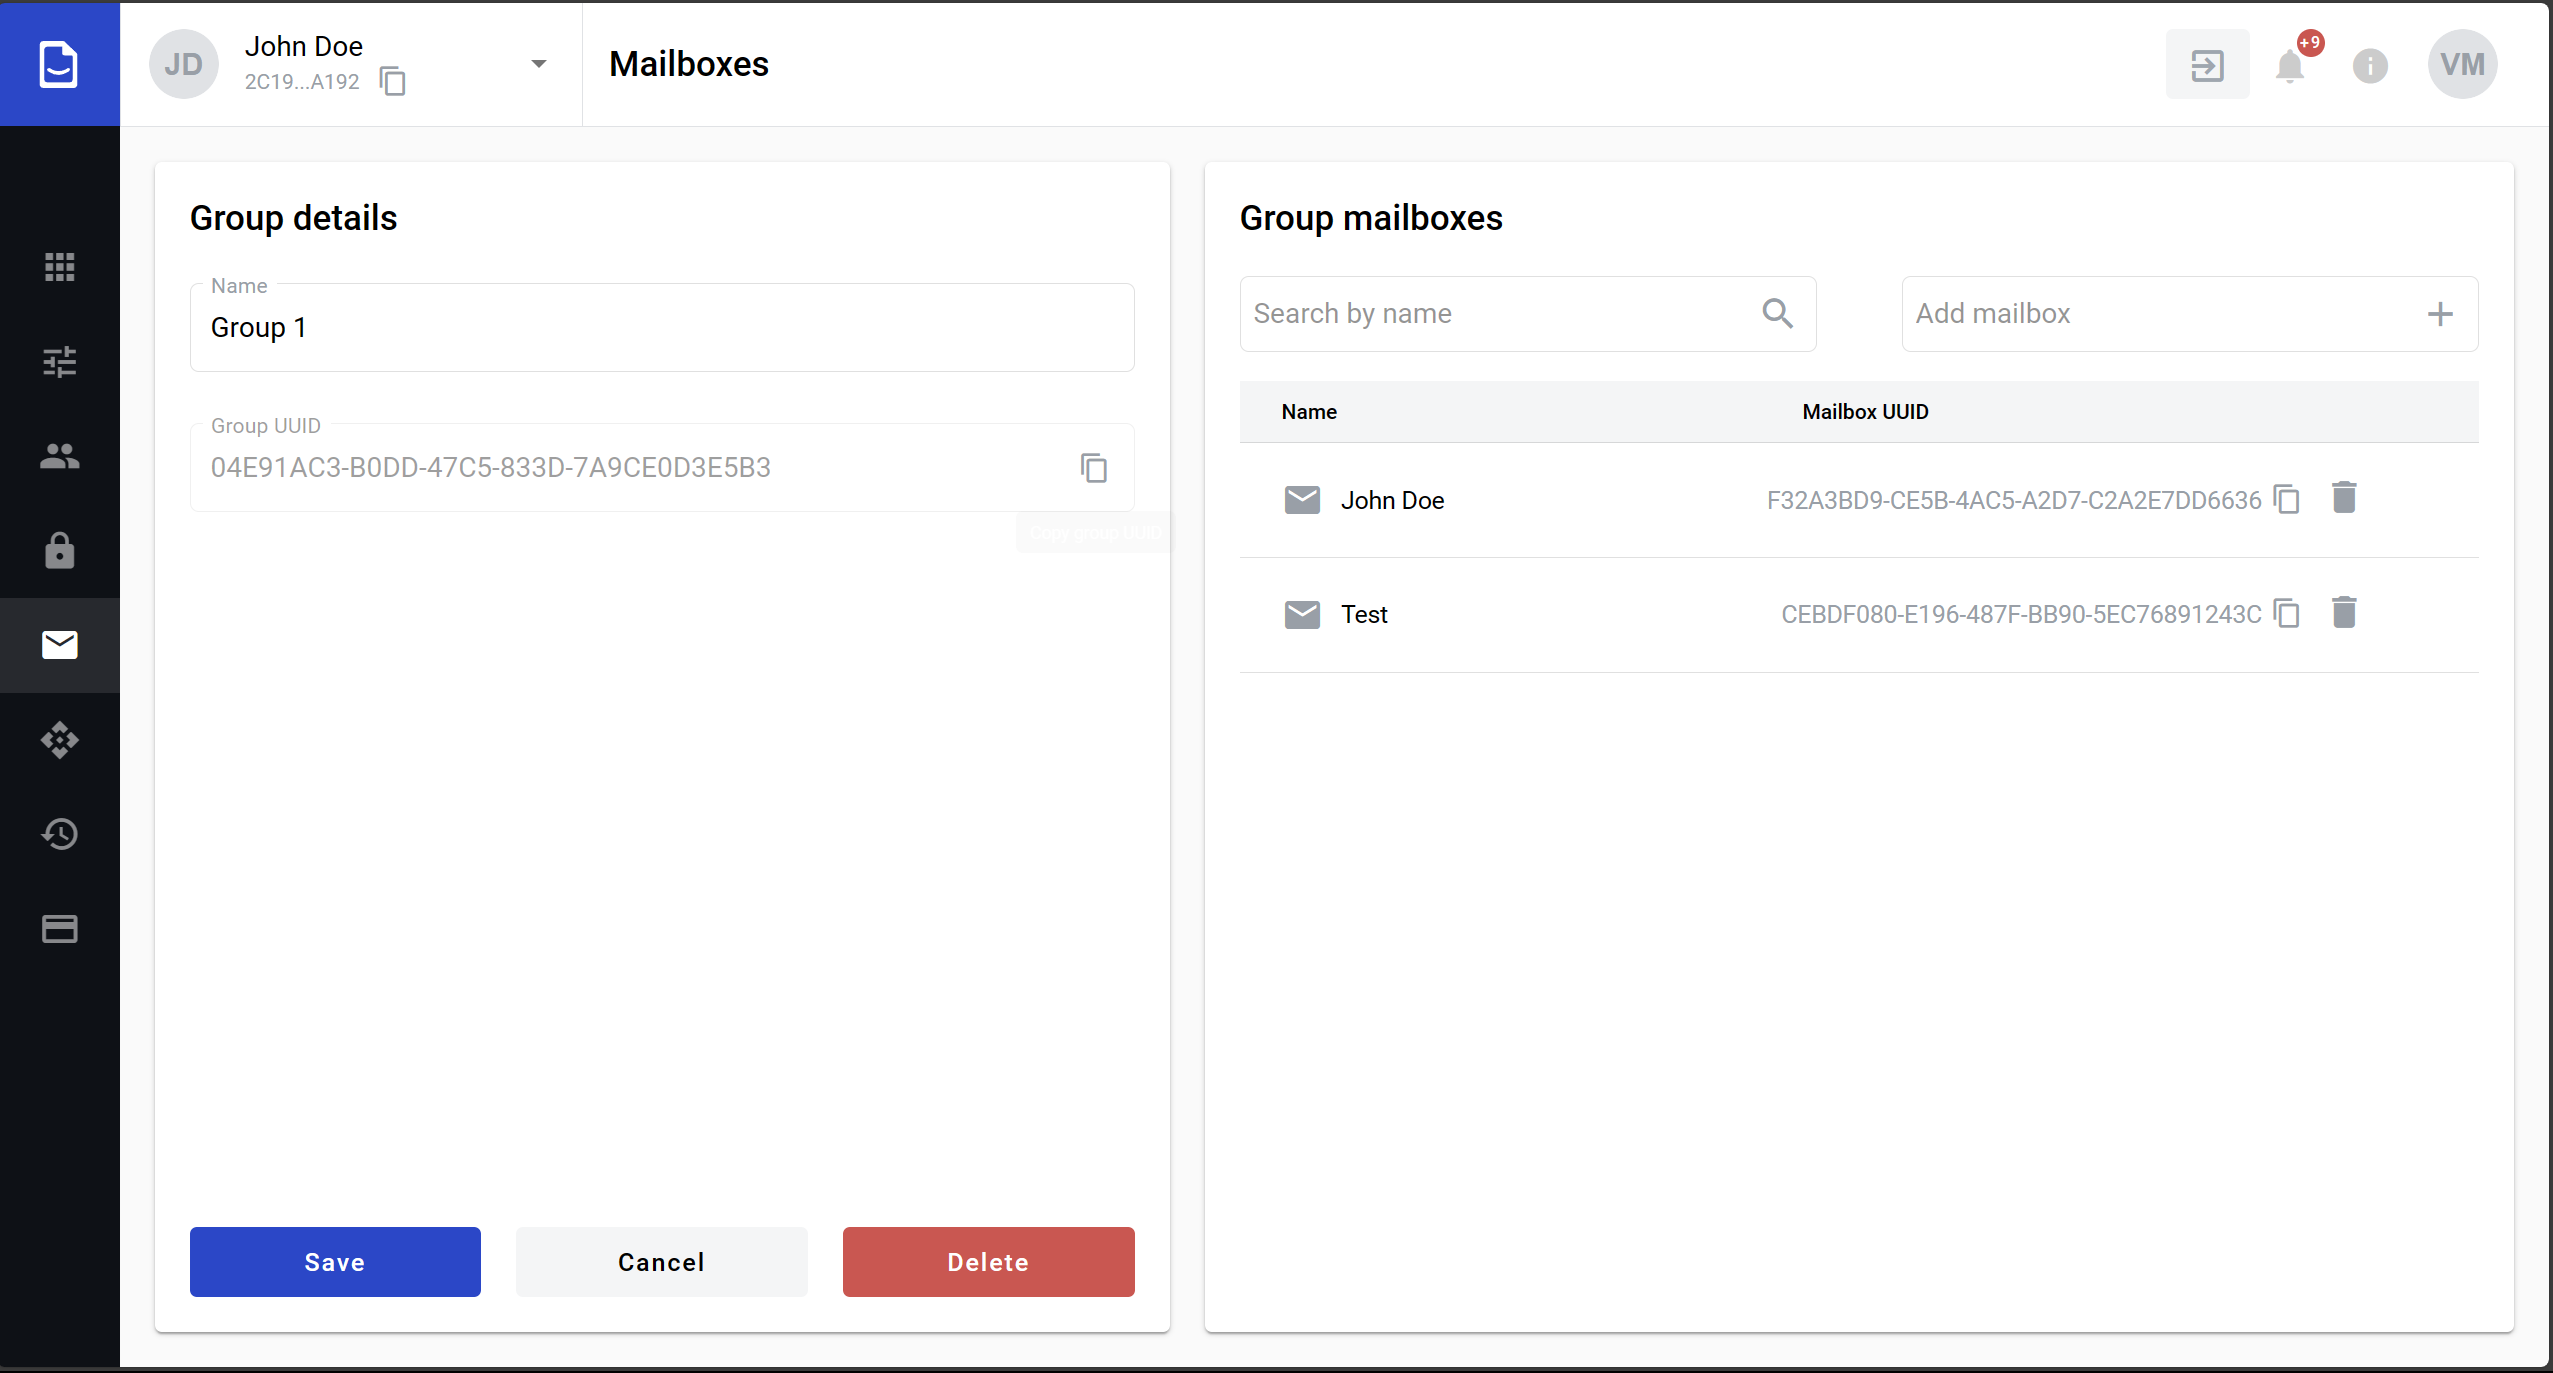
Update any group details which are needed to be updated
Click the “Save” button to save group details changes
Click the “Cancel” button to revert group details changes
Click the “Delete” button to delete group
Note
You can also delete a mailbox from groups list by “Delete” button (Trash bin icon) in group row.
You will be returned to groups list after taken action