Envelope processing without authorization
Our platform allows users to perform quick envelope processing actions without needing to register immediately.
How to process a received envelope without registration?
Participants have to be defined by the envelope initiator. To do that, the initiator of the envelope has to fill this role with the email address of the recipients
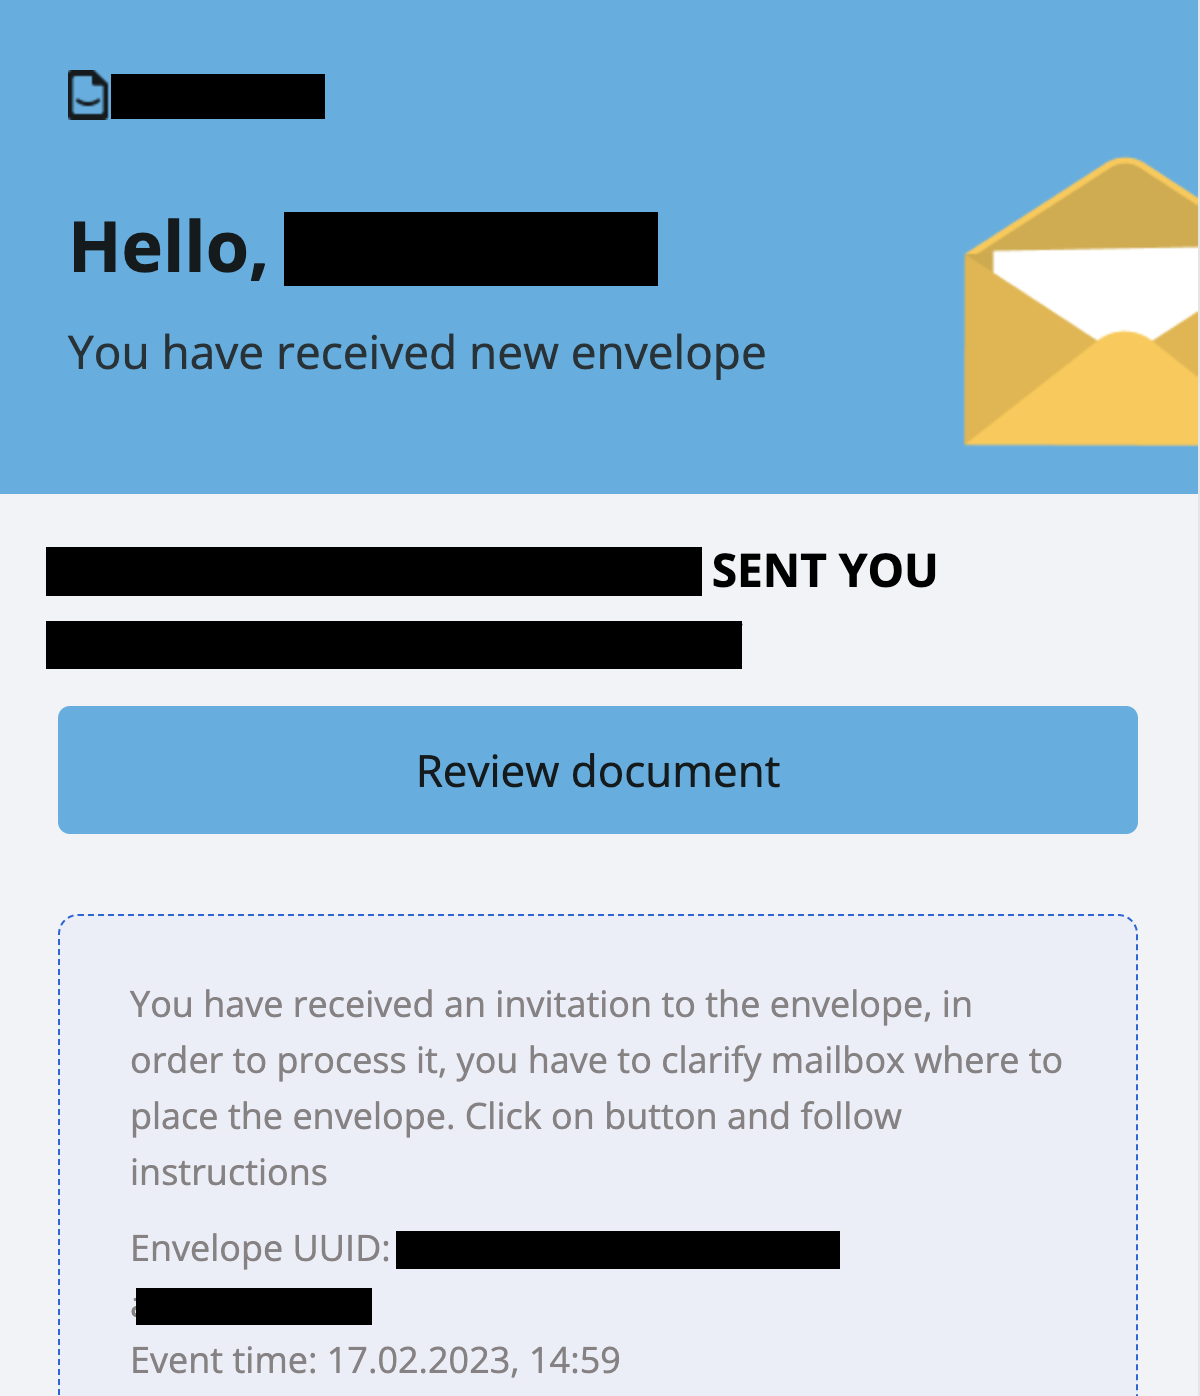
When the envelope processing flow reaches the recipient, an email with instructions is sent
Follow the instructions in the email and click the “Review document” button
A window requesting to accept the Terms and Conditions and Privacy Policy will be displayed. It is mandatory to accept it for further envelope processing
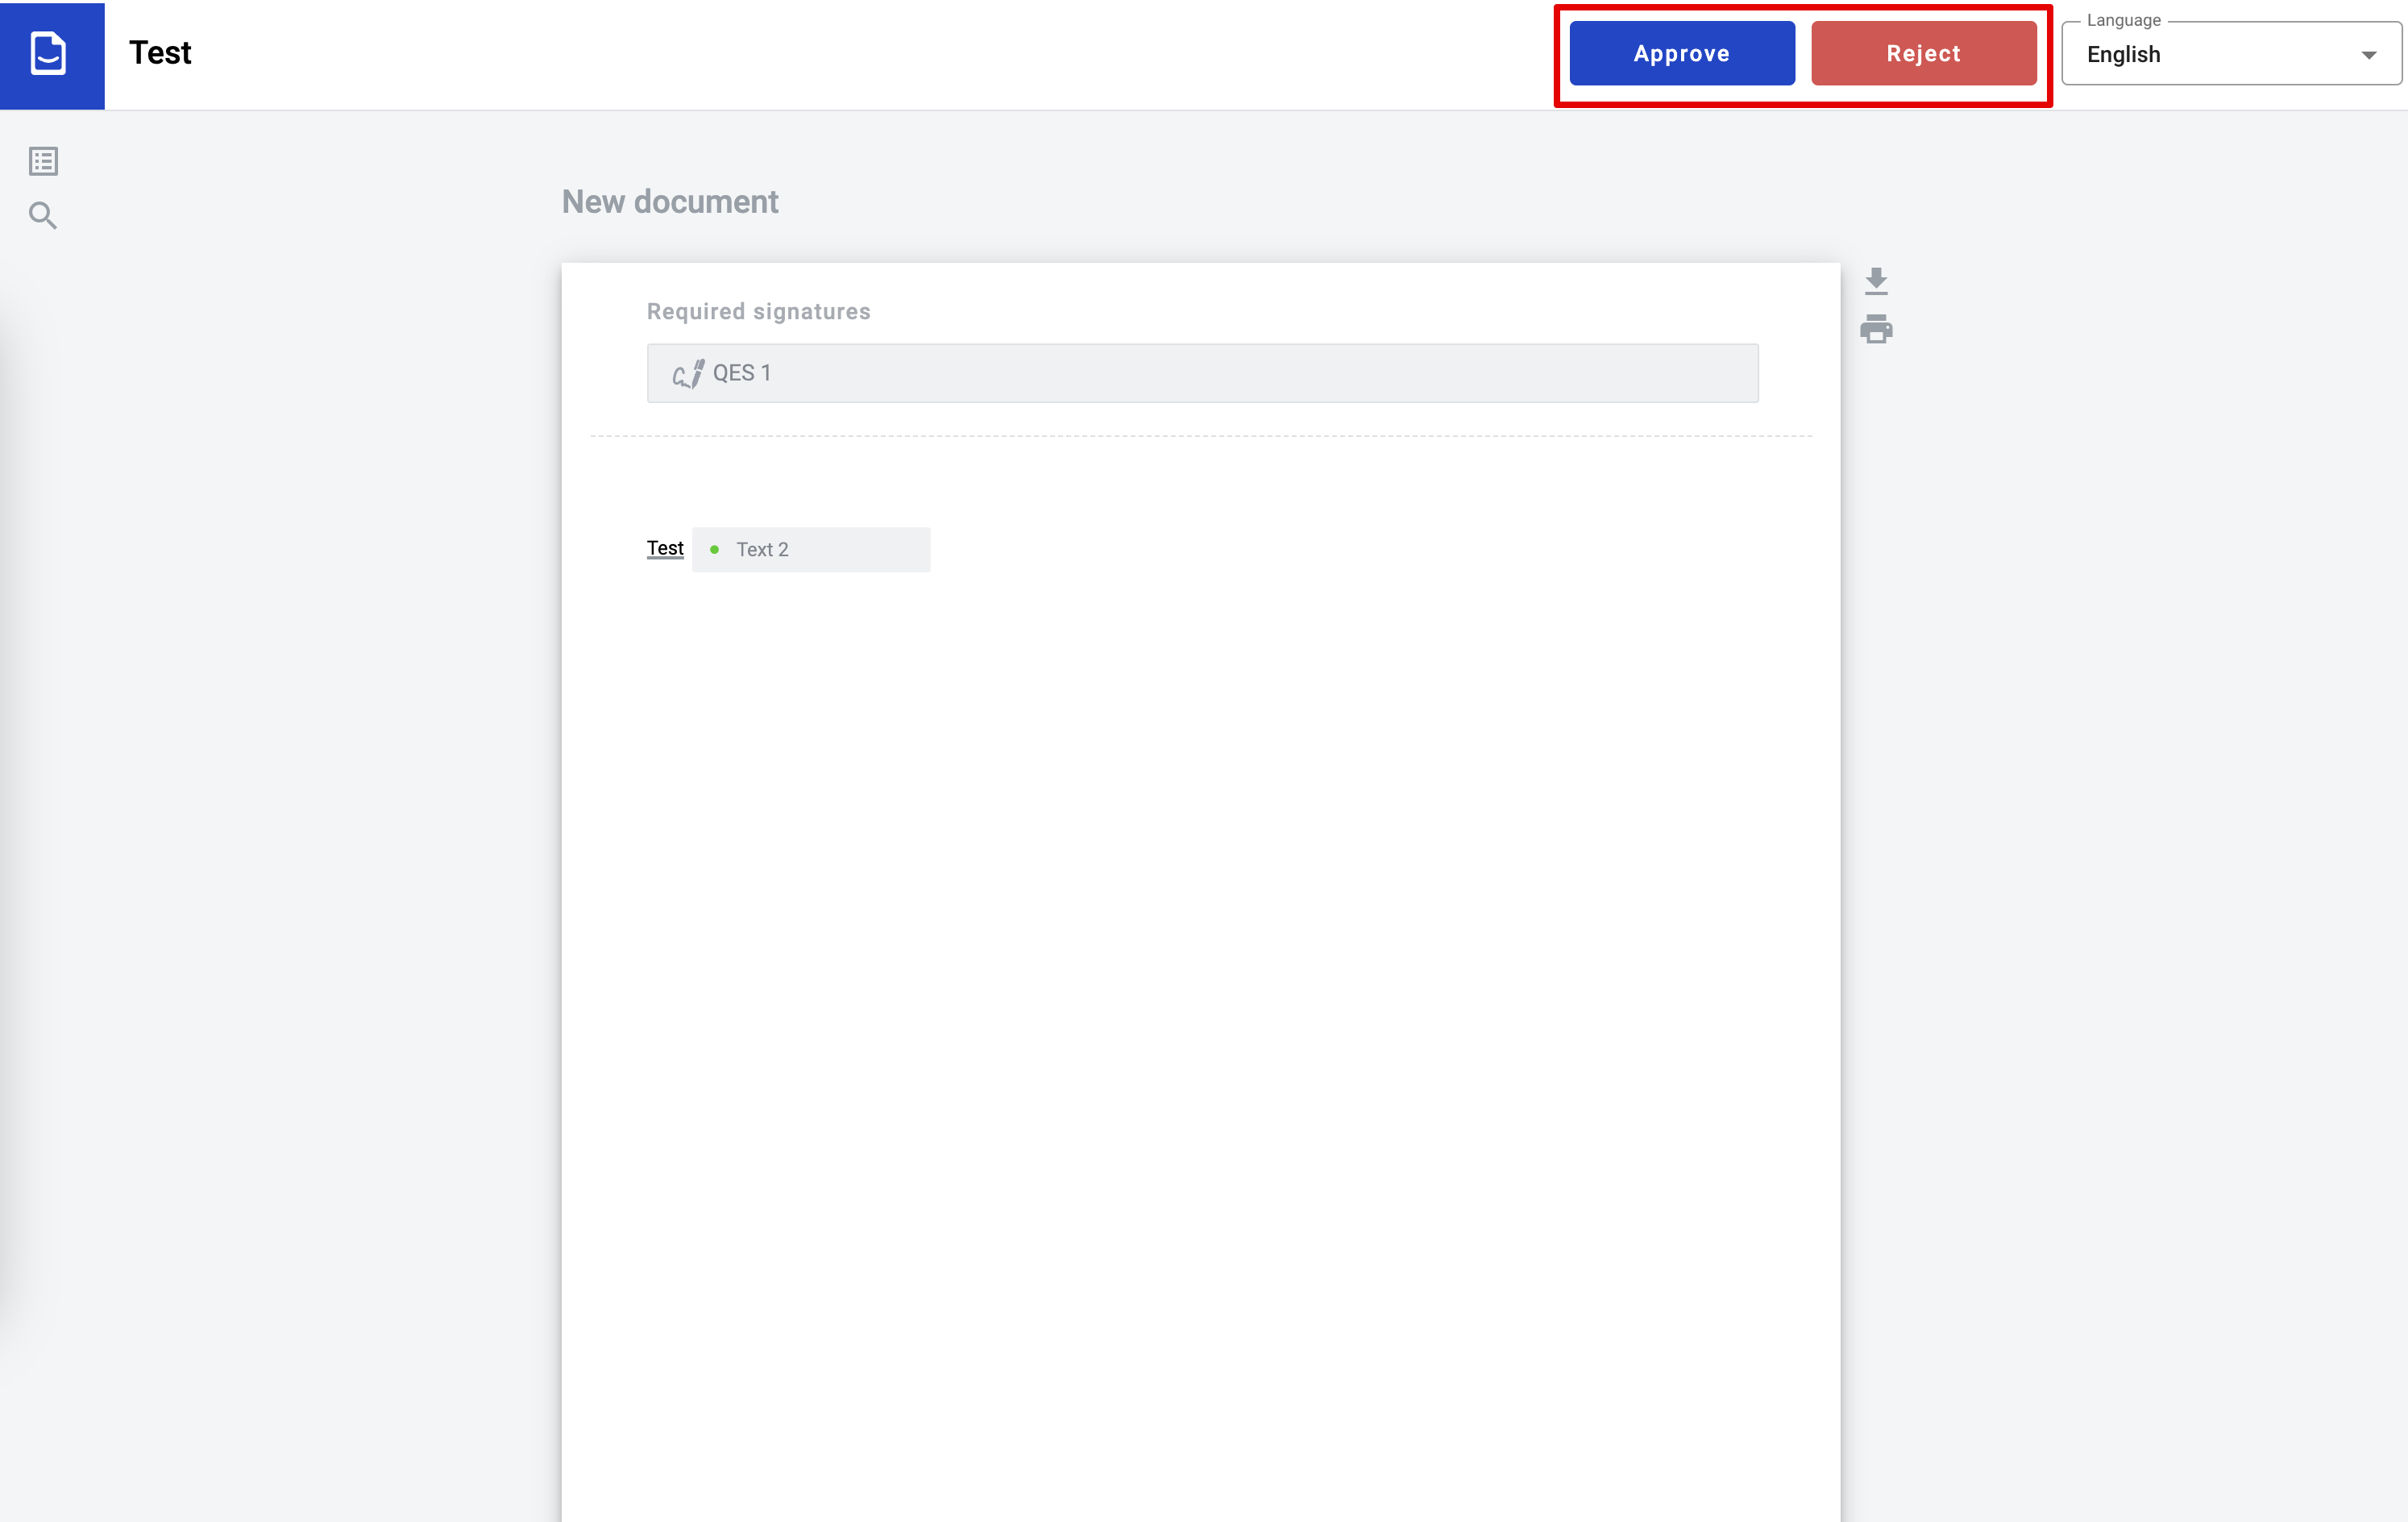
The next step is envelope processing according to role in the flow. The assignee has to fill in the fields assigned to him. The signer has to sign documents with QES or PAdES signatures. The approver has to approve or reject the envelope. CC receives a copy and has no required actions
As soon as the role finishes all required actions, the “Send” button will appear. Click it to send the envelope according to the rest of the flow
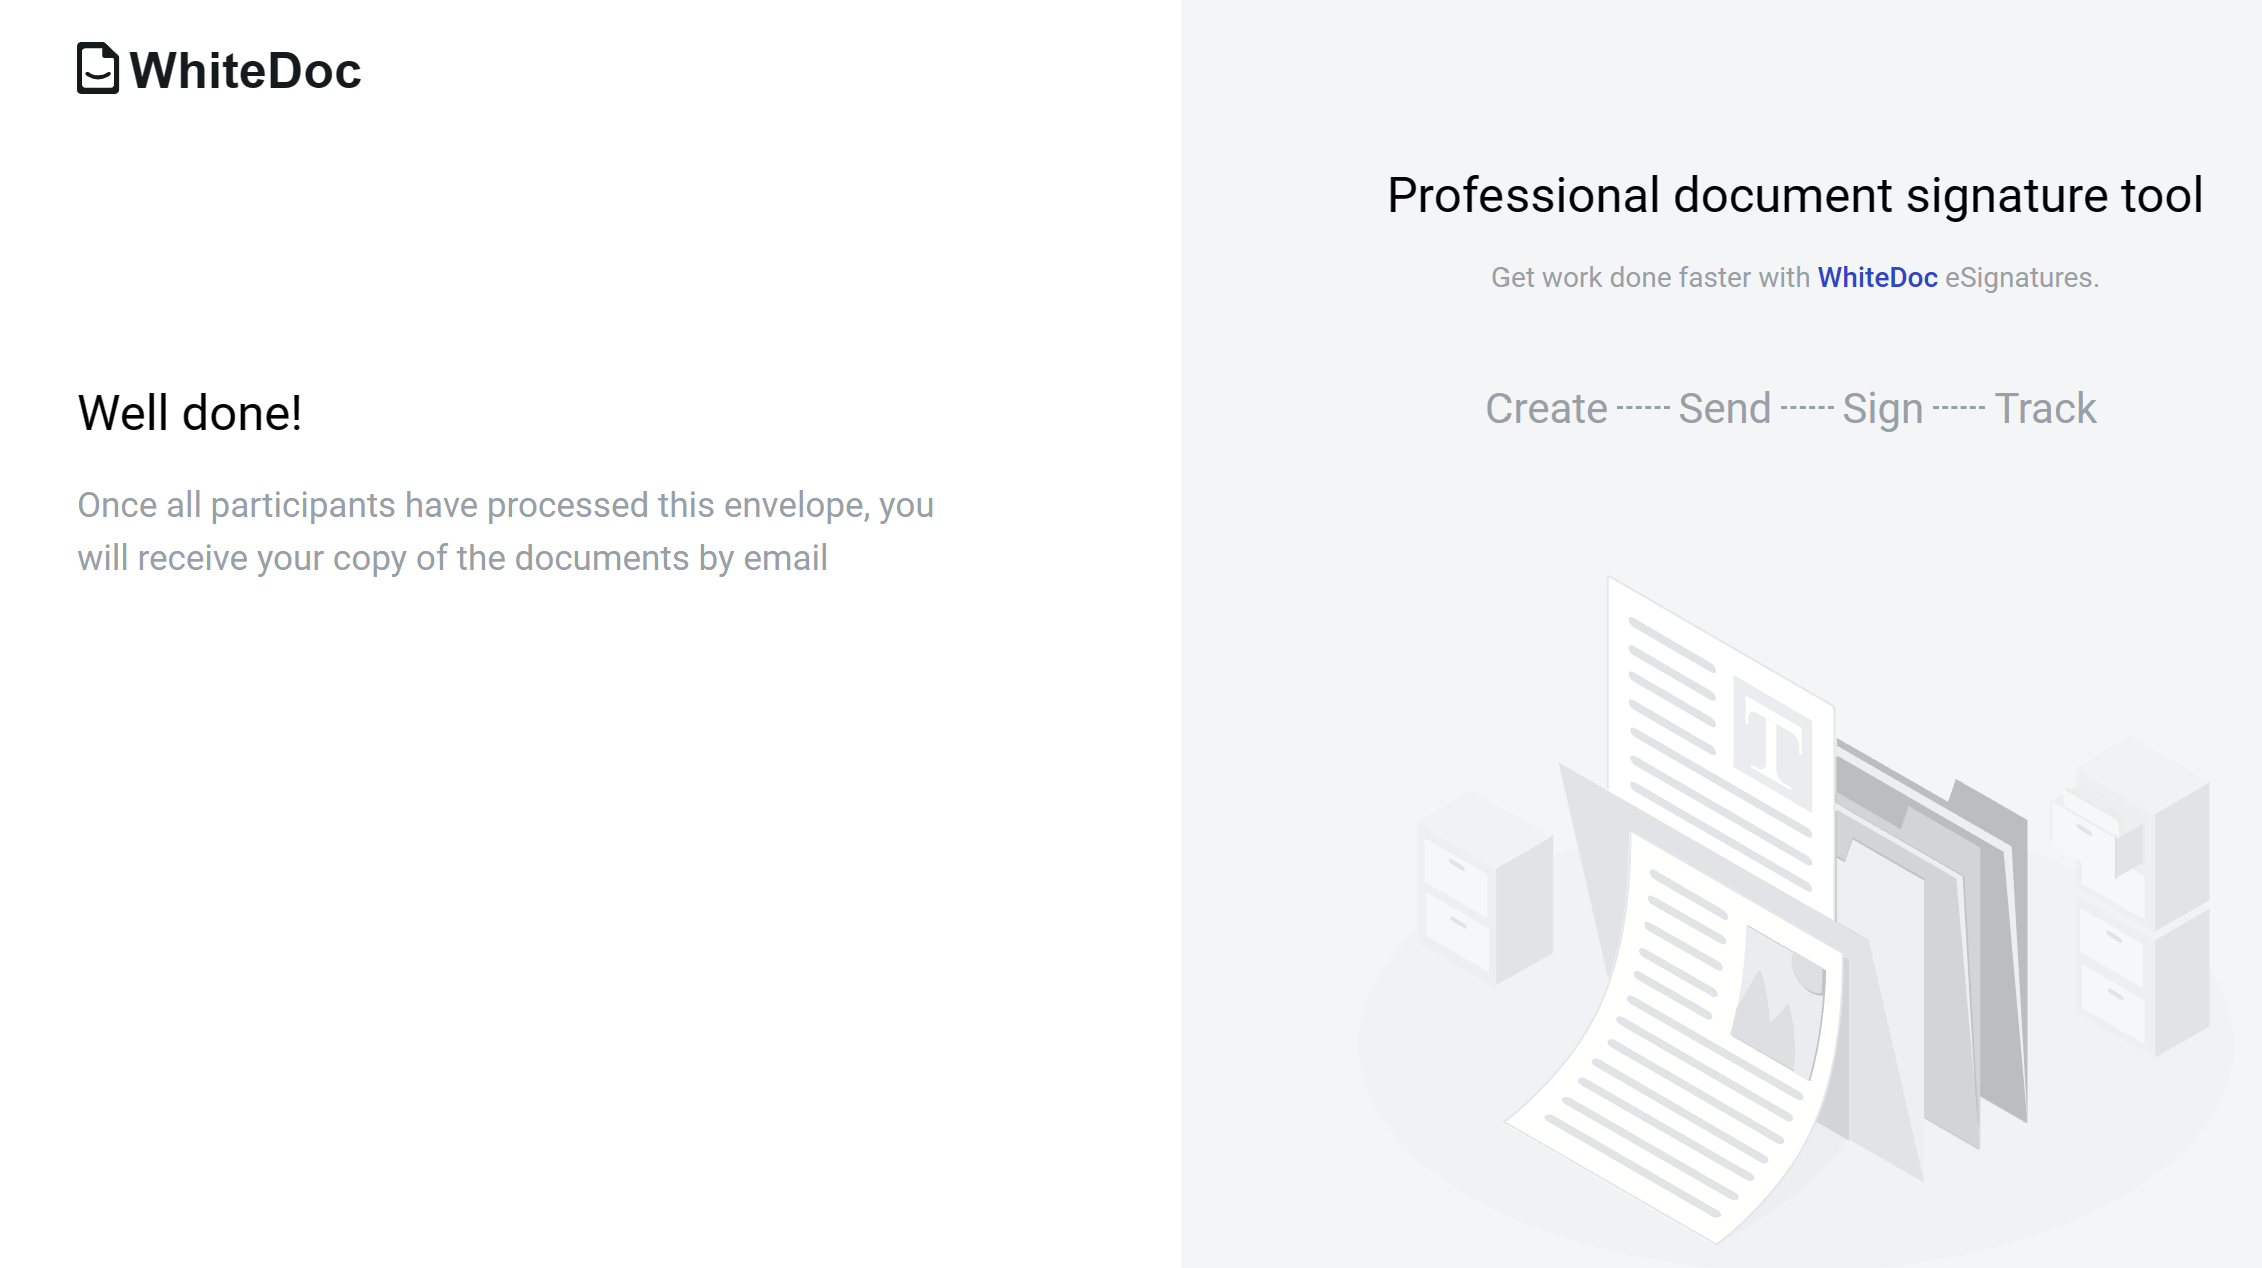
The “Success page” with an option to authorize on the platform to watch envelopes processing will be displayed as a last step
Envelope sending without authorization
Envelopes can also be sent without authorization. This is done via an envelope initiation link created by an authorized user.
How to generate an envelope initiation link?
Create a template
Fill in the envelope subject on the template level
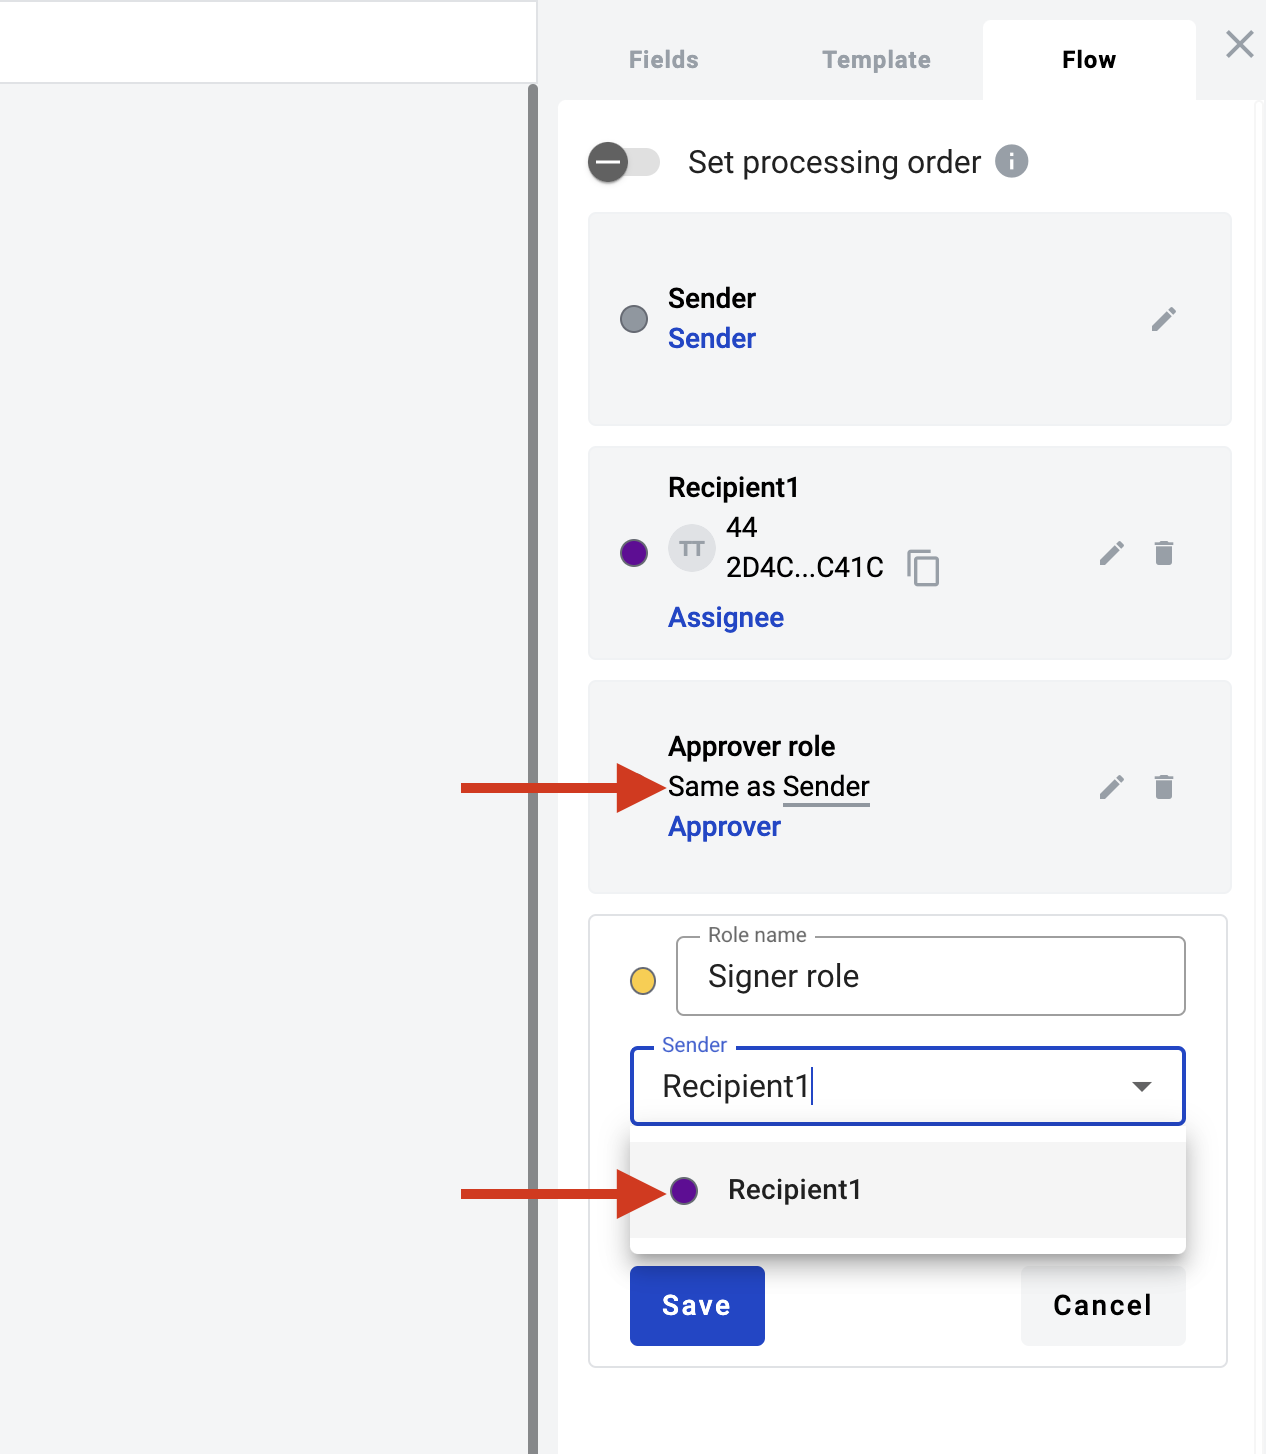
Specify a mailbox or email address for all roles (except sender) on a template level

Note that you also can specify any roles with the “Same as” feature instead of using a mailbox or email address
Set template access level to Public
Note
If the template is using a dictionary, the access level of each dictionary used in the template should be Public or Official.
Save template
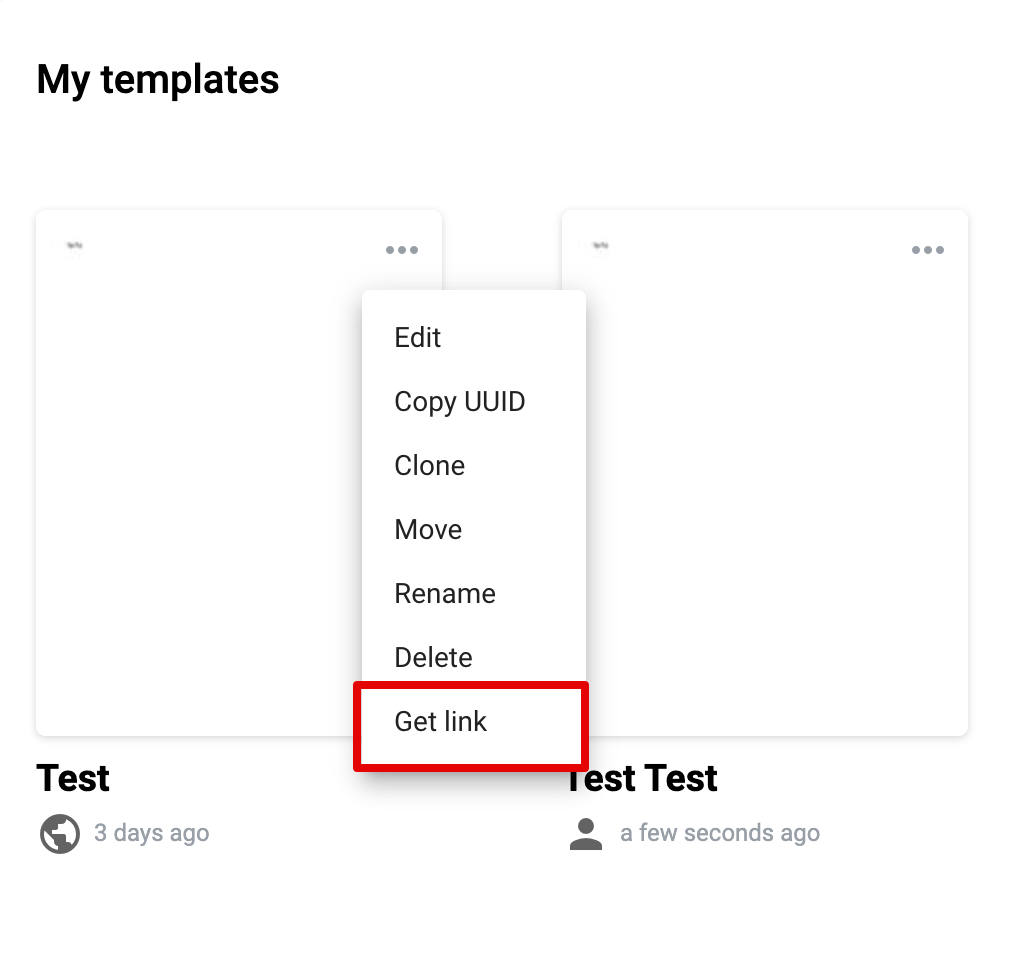
Follow to the template list
Open the template action menu and click “Get link”
Generate a new envelope initiation link
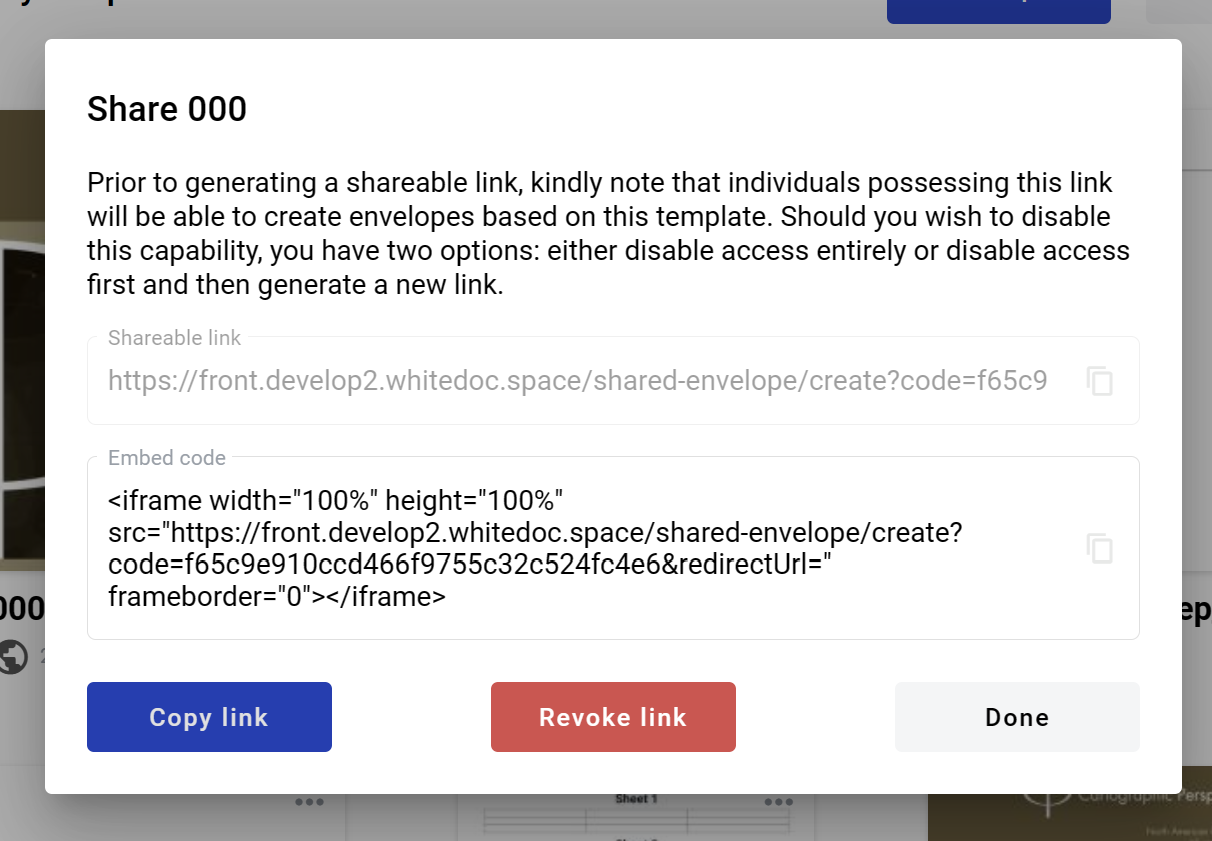
Copy the link and send it to a person who should initiate an envelope without authorization
Note
In the same window, you can find the Embed code. It can integrate the envelope creation process with third-party services via iframe.
Please note that you can add a redirect URL to the embed code or shareable link. This page will open in a new browser tab after sending the envelope.
To add a redirect URL to the initiation link (either a shareable link or embed code), include the parameter ‘redirectUrl’ with the desired URL to redirect to. Click to more details.
You can revoke the current link and code by clicking the “Revoke link” button. This action disables the previously generated link. Also, you can create a new link and code by clicking the “Generate new link” button (note that this revokes the previously generated link). Link and code are unique every time, and revoked ones can not be restored
How to send an envelope without registration?
Follow the envelope initiation link (or to the iframe). Limited envelope processing functionality will be available there
Only fields assigned to the sender role can be filled. If the recipient’s roles are the same as the sender’s, the user can simultaneously see the recipient’s fields as active. Fill in all required fields (the “Edit” button will change to “Send”)

Click the “Send” button
Enter your email (the user with this email shouldn’t be registered or active)
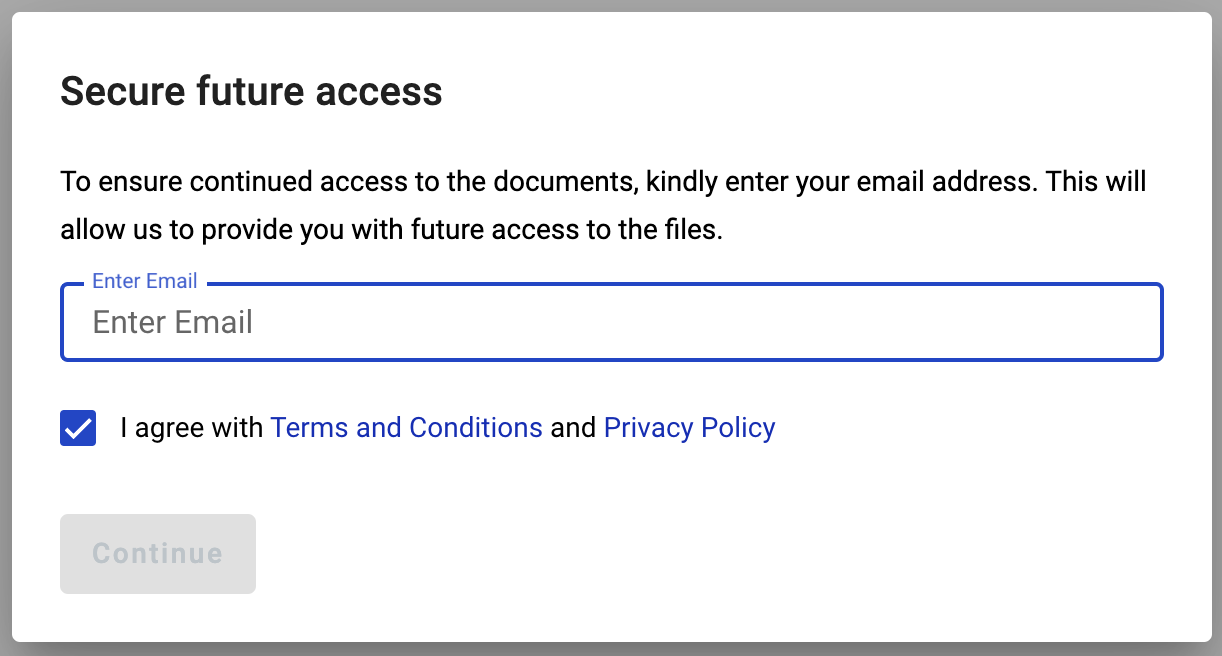
Click the “Continue” button. The window with the code input field will be displayed
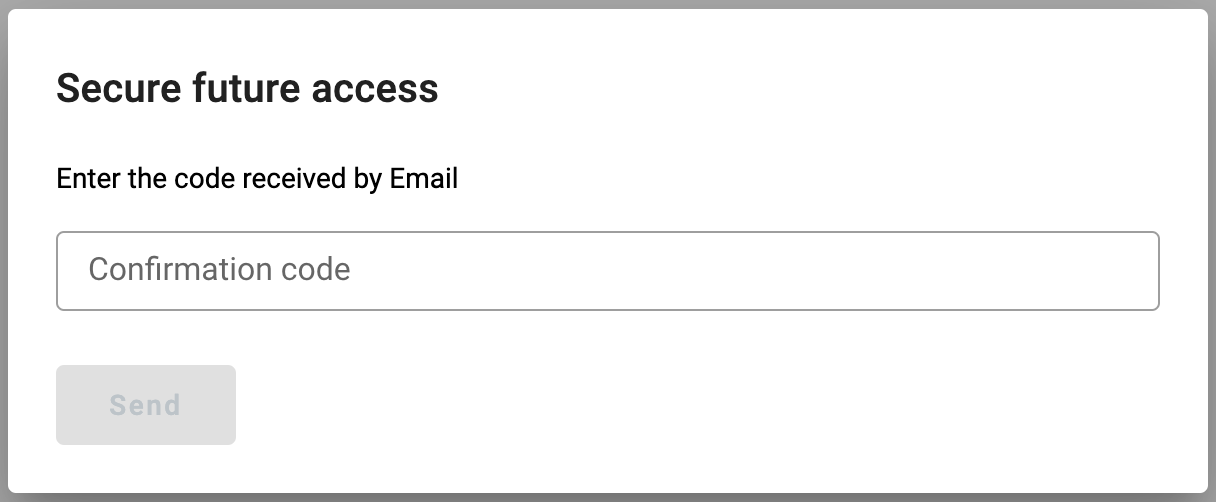
Enter the code received in the email and click the “Send” button
If the next role in the flow inherits the current one, the envelope with the functionality of the next role (Approver/Signer) will be displayed
Note
If you do not complete all the subsequent inherited roles, you will receive an email reminder with a link to complete your envelope processing steps an hour after completing the first role. Authorized users also receive the same notification if they do not finish all consequent role actions. It is important to note that all registered users with access to the mailbox will receive this notification.
Perform all necessary actions depending on the role and send the envelope. If there are no roles in the flow that inherit the current one, the envelope will be sent to the next flow participant, and the success page will be displayed
How to send an envelope without authorization as a registered user?
Follow the envelope initiation link (or to the iframe). Limited envelope processing functionality will be available there
Only fields assigned to the sender role can be filled. If the recipient’s roles are the same as the sender’s, the user can simultaneously see the recipient’s fields as active. Fill in all required fields (the “Edit” button will change to “Send”)
Click the “Send” button
Enter your email (the user with this email should be registered and active)
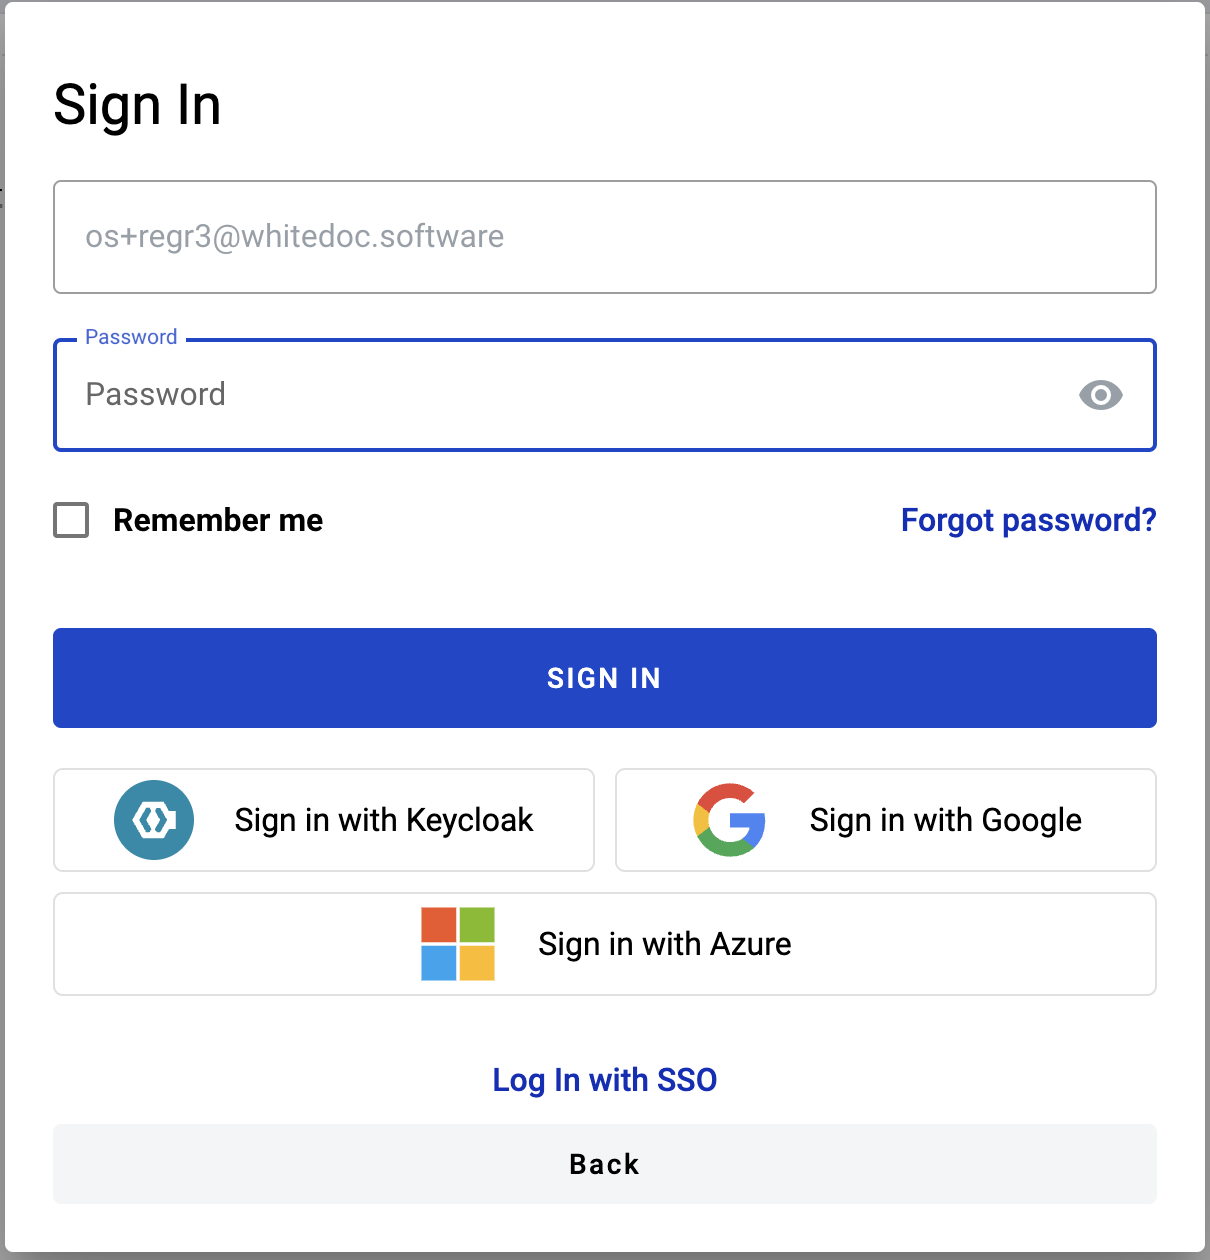
Enter valid credentials and sign in. Authorization through third-party services is also available. Please note, that if you want to use Azure for the first time during this authorization, you will have to confirm your email. A confirmation code will be sent to your user email, which you will have to enter in a prompted modal window
Note
If you are already authorized in another browser tab and have “Default mailbox” enabled, the configured mailbox will be automatically used, and the envelope will be sent after this step.
If you do not have “Default mailbox” enabled, you will be prompted to choose one of your mailboxes for each role or apply mailbox to all your roles in the envelope
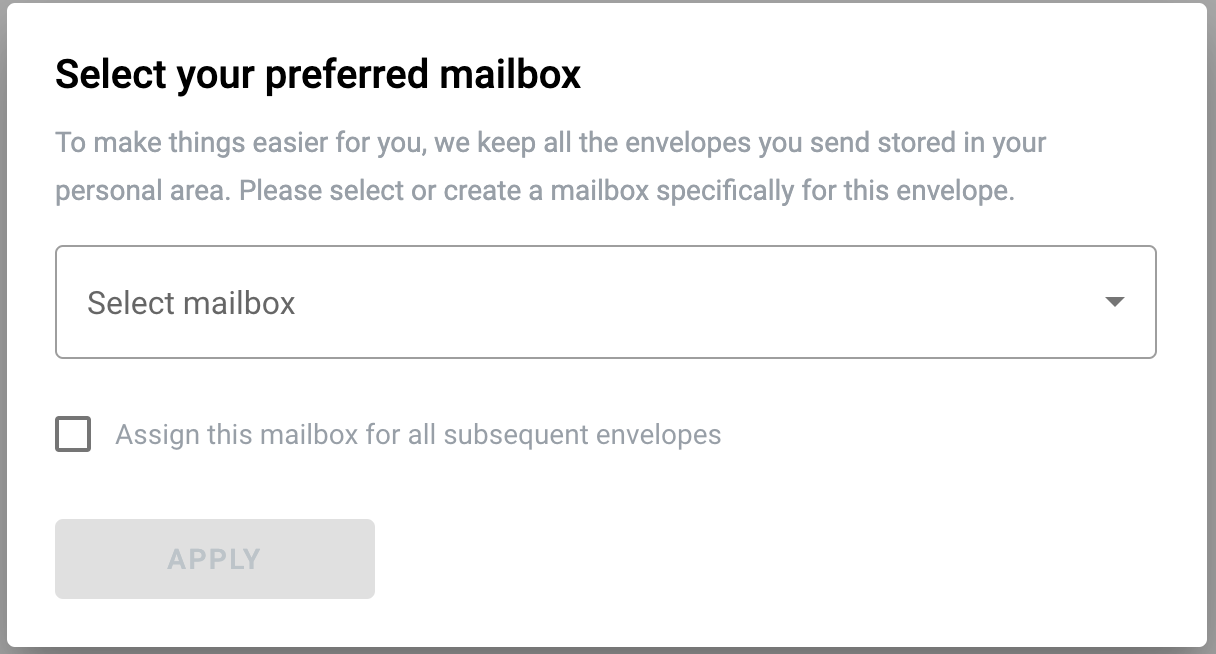
Choose one of your mailboxes and click the “Apply” button
If the next role in the flow inherits the current one, the envelope with the functionality of the next role (Approver/Signer) will be displayed
Note
If you do not complete all the subsequent inherited roles, you will receive an email reminder with a link to complete your envelope processing steps an hour after completing the first role. Authorized users also receive the same notification if they do not finish all consequent role actions. It is important to note that all registered users with access to the mailbox will receive this notification.
Perform all necessary actions depending on the role and send the envelope. If there are no roles in the flow that inherit the current one, the envelope will be sent to the next flow participant, and the success page will be displayed