Electronic signature on envelope
On the envelope you can set electronic signature and stamp to the document if needed. You can add electronic signature using key with your electronic signature. You sign the two documents type: pdf (human readable format) and xml (structured data of the document). You can download the signature and signed documents.
How to sign the document
If you want to sign document you have to have at least one signature field in the document. How to add electronic signature to the document you can read the topic “Electronic signature on template”. To sign the the document you have to do the following:
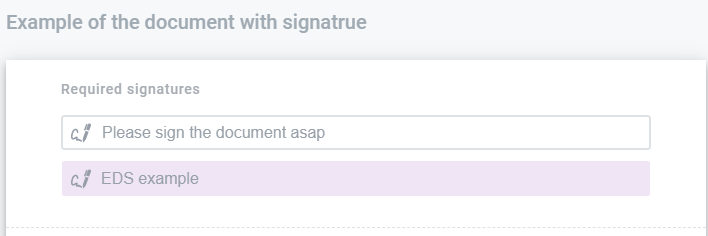
Click on the button of the electronic signature in “required signatures” block (or click on the “pencil” button to follow to the field and click on it)
As soon as you click on, the modal window opens. In this modal window you will see the instruction related to sign process
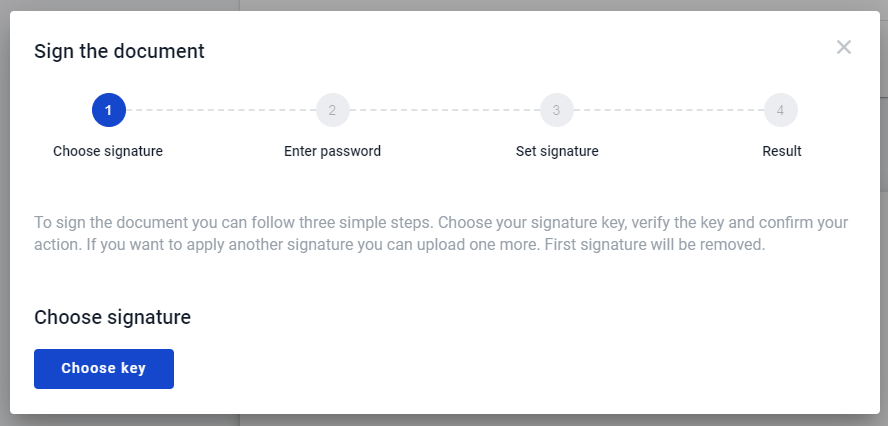
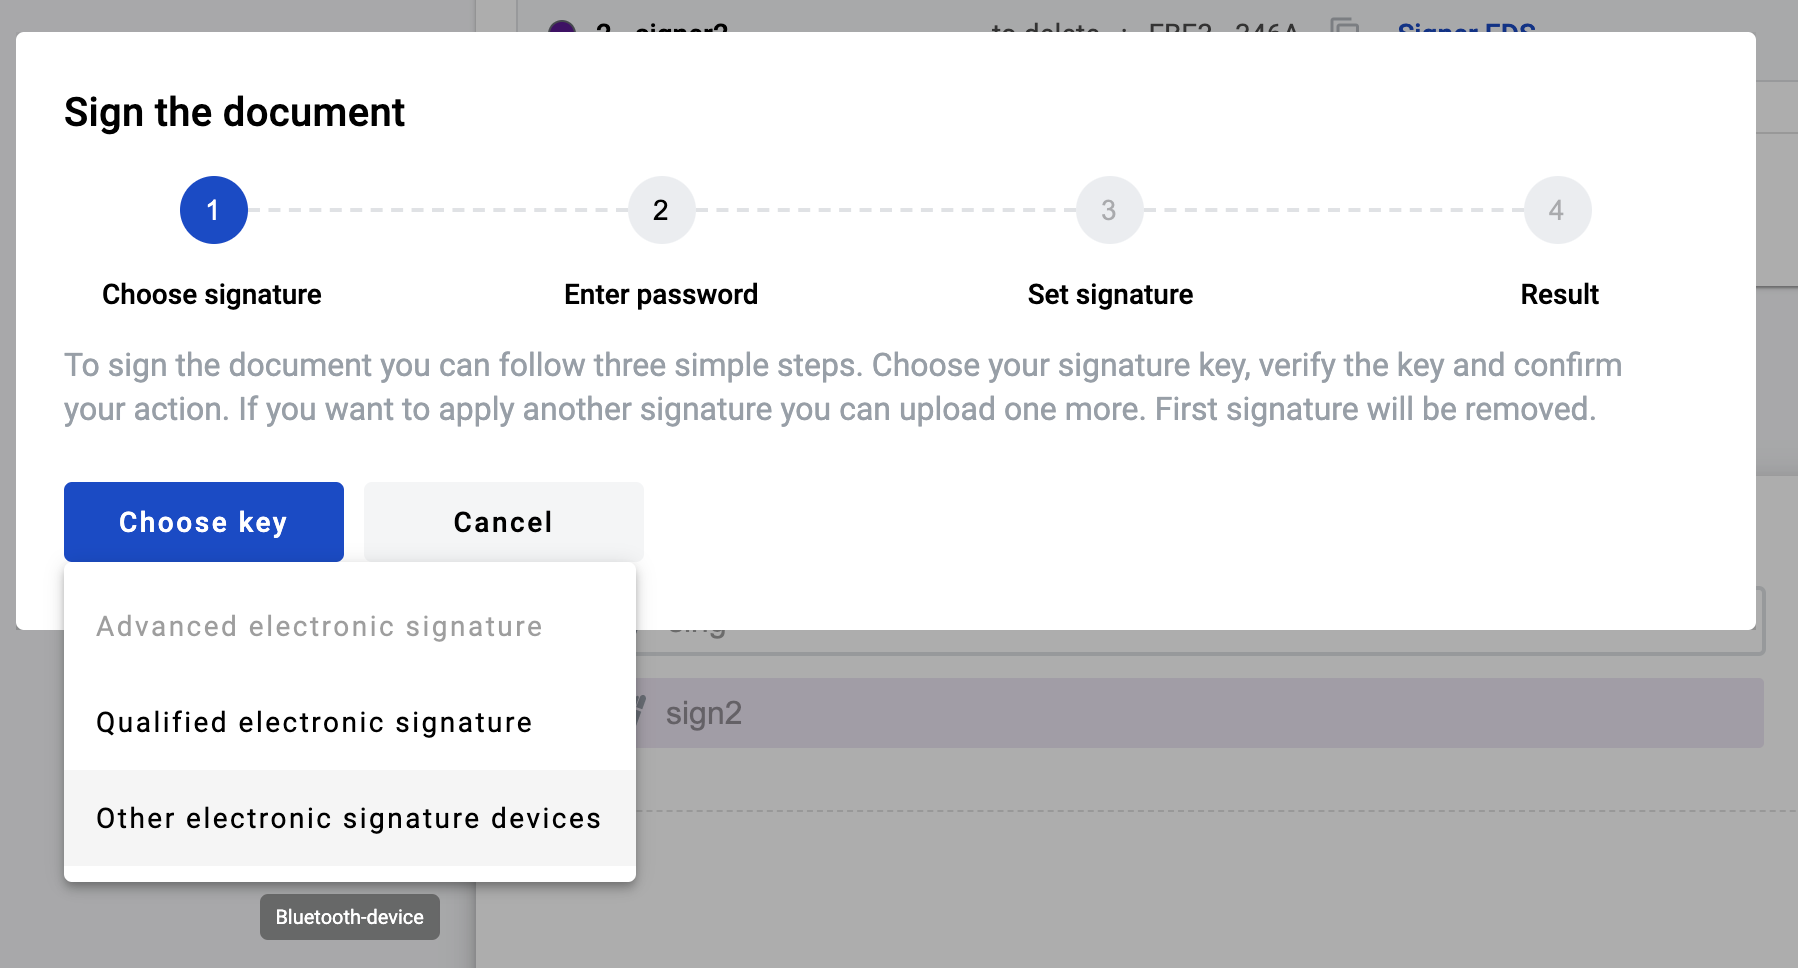
Click on the button “Choose key” and select your type of electronic signature which you want to apply. If sender specify “Qualified” attribute to electronic signature field you could apply only qualified electronic signature
Read certificates from your key (Advanced electronic signature , Qualified electronic signature)
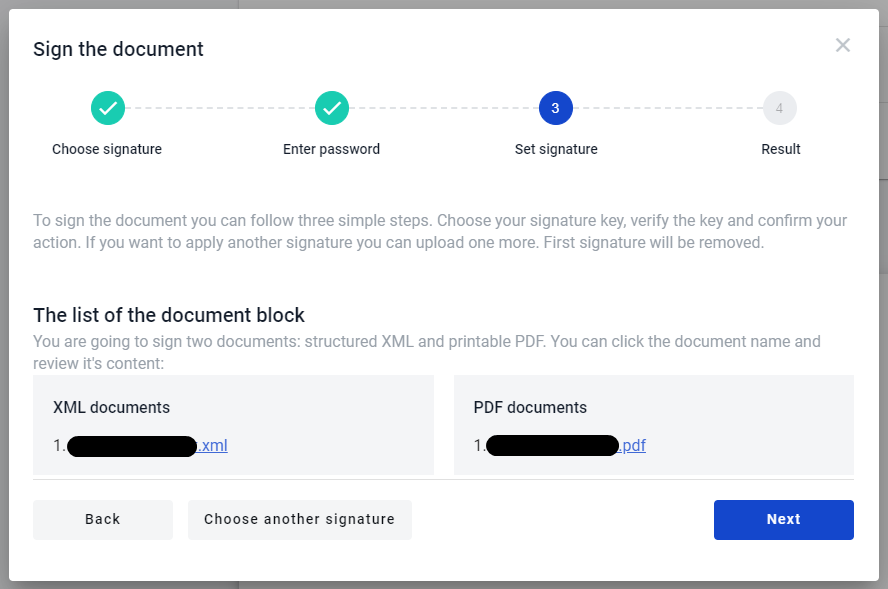
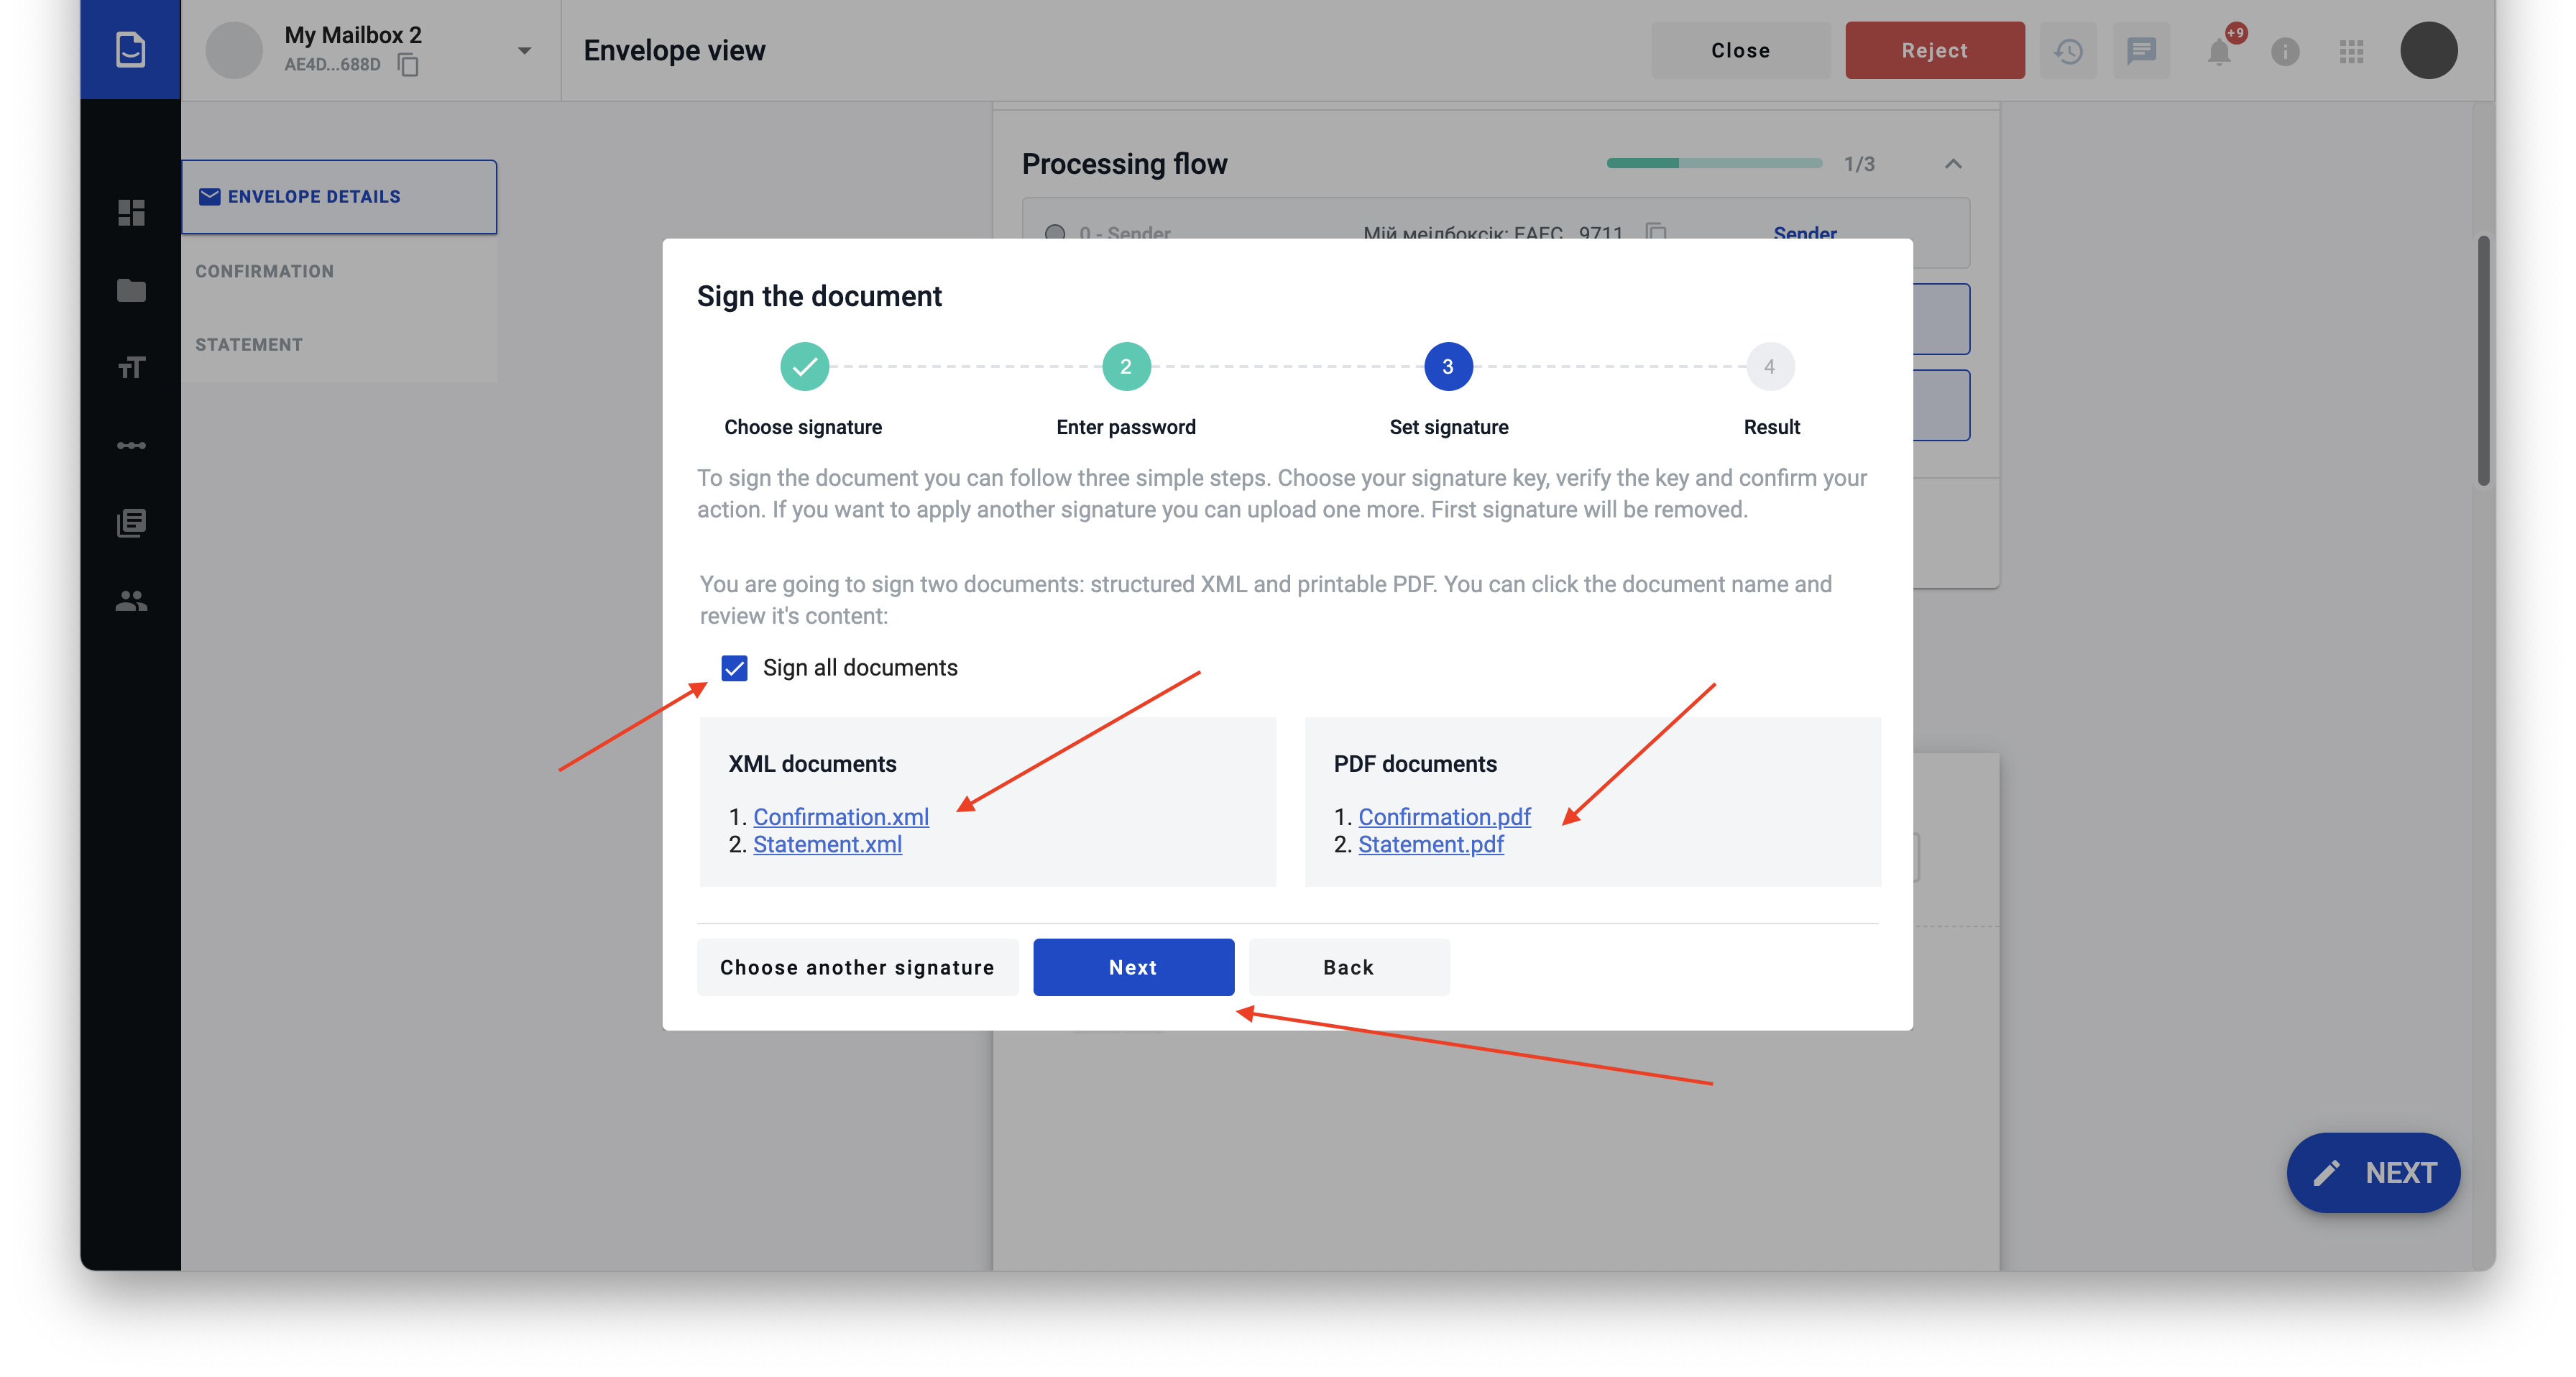
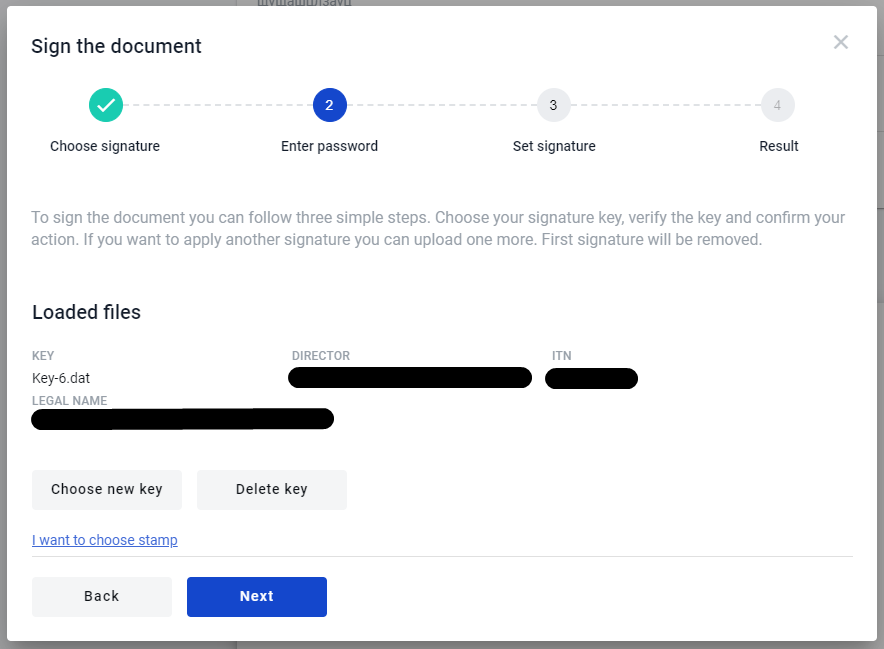
Press on the button “Next” to watch the information related to documents which you’re going to sign (pdf (human readable format) and xml (structured data of the document))
Click on “Next” button you will see the results of the signing the documents (if documents sing successfully you will see success message if not error message)
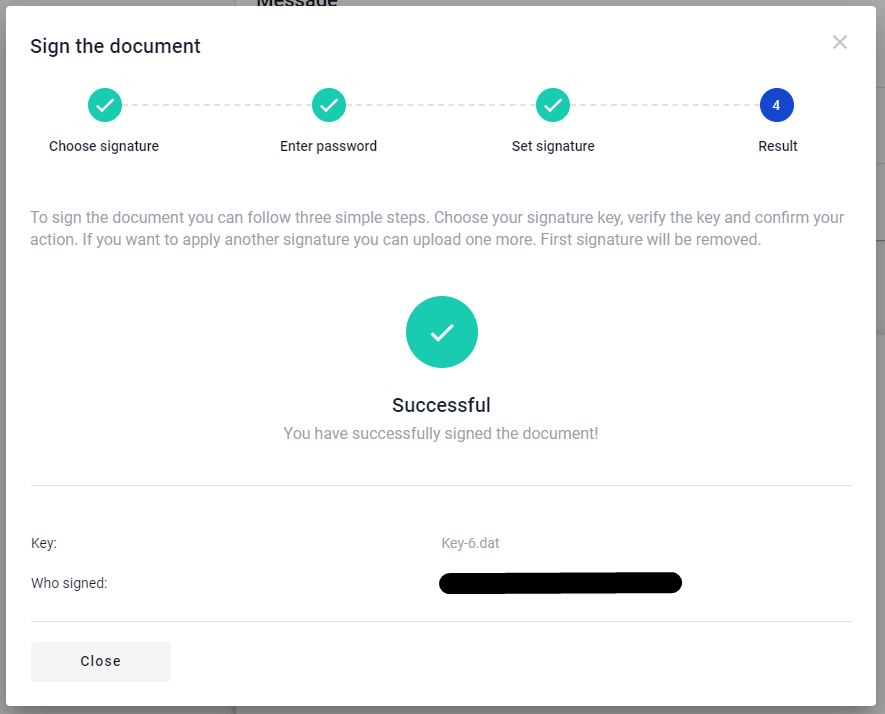
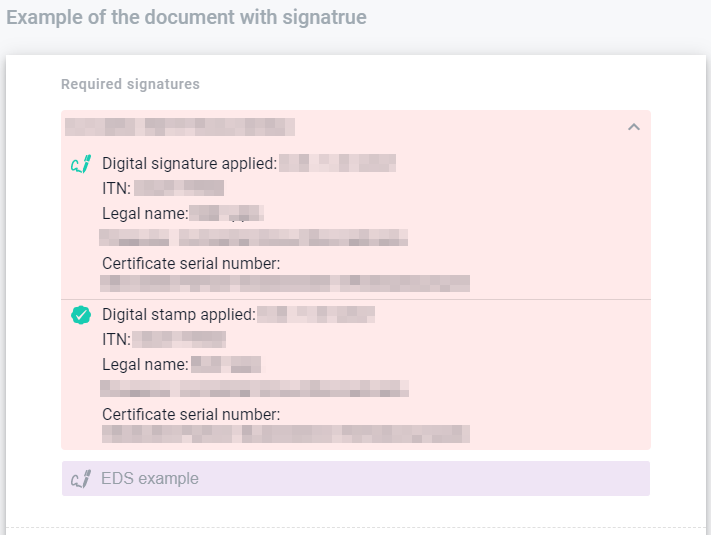
After step above modal window closes and on the envelope in “required signature” block you will see that field changes and it shows information related to whom signed the document. Also you can click on it and detailed information opens. In the detailed information shows who and when sign the document
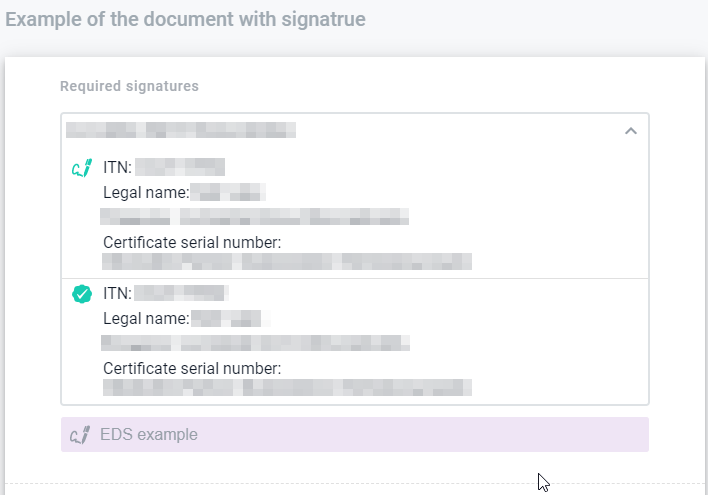
To finish the signing documents you have to sign all documents related to your role and press on the button “Send”
Also, you can set a stamp to the document if needed. You may do this just press on the link “I want to choose stamp” on the second step of the document signing
How to sign all documents in envelope
You can sign all documents in envelope for one time. To do that follow the instructions above until you get step with documents list to sign. If you will have more than one document to sing option “Sign all documents” appears. Select “Sign all documents” option and all documents from particular envelope which you’re able to sign will be shown to you.
If you continue signing procedure you will sign all documents from the list.
Note
Don’t forget to send signed envelope after last step, or signature will be lost.
How to download the signed data
You can download the signature(s) of the document(s) when all participant with role “Signer”. You’re able to download particular document with signatures or whole envelope with all the documents inside and all signatures inside. To do this, just:
Check that envelope completed
Open envelope
Click on respective “download” button in the header, to download the full envelope with all signed documents
Or click on respective “download” button ahead document name and you will download particular document with all signatures
As soon as you click on the document download button archive with the documents will be uploaded.
How to check validity of the signatures
To check the validity of the signatures that roles did you have to do the following:
Download the archive with signatures and document(s)
Follow the link https://czo.gov.ua/verify
Select files .p7s and document you have signed
Click on “Check” button
After validation completed you will see results.
Reading advanced electronic signature
Select the key on you computer or flash card
As soon as file selected you will see the new modal window with password input which relates to chosen key and functionality ot manage keys or add stamp
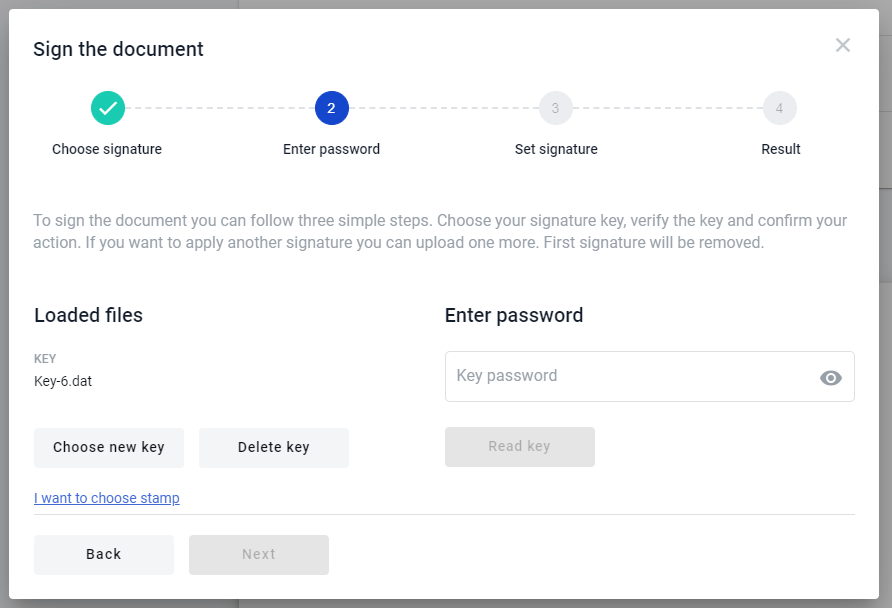
Enter the password of the key and click “Read key” button (if you enter the valid password and key is valid you will see sign details and the next form of the modal window, if not you will see the error message)

As soon as you enter valid data you will see the information related to key with which you want to sign the document
Reading qualified electronic signature
To use qualified electronic signature you should install special software manually to your PC.
Installation
Warning
Update your OS and browser to the latest version before proceeding.
Download and install crypto library (MacOS , Windows) to access your qualified keys
Add browser extension to access crypto library from browser
Reboot your PC
Reading key
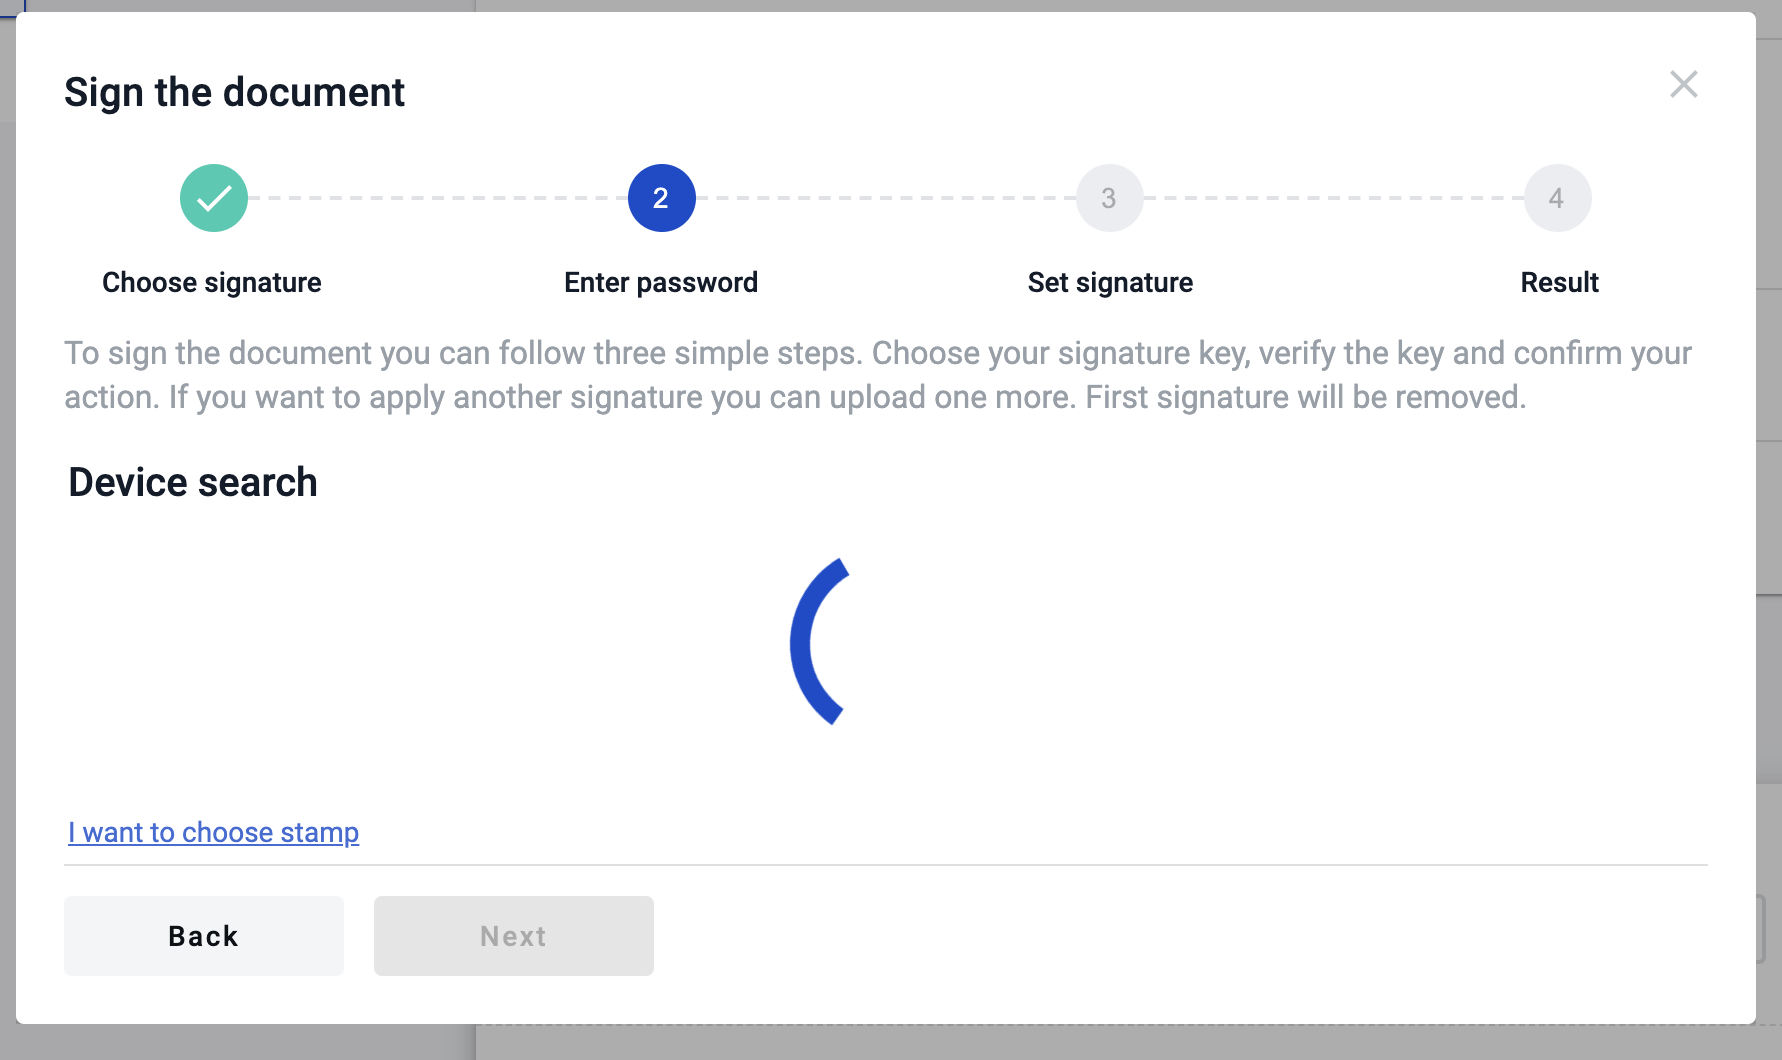
Wait until process of searching devices is finished
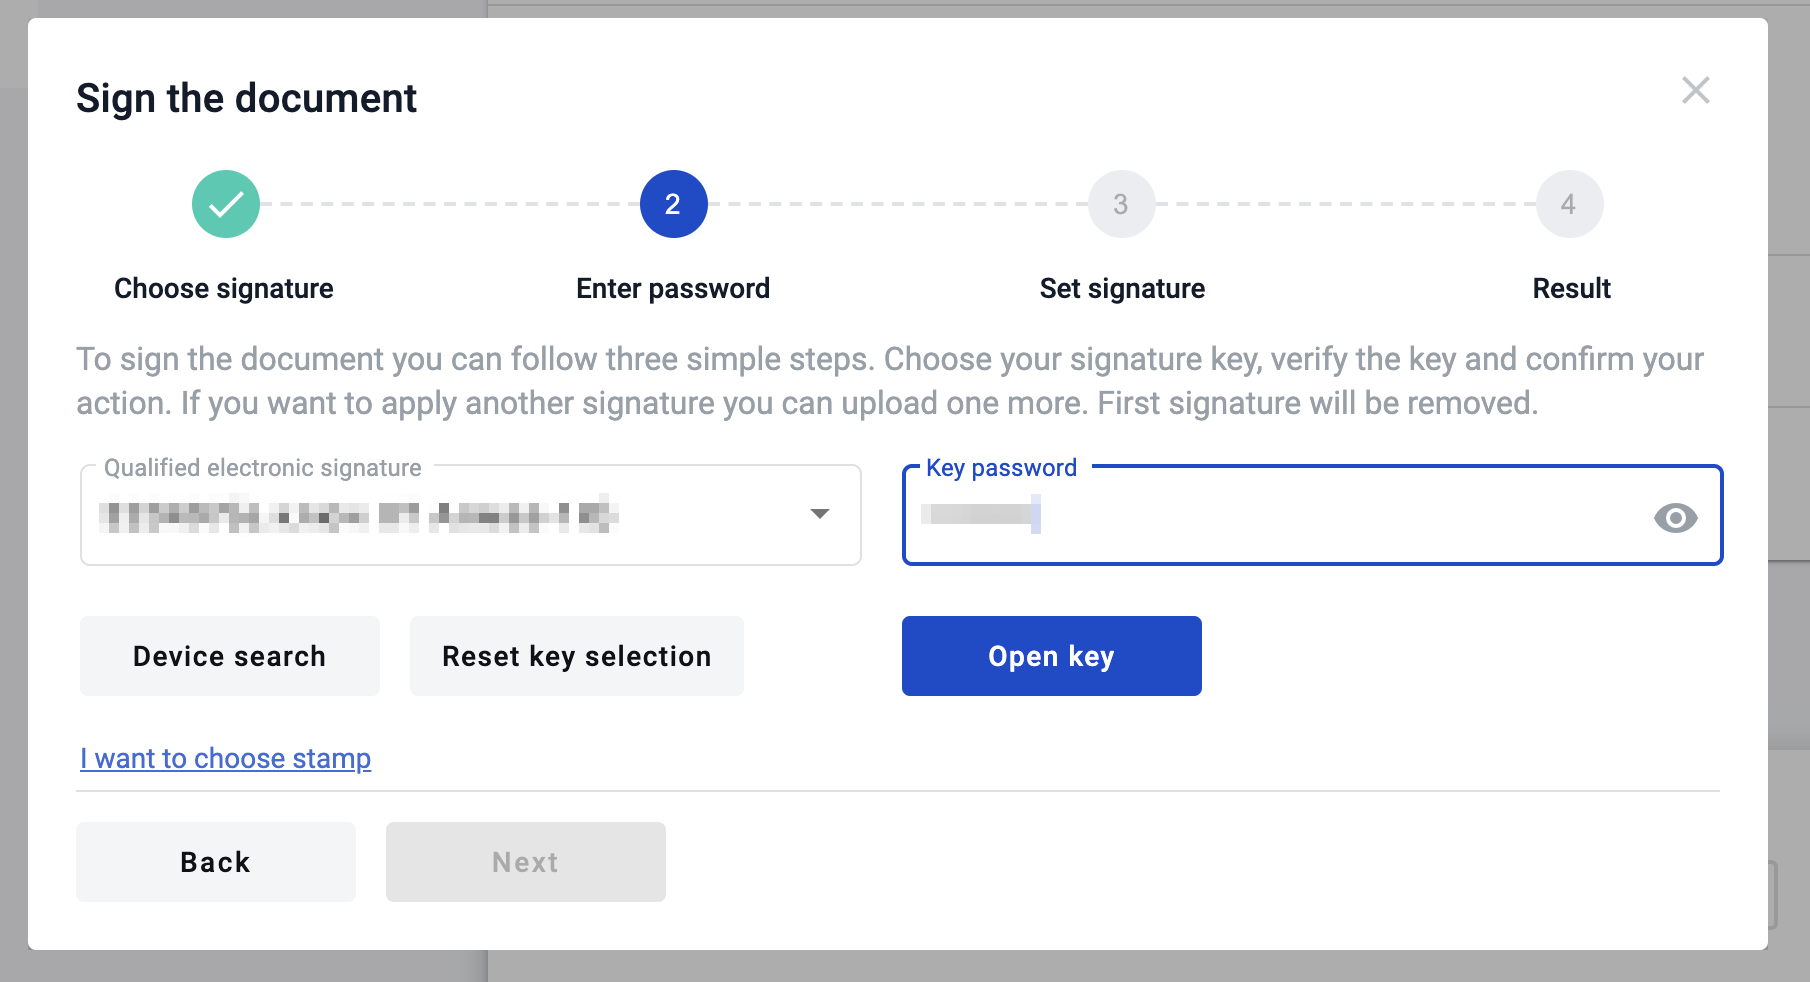
Select your hardware key and enter the password of the key and click “Read key” button (if you enter the valid password and key is valid you will see sign details and the next form of the modal window, if not you will see the error message)
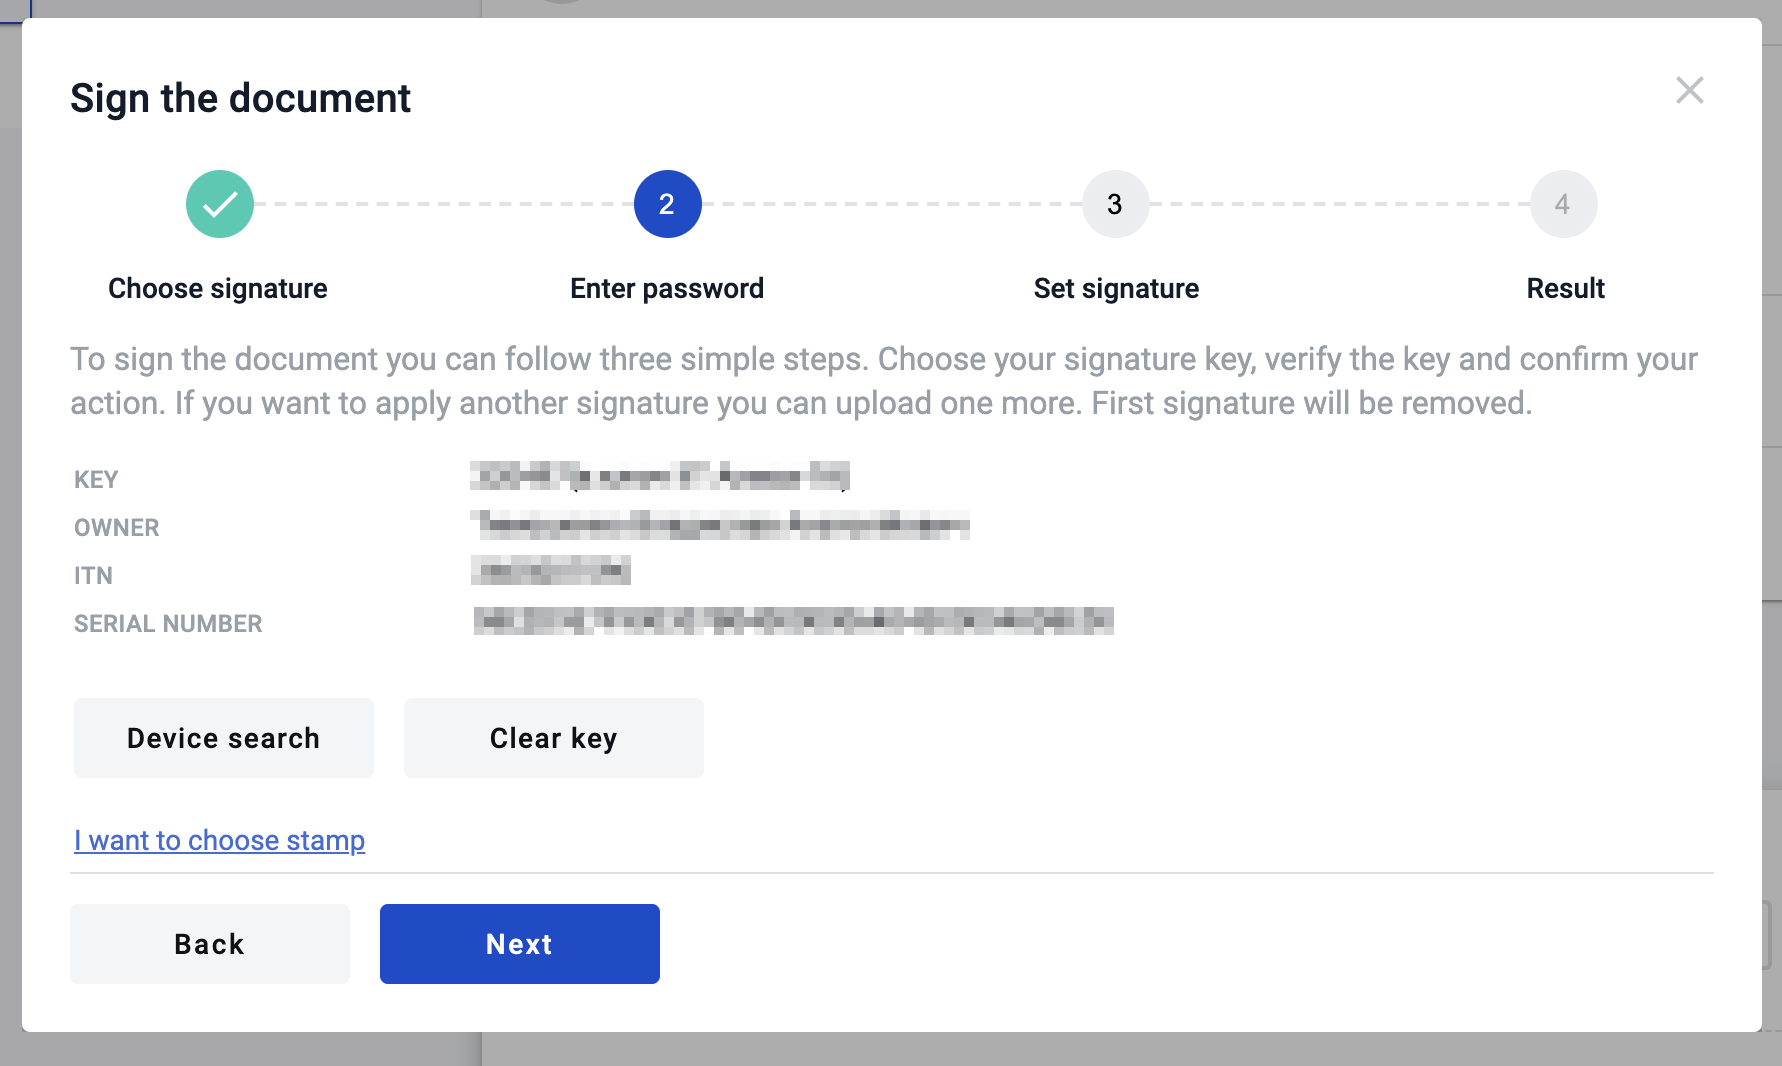
As soon as you enter valid data you will see the information related to key with which you want to sign the document
Reading electronic signature using bluetooth device
To use qualified electronic signature which located on bluetooth token produced by IIT you should install special software manually to your Mobile device.
Installation
Warning
Update your OS and browser to the latest version before proceeding.
Download and install sign client respectively to your OS ( Sign client for Apple iOS - https://apps.apple.com/ua/app/iit-sign-client/id1467005893 / Sign client for Google Android - https://play.google.com/store/apps/details?id=ua.com.iit.signclient ) to access your qualified keys
Open the app “Sign client” and register new user using bluetooth token (how to do this described below)
Click on “+” plus icon in app
Select key type (if you use bluetooth token Almaz-1K bluetooth device select option “Key media”)
Click on “Read” option and click on “Key media” again
Turn on bluetooth device and wait until it will be displayed oin app
Click on it and enter password to key you selected
Wait for registration completion and after that you will be able to connect to your key where you can get key identifier
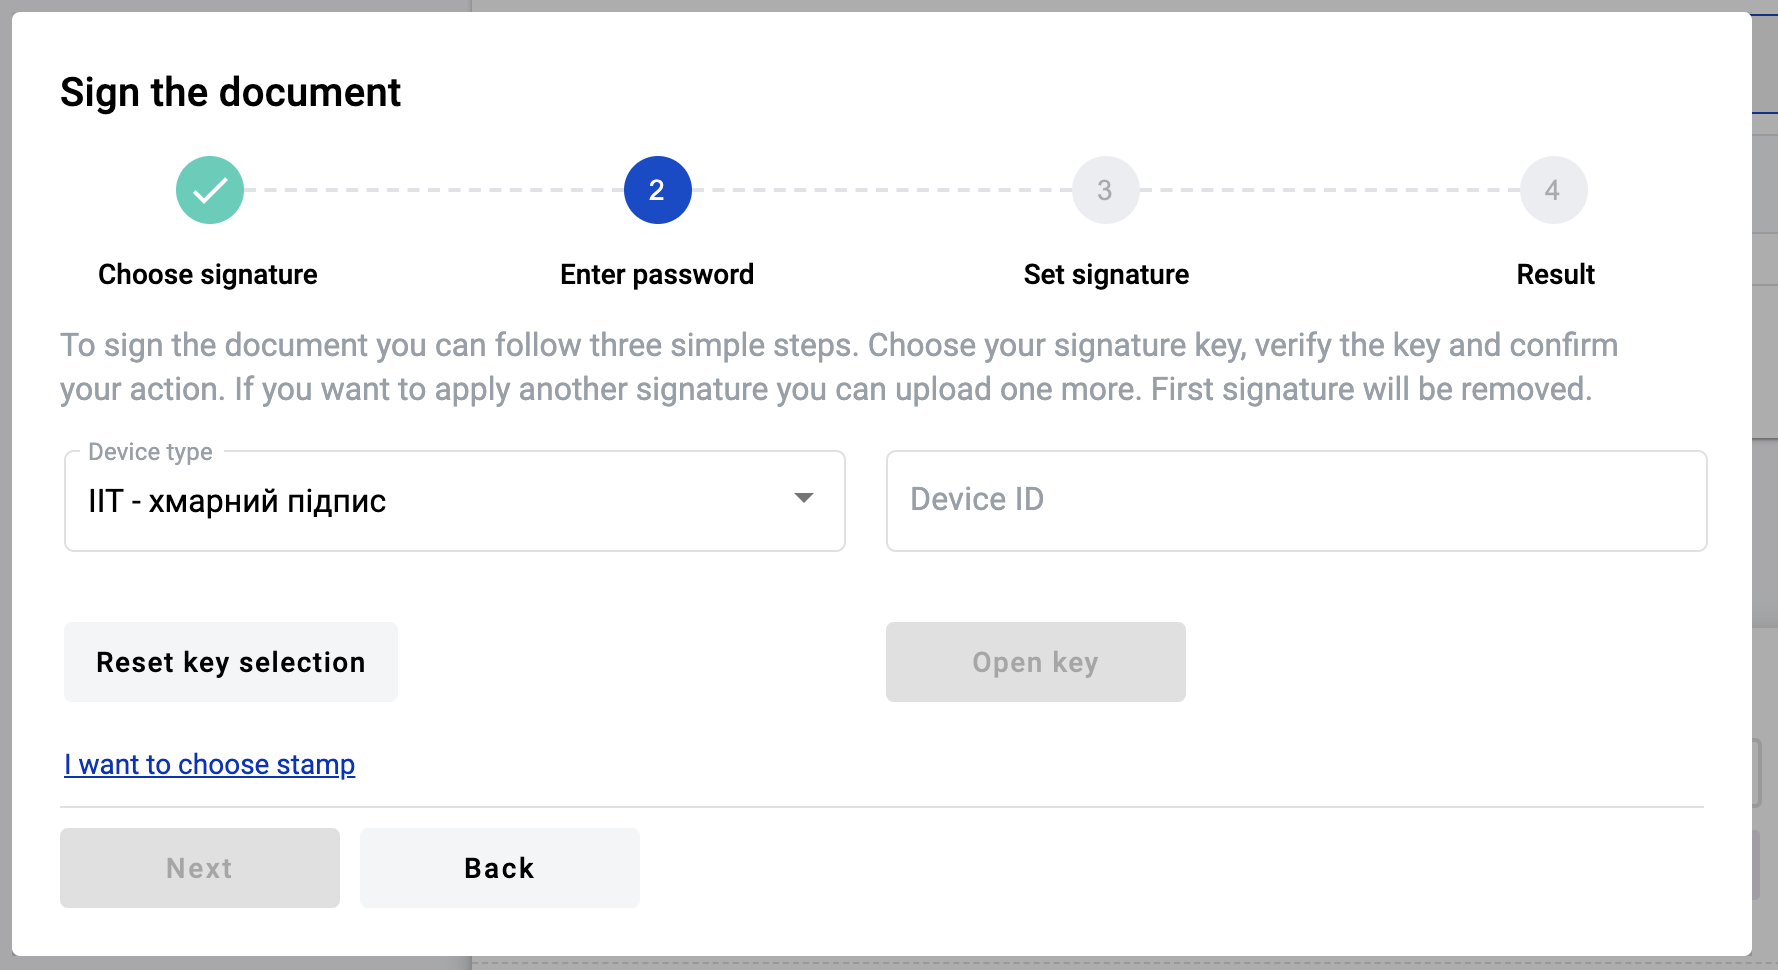
Reading key
Select option “Other electronic signature devices”
Enter you key identifier to respective input and click on “Read key”
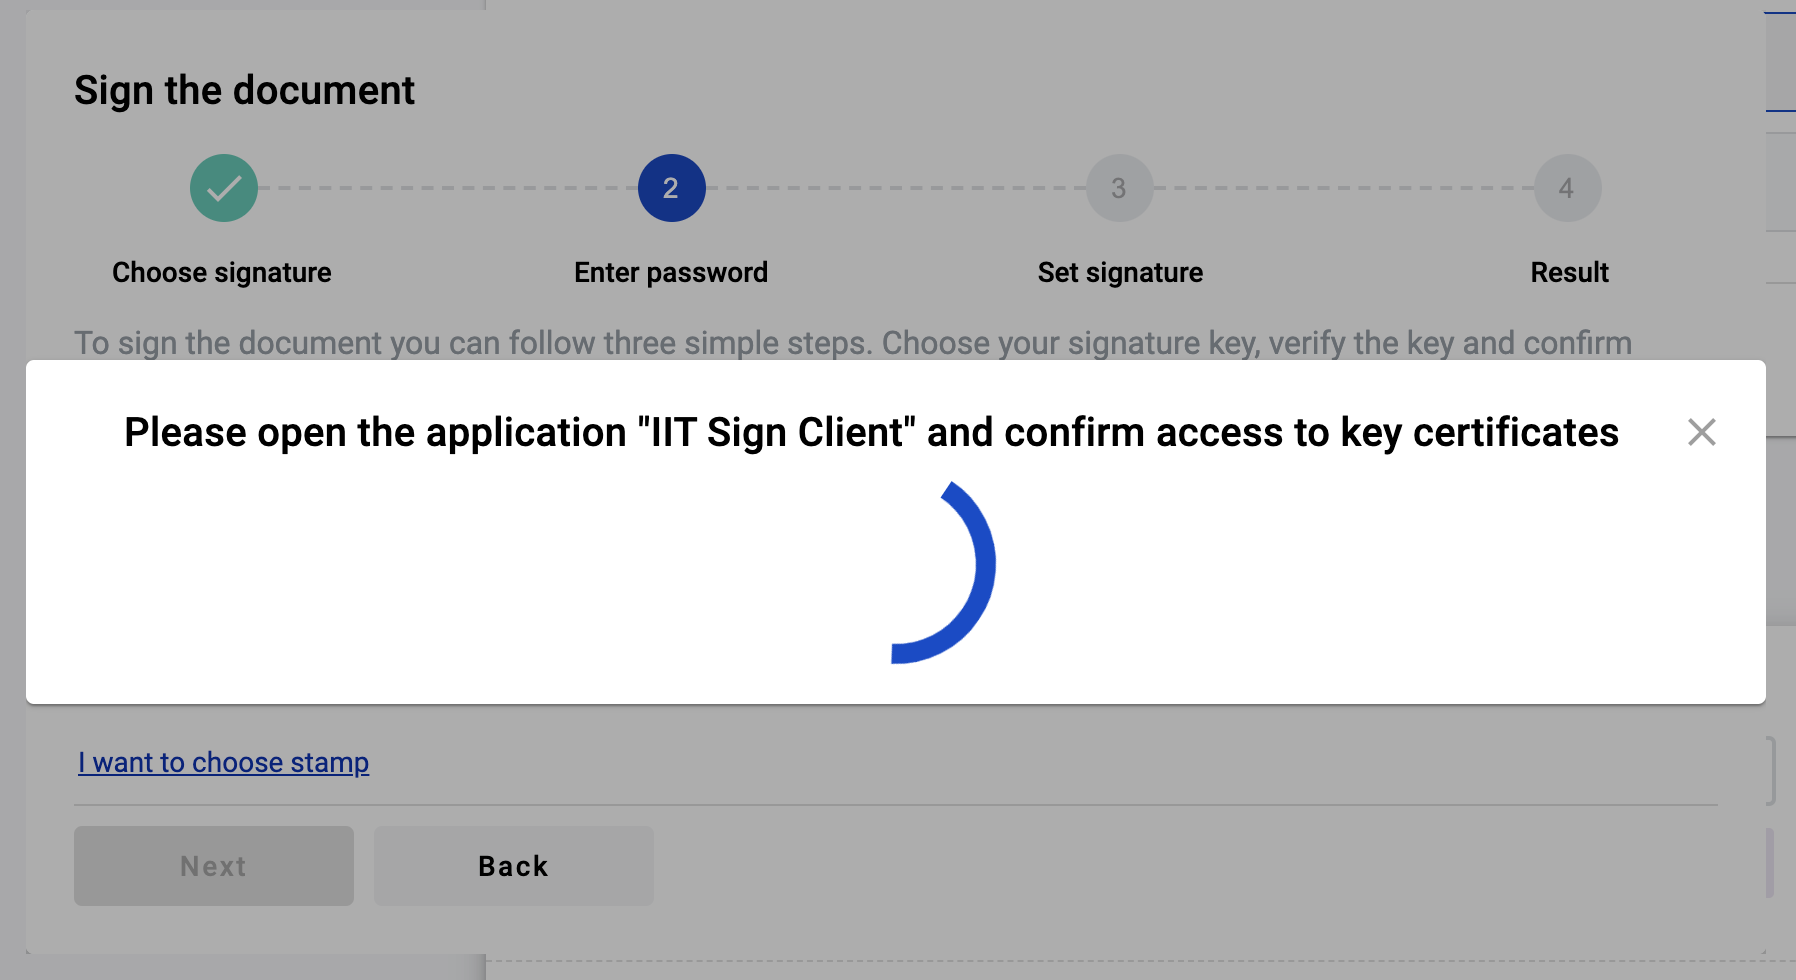
Modal window with confirmation will appear and you have to confirm you action in app “Sign client”
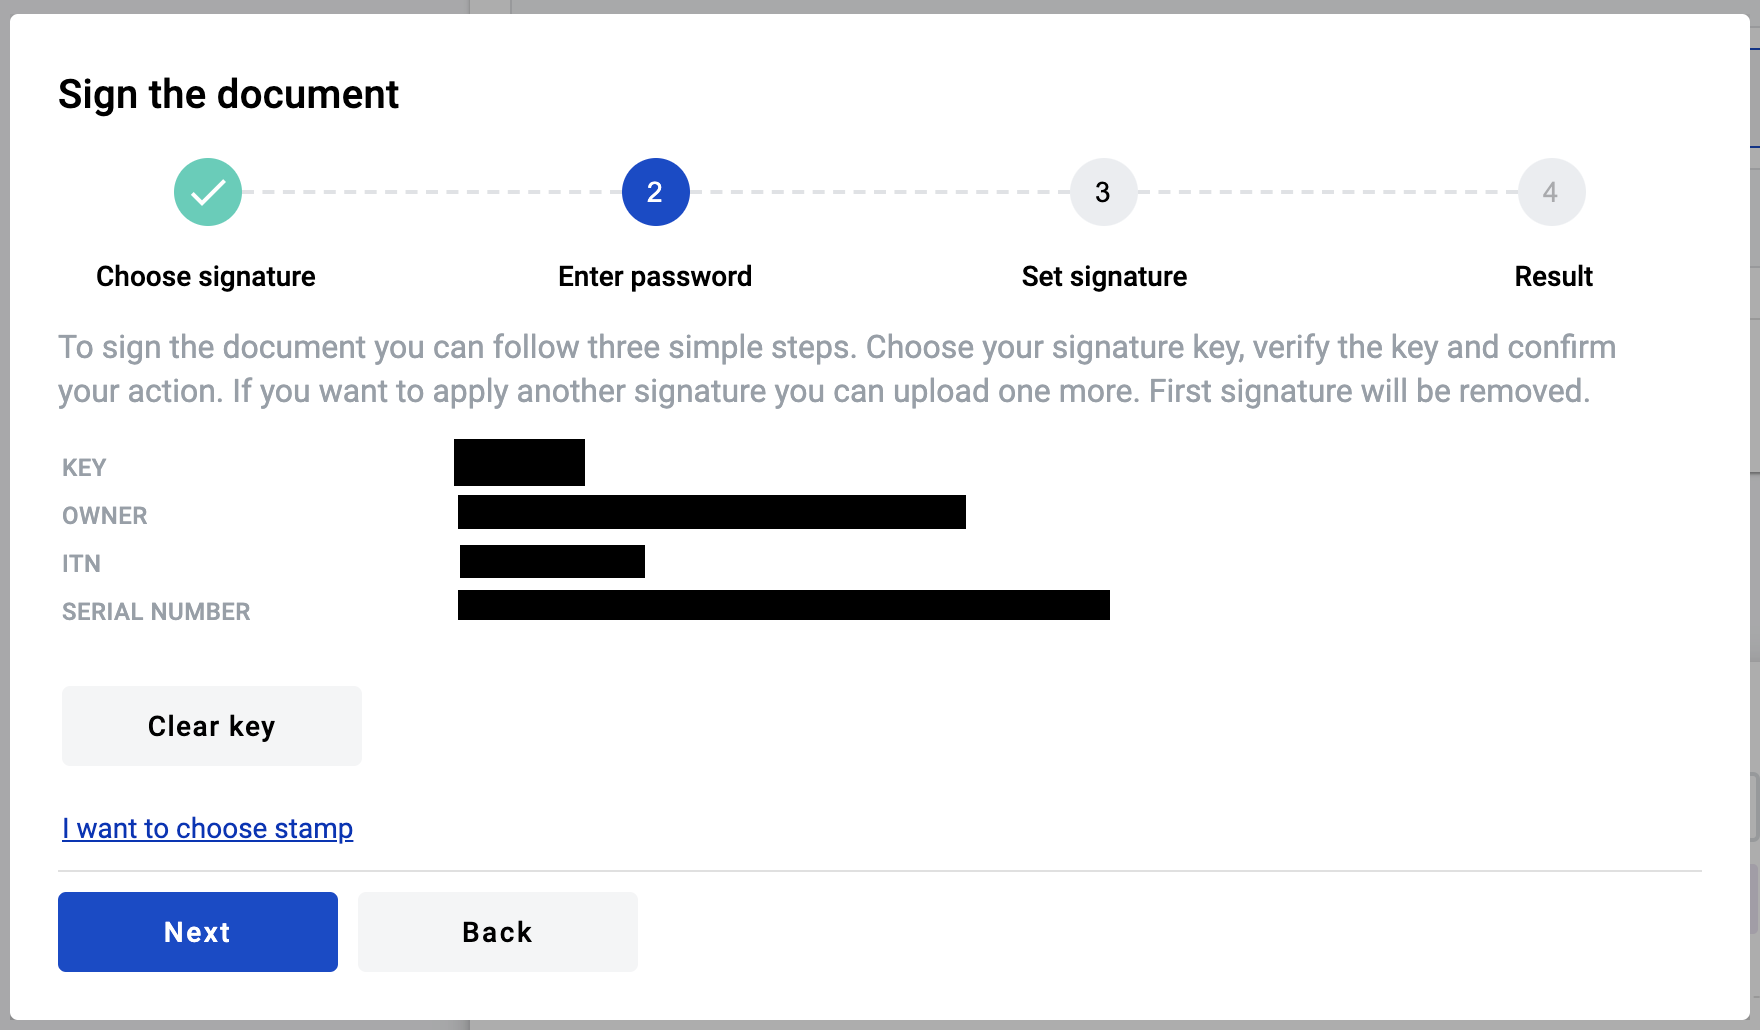
After confirmation of the key reading you will see detailed information about signer, click on “Next” button to proceed with signing
Pay attention to the documents you want to sign. If everything fine click on “Next” button and modal window with instructions will appear again

Confirm signing requests (quantity of requests similar to quantity of the documents to sign) in application “Sign client”
Electronic Signature with specified Taxpayer Identification Number
When TIN is specified for Electronic Signature it’s imposing restriction on TIN of Electronic Signature owner. TIN of Electronic Signature owner should be the same like in field that TIN attribute related to. If TIN of Electronic Signature owner is different from specified TIN field, envelope couldn’t be sign with this Electronic Signature. Also this restrictions applied to Electronic Stamp.
Signature common errors and solutions
Sometimes the user may have problems with the selection of the Qualification Signature. Most often this is due to updates to the signature library, or incorrect configuration of the software package related to reading signatures.
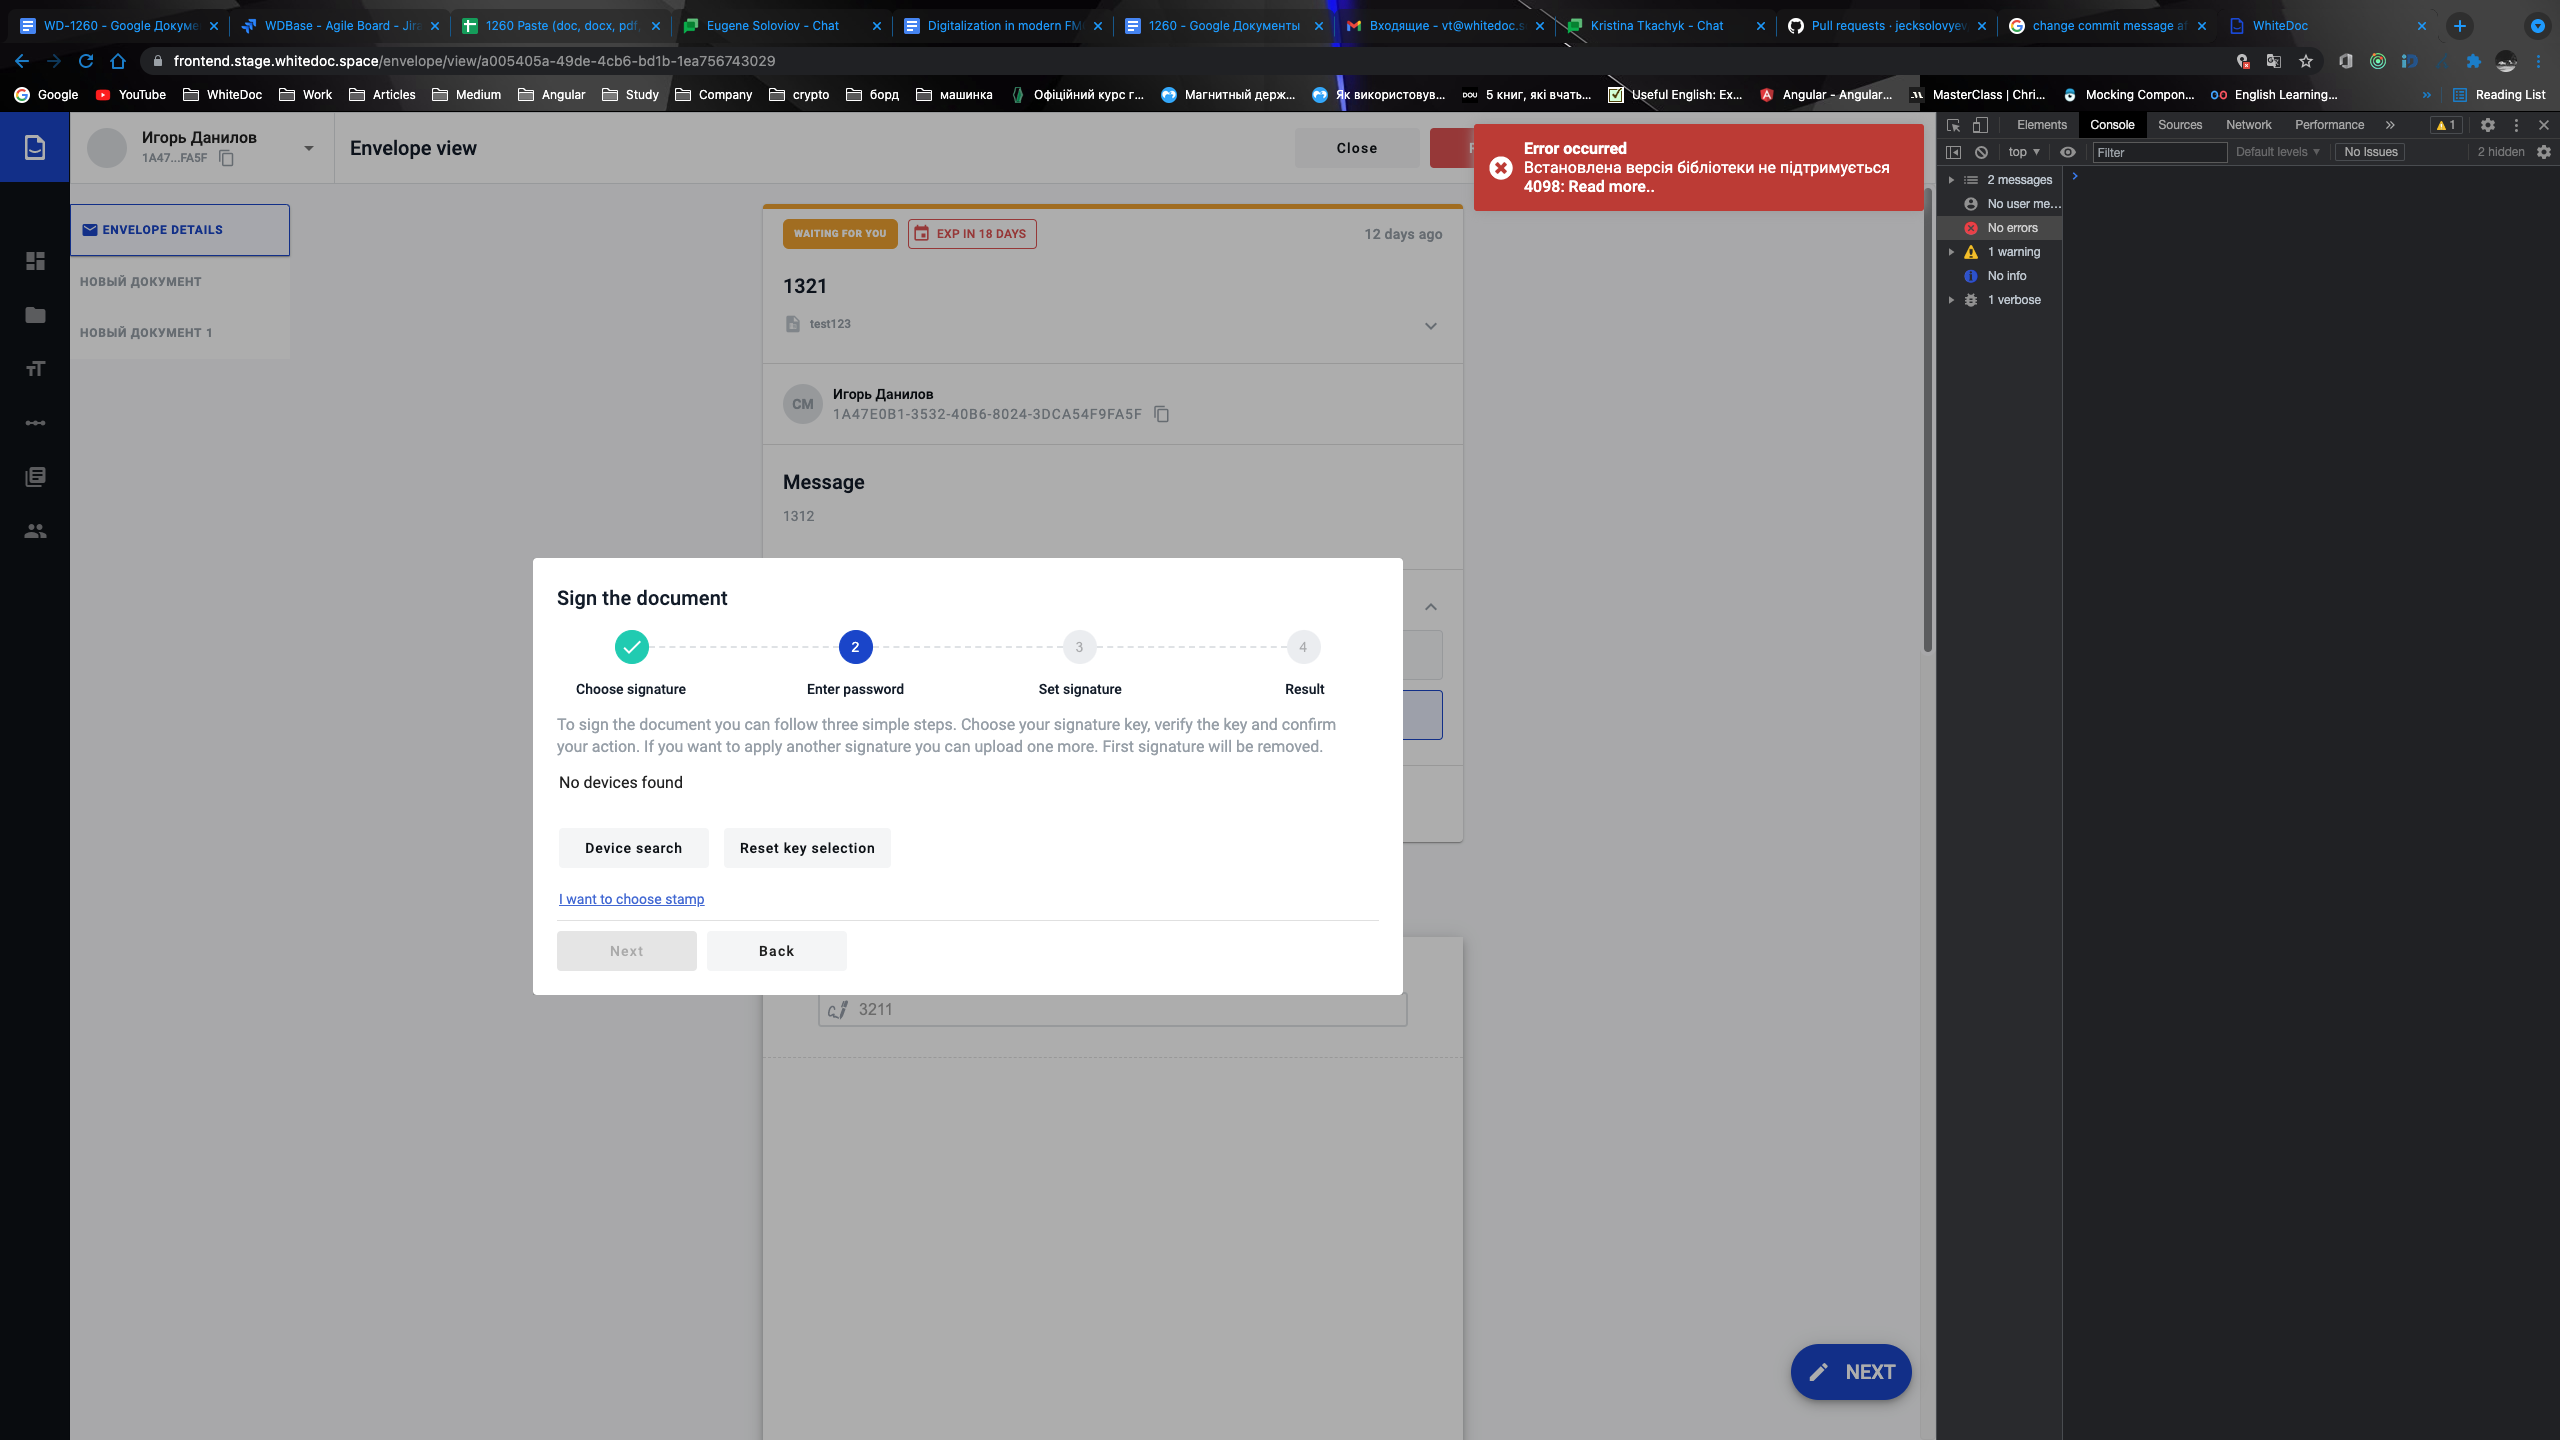
If you are trying to select a signature, and you receive an error “There was a problem while interacting with the cryptographic library”, as shown in the figure below, make sure that you have gone through all the steps for installing the library on your PC, which you can find by the QUALIFIED-ELECTRONIC-SIGNATURE, and try again
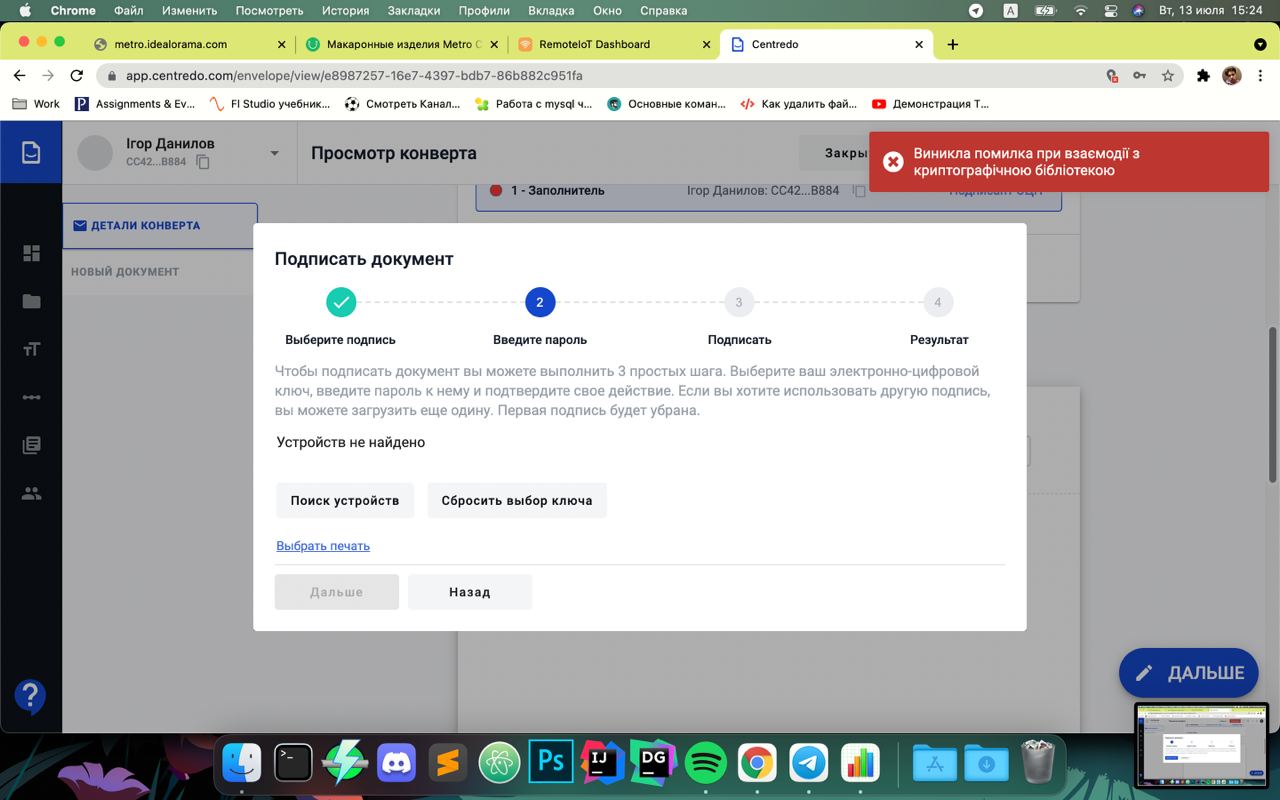
Periodically, the cryptographic library is updated, so the user may face a situation when his version of the library is outdated, then he will receive the message “The installed version of the library is not supported”. In this case, the user needs to update (install the latest library version) on his PC. Follow this steps to update / reinstall library: QUALIFIED-ELECTRONIC-SIGNATURE
How to sign document with SmartId
To use smart id as a method of the signing documents you have to follow instructions below:
Open envelope with required signatures
Click on signature field in the document
In modal window select SmartId as a method to sign document
In the next modal window QR code will be displayed and you have to scan QR code using application Privat 24 or Privat 24 for business
As soon as you scanned QR code you have to follow the instructions in Privat 24 application. When things will be done in modal window QR code replaced with signature data
Click on next button or select another signature or add stamp as needed
You will see the list of documents you’re going to sign, if needed you can click on checkbox to select all documents in the envelope
Proceed with signing, click on sign button and you will see one more QR code, make procedure as described in step 4 and all documents will be signed